Category Archives: dinner

Grilled Eggplant Pesto Parmigiana


Sometimes I realize that the recipe featured here require a mixer, or an immersion blender, and for as much as I try to simplify recipes by using simple tools, it can become intimidating if your kitchen equipment is pieced together with hand-me-downs and college left overs.

This recipe requires not much more than George Foreman grill, the staple of every college “registry”, and it looks and tastes a bit more sophisticated than college.

Grilled Eggplant Pesto Parmigiana
Ingredients
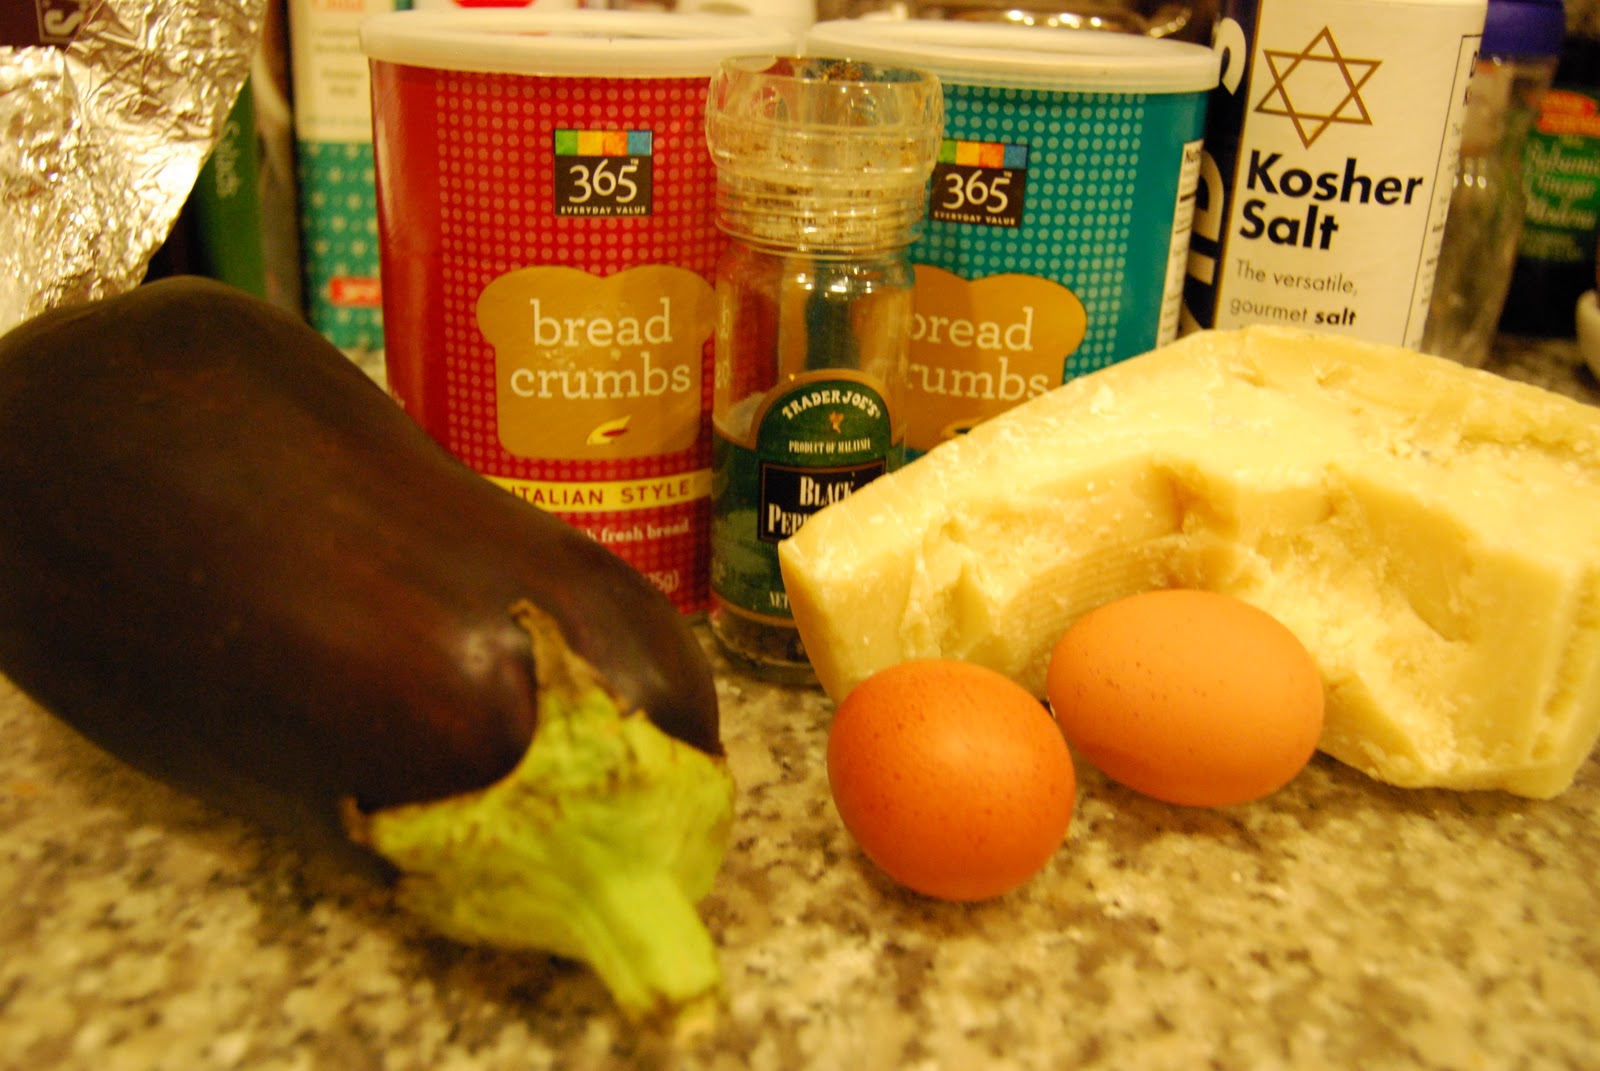
1 large Italian eggplant
Pesto Sauce (either premade, or homemade – do it!  It is soo easy)
Grated Parmigiana cheese
Marinara sauce
Salt and Pepper

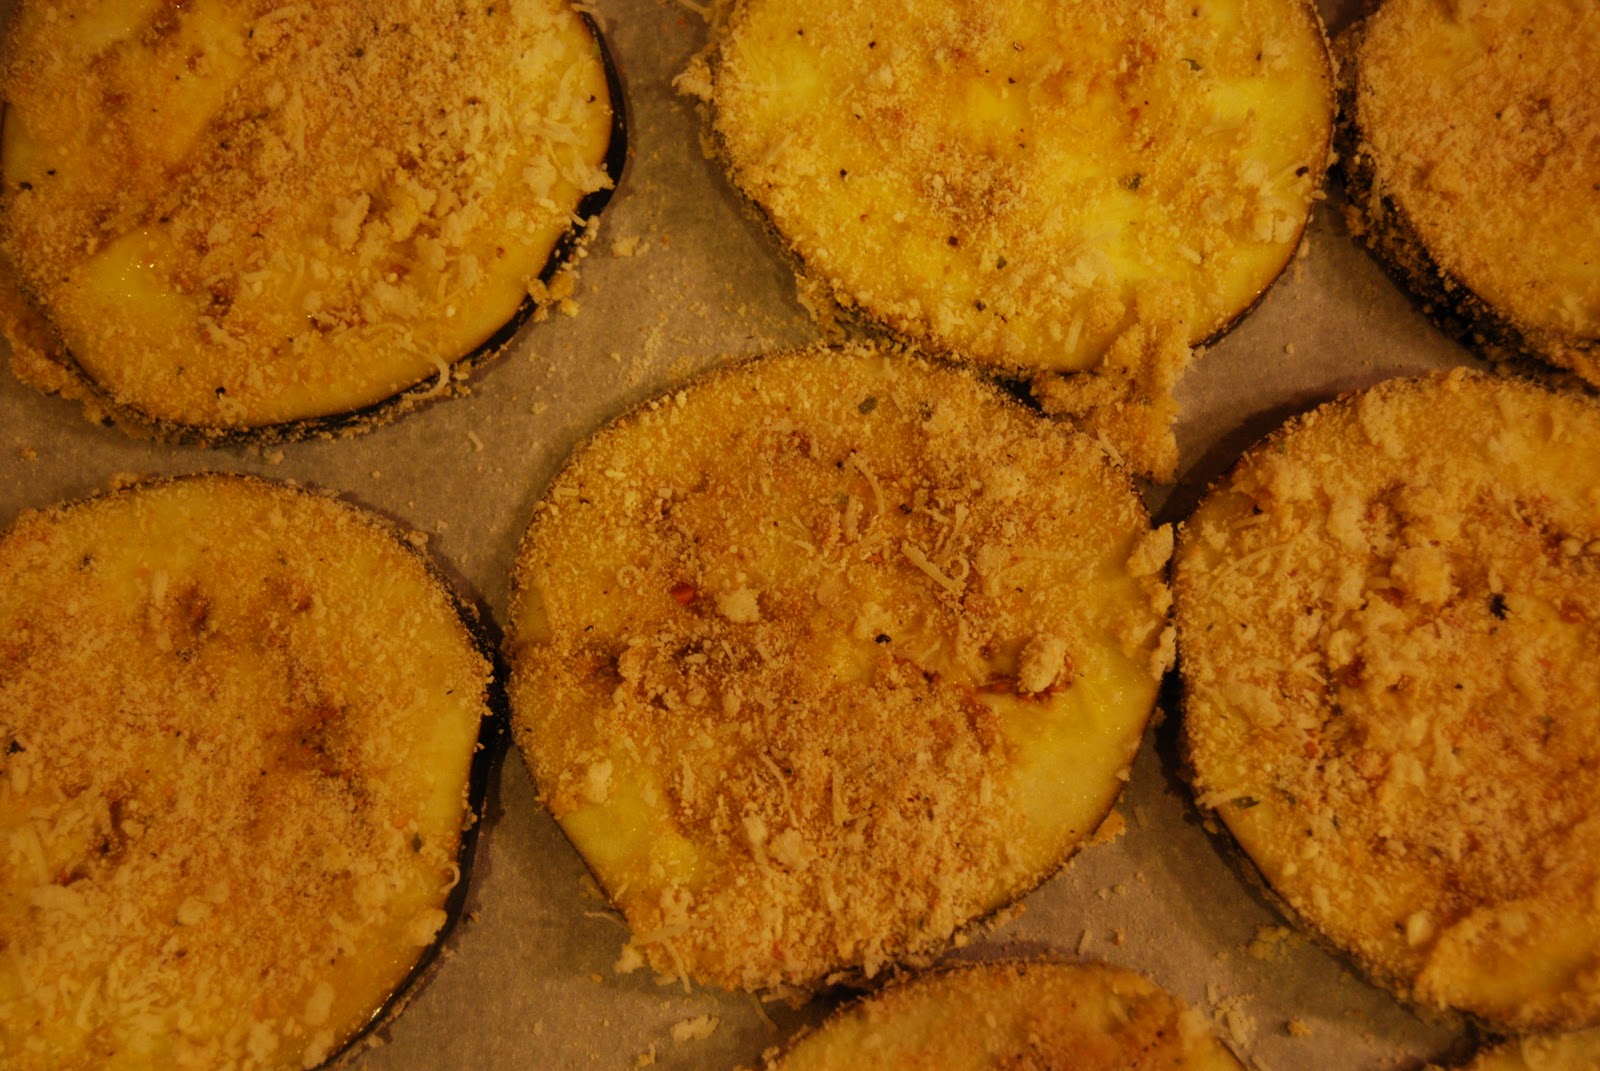
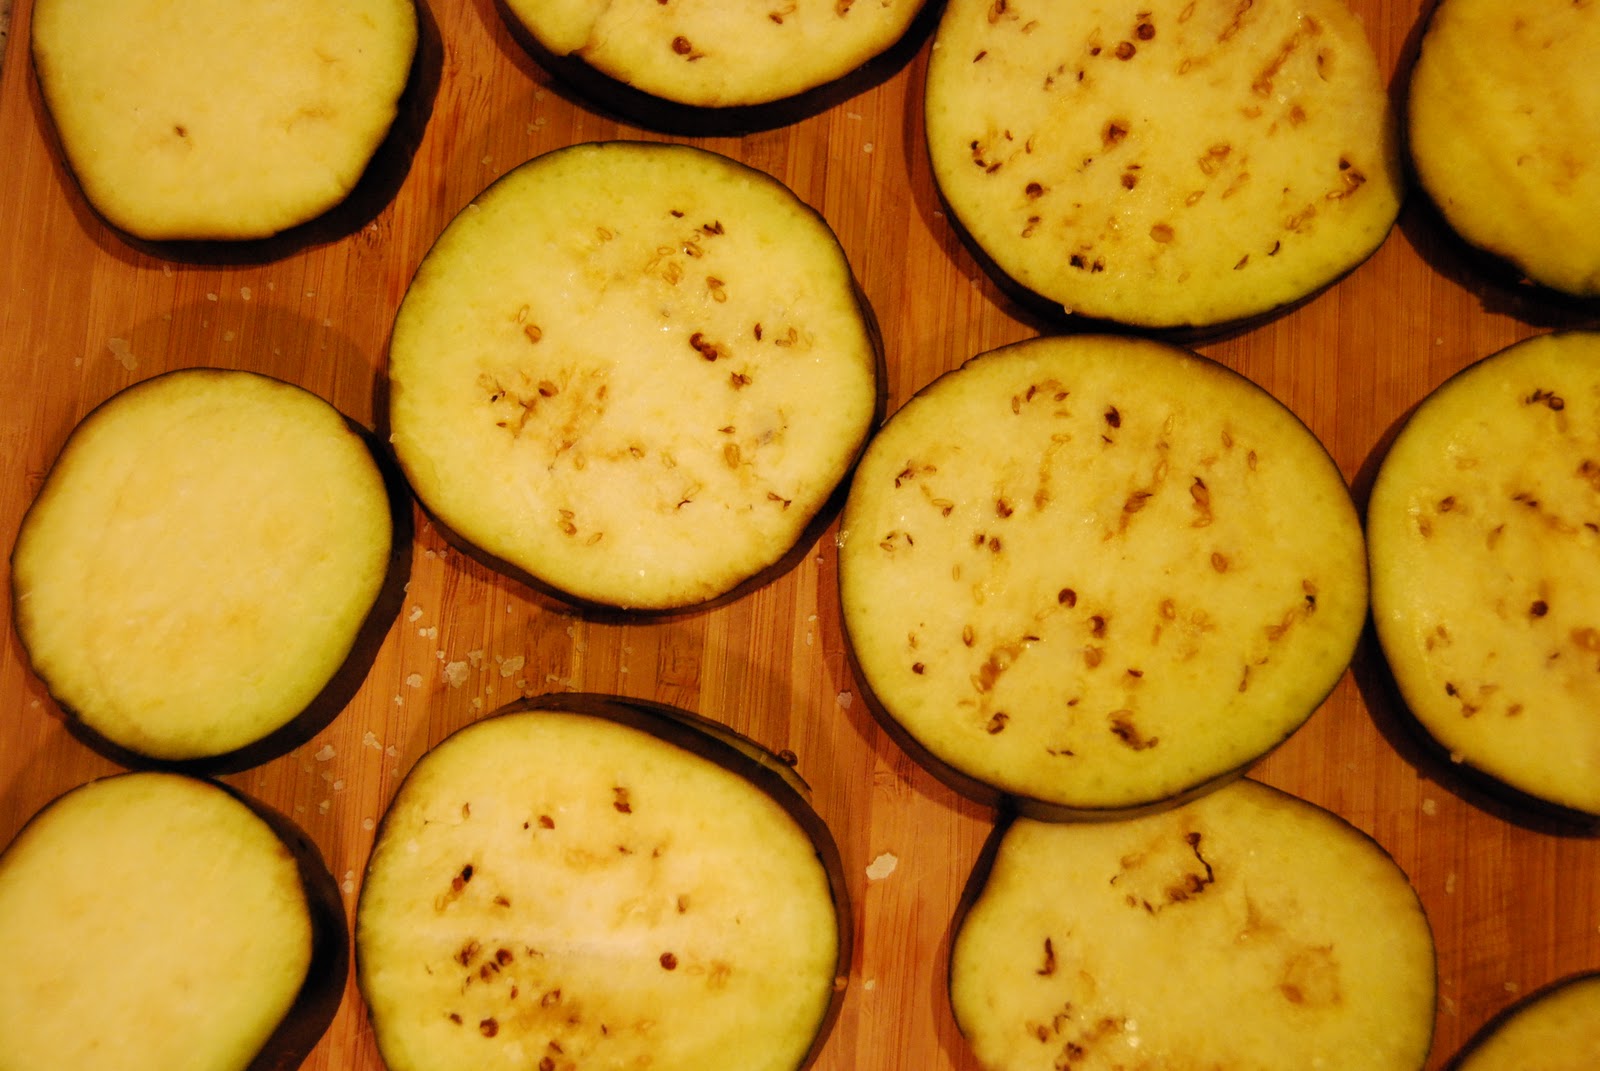
Preheat oven to 400 degrees.  On a cutting board slice the eggplant into 1/2″ coins.  Sprinkle generously with Kosher salt.  Salting the eggplant adds flavor and it also helps the eggplant to “sweat” out some of it’s moisture.

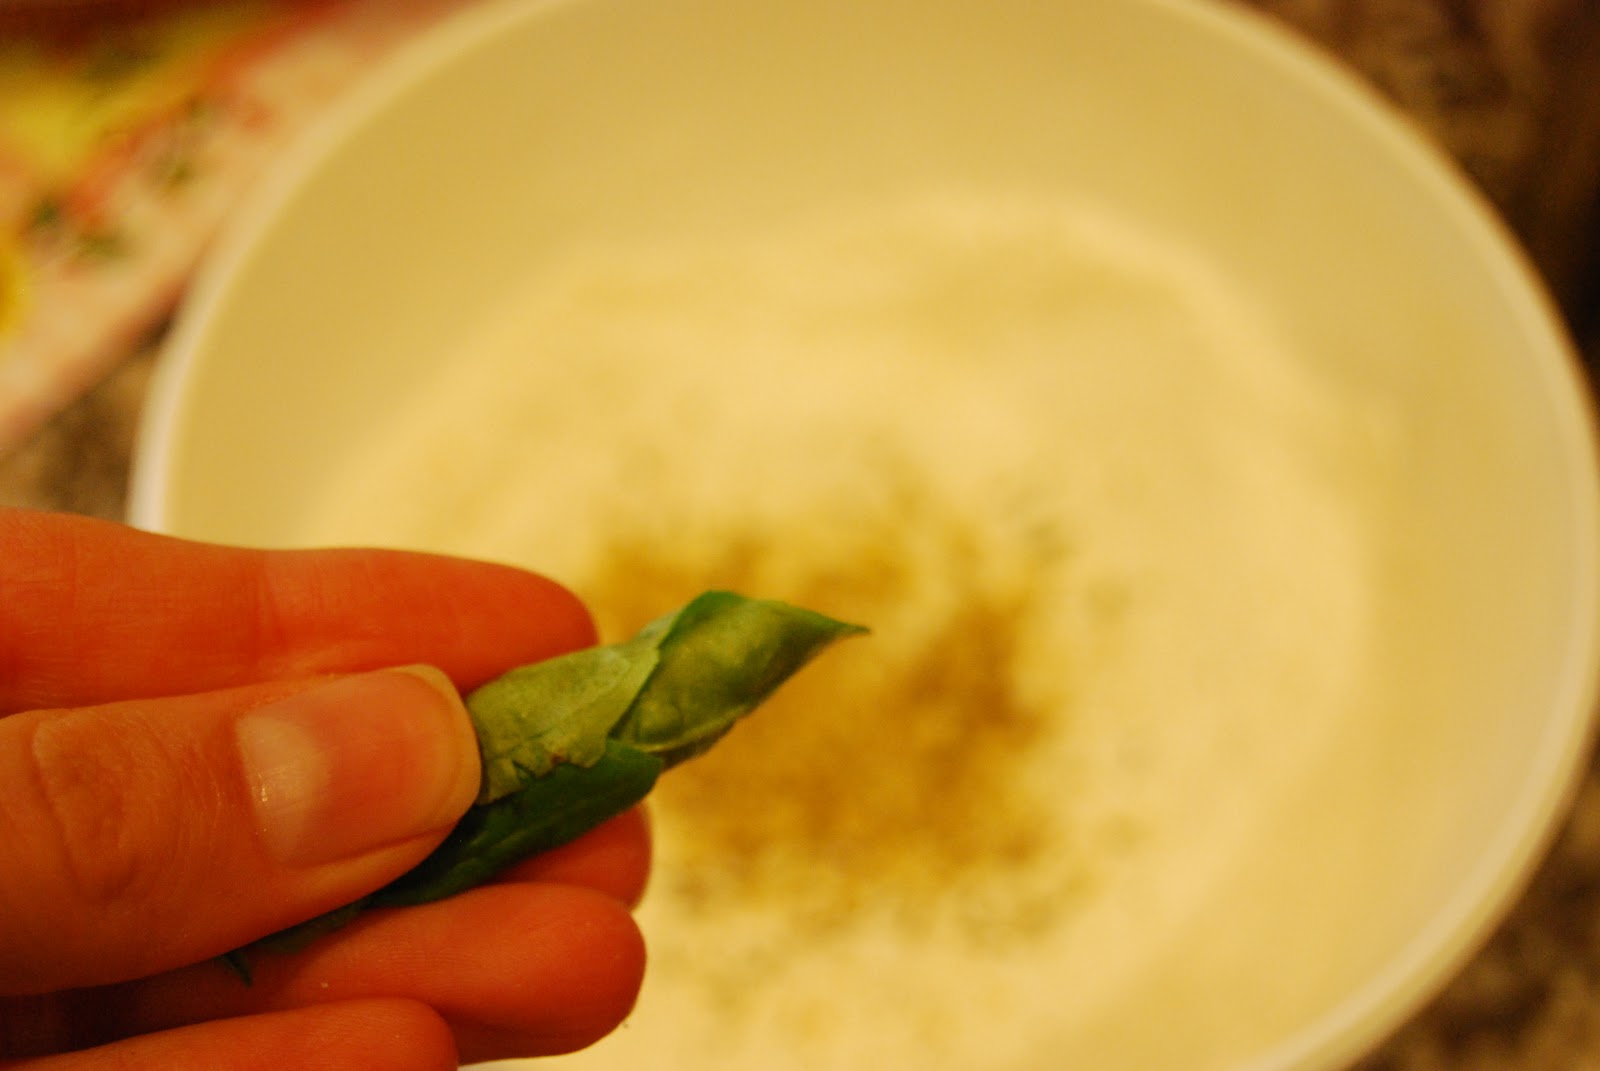
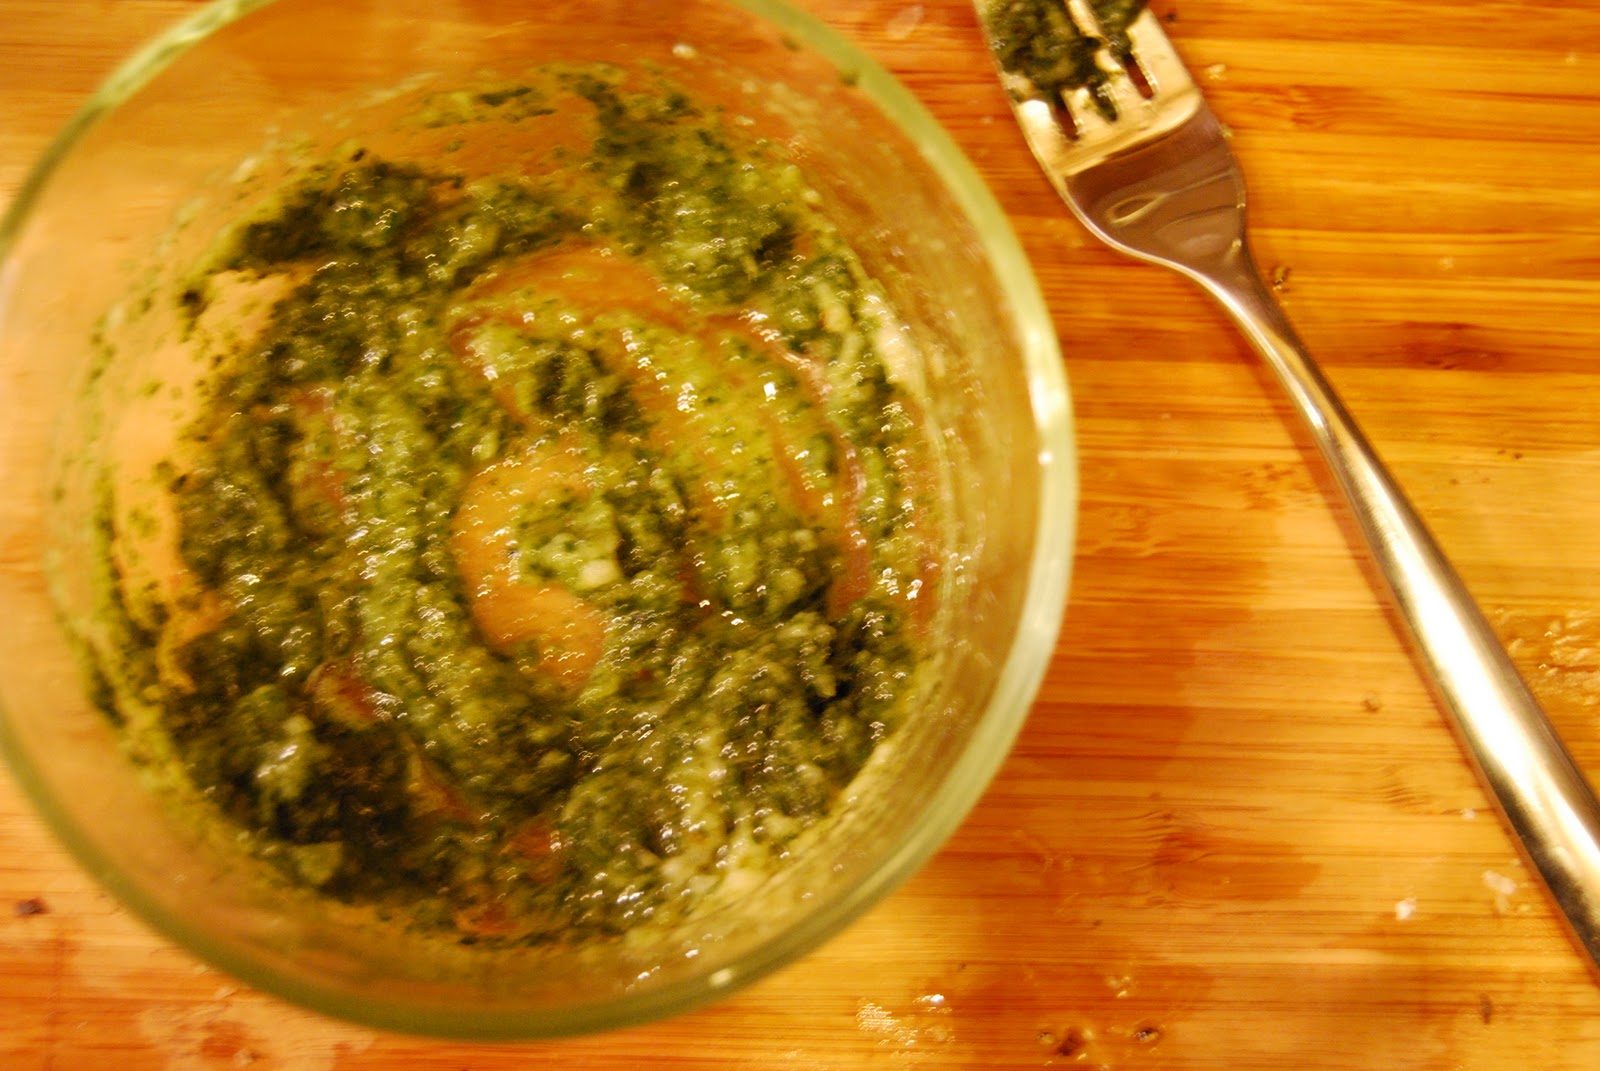
In a small bowl prepare the pesto sauce, come on, I know you went homemade.  Another even lower calorie option that is strong on flavor is crushed basil, garlic and olive oil – I recommend the frozen basil and garlic cubes at Trader Joe’s.
Lay the eggplant coins out on the grill and cook for 3-4 minutes or until golden brown grill marks appear and then rotate for a beautiful cross pattern.   
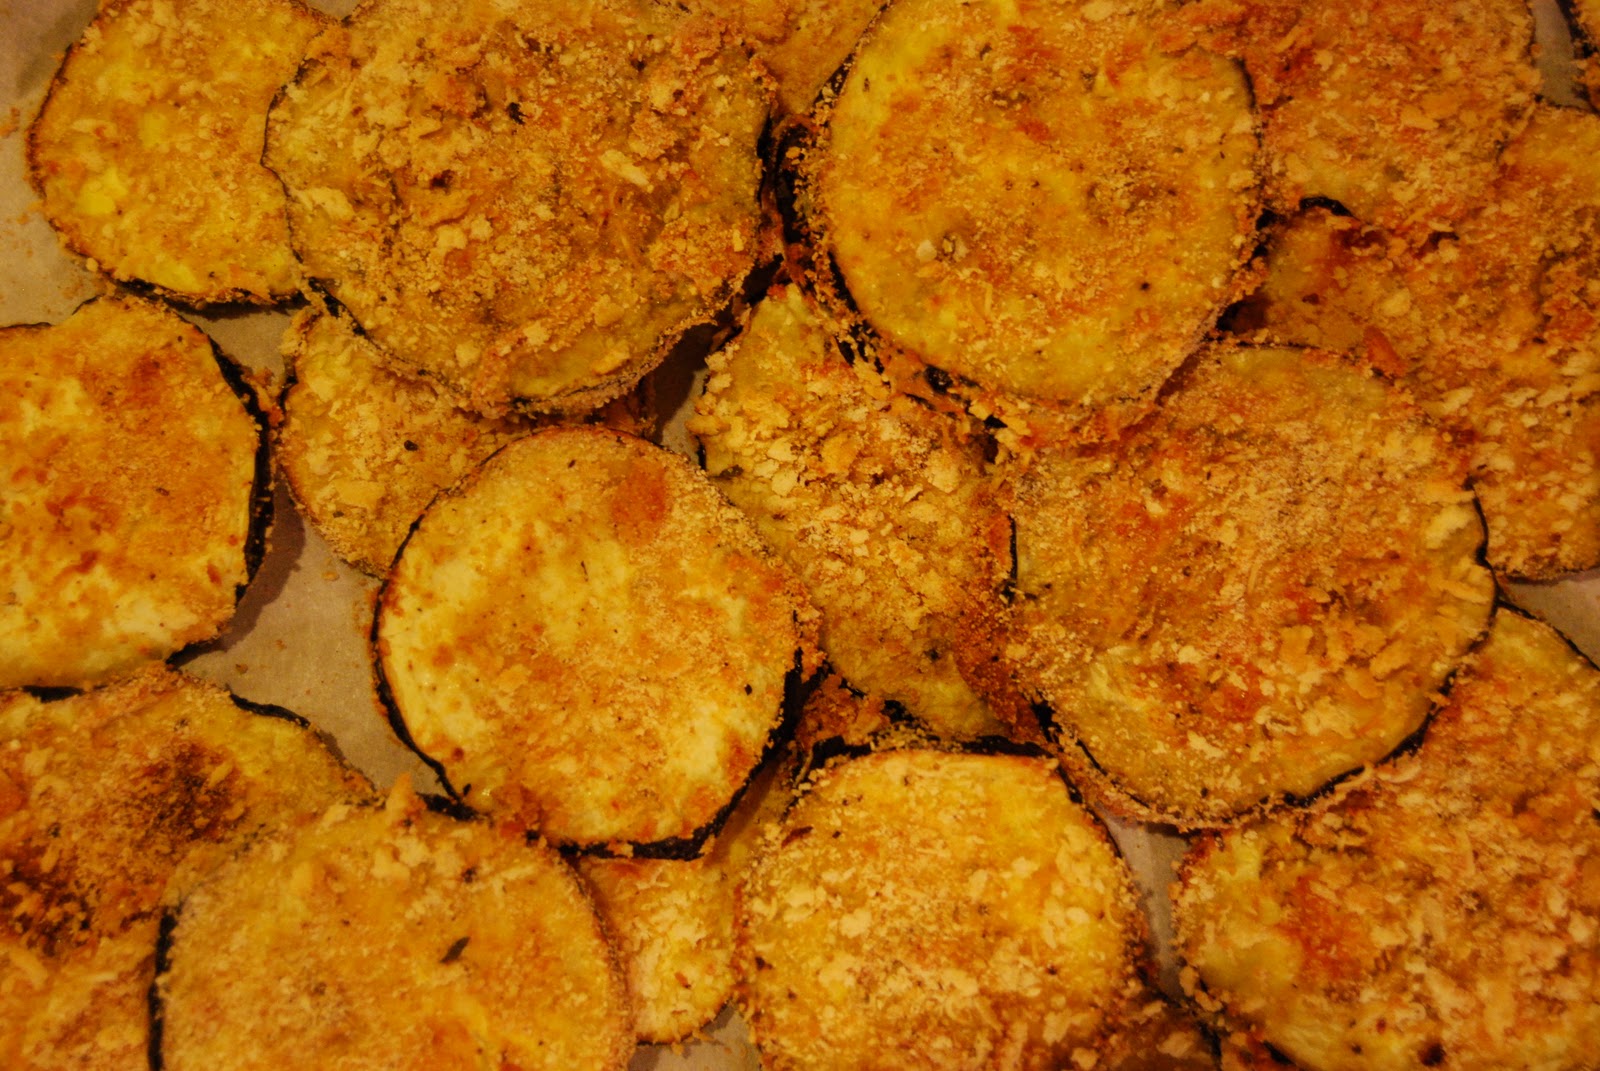
Lay all of the grilled eggplant slices on a cookie sheet and spread each slice with a 1/2 teaspoon of your spread.  (If you’re  not into pesto, or garlic, or basil, or whatever, a tapenade would be amazing, or just your basic marinara sauce).  Sprinkle with the grated parmigiana cheese and bake for 10 – 15 minutes or until the cheese is a little bit melted.
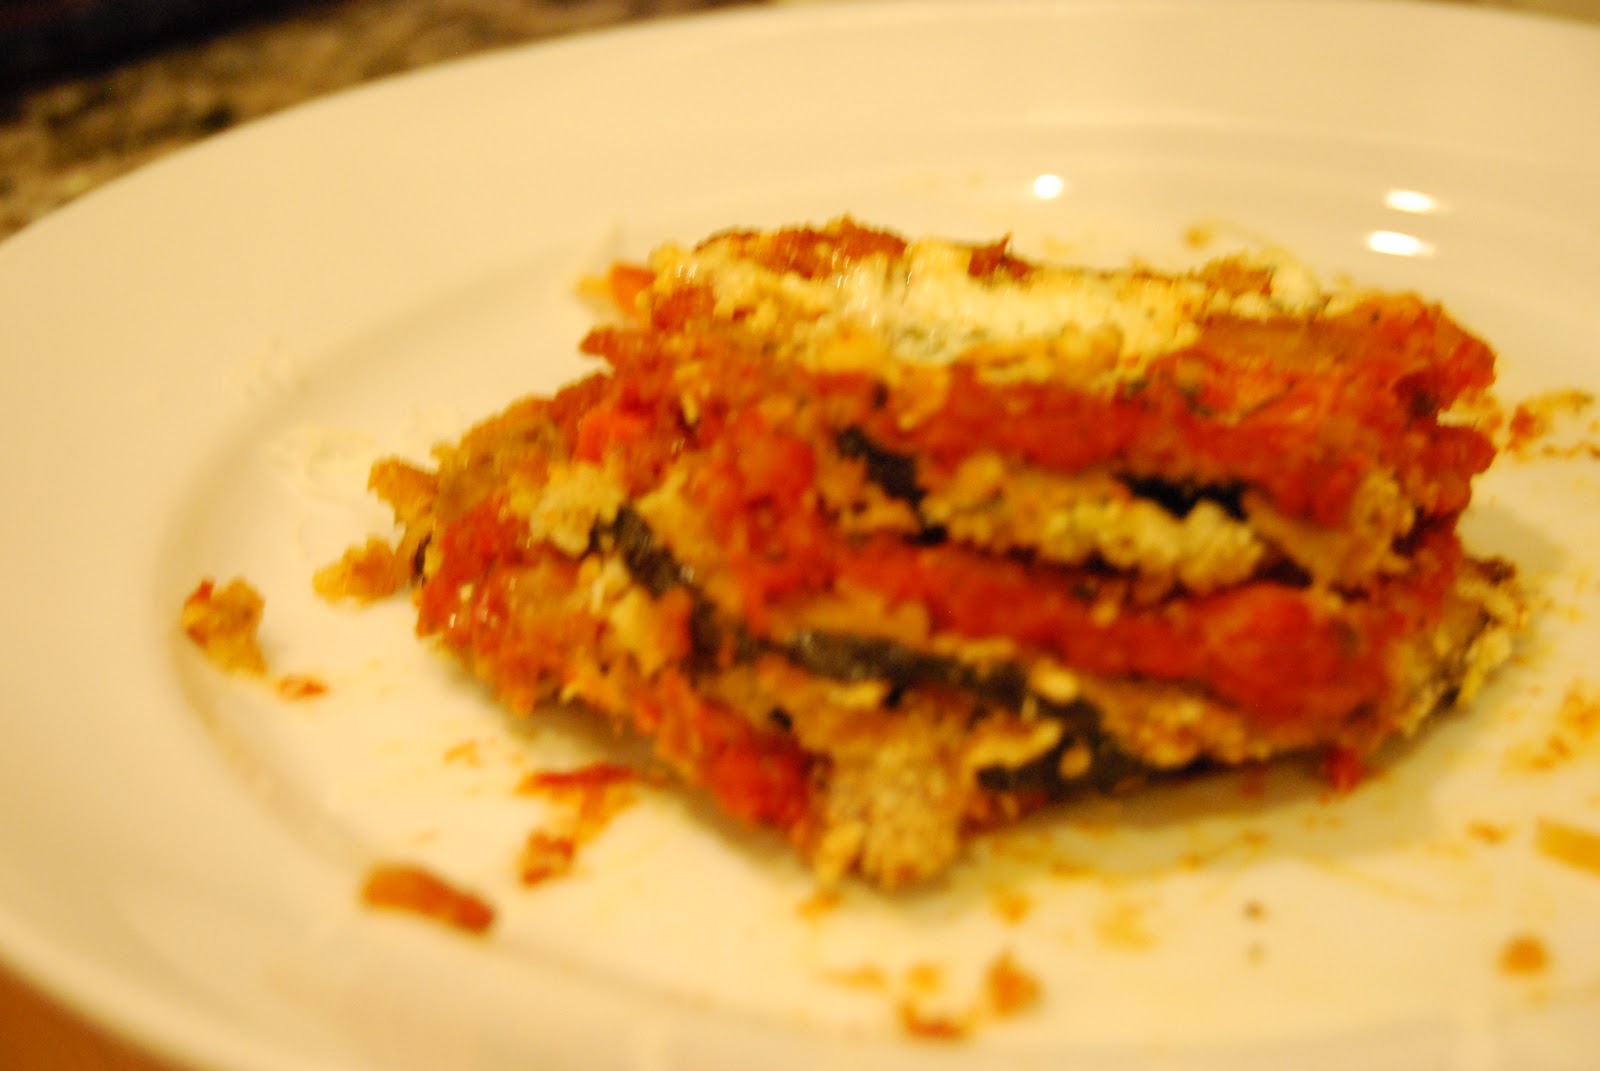
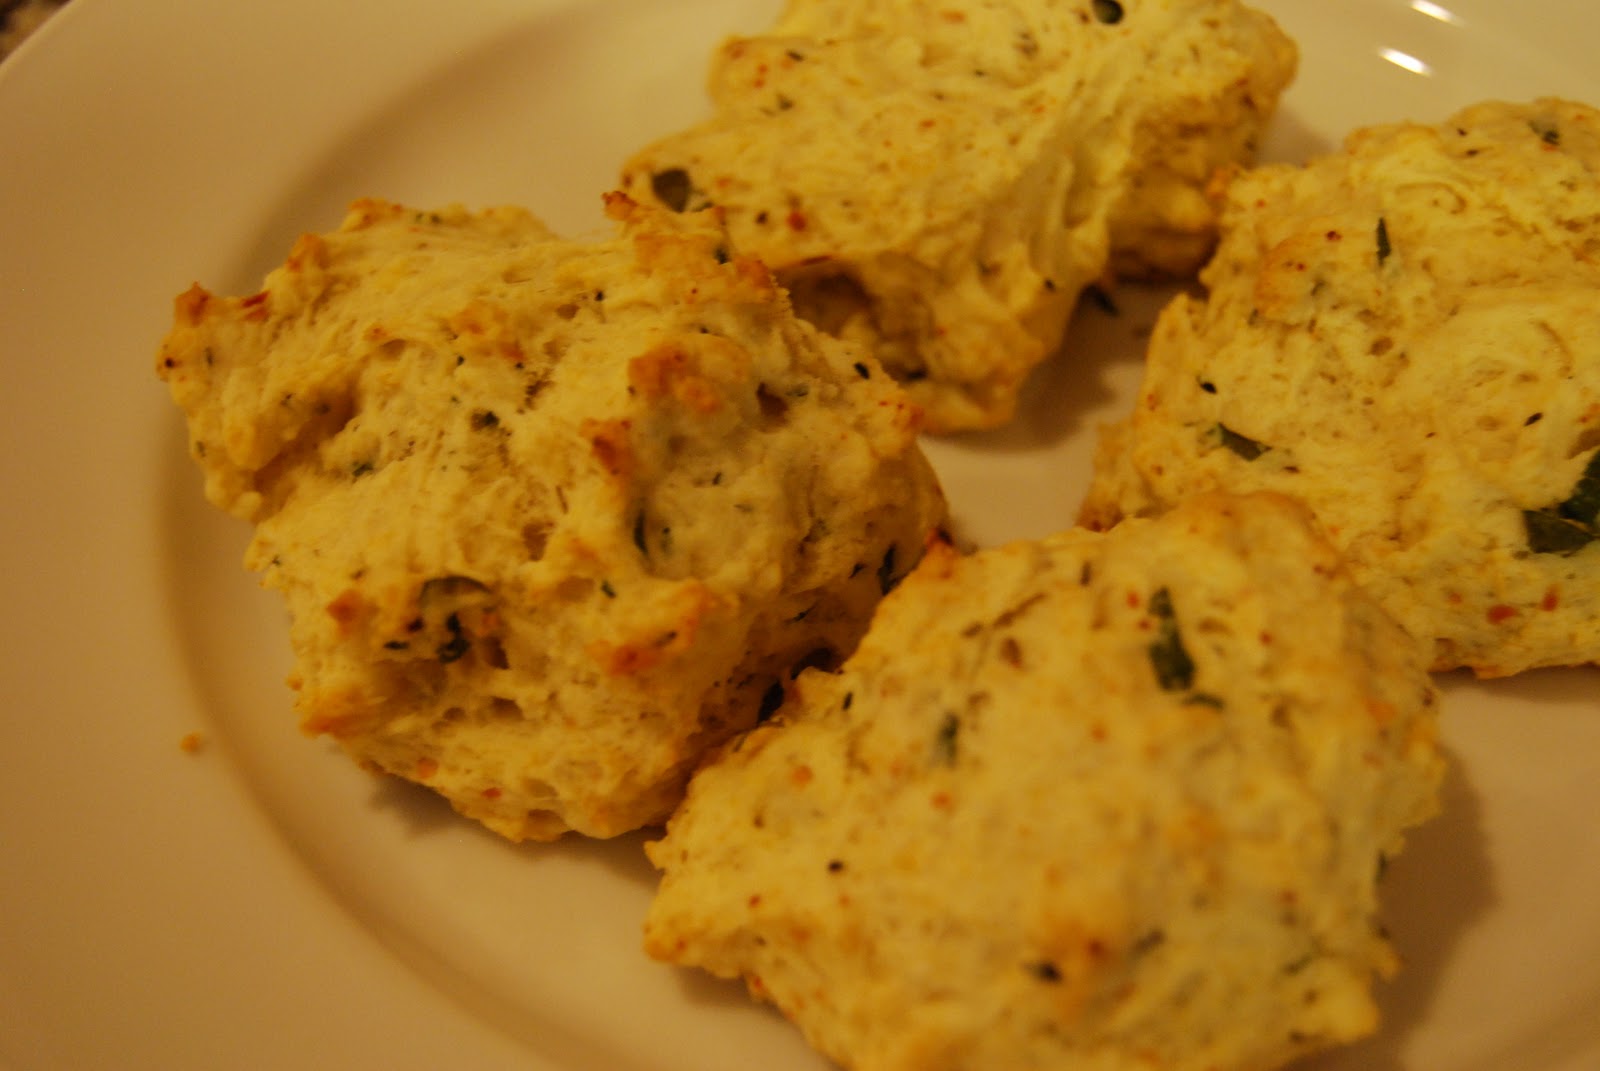
If you can help it, arrange the grilled eggplant slices on a plate and serve with fresh sauce.  If you can’t help it, try not to burn your fingers as you eat them right from the pan.  We ate them both ways in my house, and they taste just as good with or without the fancy presentation!

This makes for a healthy, affordable, and really satisfying dinner or appetizer for a crowd.  Buon Appetito!

Roasted Cauliflower and Lentil Salad


Between all of the baking I really try to make our dinners filled with an abundance of seasonal vegetables and big bold flavors.  Last week it was all about cauliflower.  Roasted, delicious cauliflower.  This very easy recipe was a snap for a weeknight dinner entree, side or weekend lunch.  It was divine – which is saying a lot for a veggie.


Roasted Cauliflower and Lentil Salad
Ingredients
One Head of Cauliflower
1/2 Vidalia Onion
1 cup of cooked lentils
1/4 cup raisins
2 tbsp Extra Virgin Olive Oil
1 tbsp White Wine Vinegar
1 teaspoon Curry Powder
1/2 teaspoon Paprika
Salt and Pepper to taste
Oven at 400 degrees
Instead of cutting the cauliflower into little trees, cut the head into slices across the sphere. 
In a small glass whisk the oil and vinegar and add the curry and paprika, salt and pepper.  The “dressing” now has a burnt orange color and fragrant scent.

I dipped the head of each cauliflower slice into the dressing and laid them all out on a covered cookie sheet.  With the remaining dressing, reserve about 1 tablespoon and drizzle the excess over the cauliflower.  Bake in over for 35 minutes.
With 10 minutes left on the cauliflower timer slice the onion and throw all of the onion slices into the remaining dressing.  In a non-stick pan over medium heat, cook the dressed onions until they are nearly translucent.  Add the pre-cooked lentils (I always use pre-steamed lentils from Trader Joe’s/Whole Foods/Wegman’s) and the raisins and allow the flavors to integrate completely.
When the cauliflower has fully cooked the dressed spots will be sweetly caramelized and the heads will be browned (and extra delicious)!

Add the cauliflower to the pan with the onion, lentils and raisins and let all of those flavors dance together and serve.  That is a delicious bowl of winter.

Roasted Butternut Squash Risotto


Risotto is a favorite dish in our house.  It is fairly easy to make, inexpensive to make a lot of and is a great alternative to pasta for a gluten free diet, and a vegetarian main course.

So risotto is one of those things where you can experiment a little bit with ingredients, as long as you follow the rules with timing.

Roasted Butternut Squash Risotto
Ingredients
1 Butternut Squash, chopped in 1-2″ pieces
1 tbsp olive oil
Salt, Pepper, Paprika to taste

1 onion, chopped finely
3 carrots, chopped finely
3 stalks of celery, chopped finely
4 cups of Vegetable/Chicken Broth
1 1/2 cup of arborio rice
2 tbsp of butter
1/4 cup of white wine
1/2 cup grated Parmigiana
Salt and Pepper to taste

Peel and cut the butternut squash and put all chopped pieces in a colander and drizzle with olive oil and sprinkle of salt, pepper and paprika.  On a covered cookie sheet lay out the pieces of squash and bake in the oven for 35 minutes at 375 degrees.

Once the squash is in the oven, move onto the risotto.  In a separate sauce pan bring the vegetable/chicken stock to a boil.  
In a large sauce pan add 1/2 tbsp of butter to the pan and then add the finely chopped onion, carrots, and celery. Add salt and pepper to taste – just a pinch, because you’ll continue to layer the flavors.

When the vegetables are softened add the rice to the pan on medium/low heat and let it saute until the pieces are translucent.  When the rice is translucent add the first ladle of stock.
Let the rice simmer in the broth, stirring frequently, until it is completely absorbed.  When the broth is absorbed add another ladle and continue the process of adding, stirring, absorbing until all of the stock is used up.   You’ll notice that as the broth is being absorbed the rice with release it’s natural starchiness and become creamy. 

After the last ladle, but before the broth is completely absorbed make a well in the rice and add a cup of the now roasted squash.  Using a potato masher (or a spoon), mash up the cup of squash and combine it with the risotto.  The mashed squash adds beautiful color and rich flavor.
Then add the rest of the squash, the remaining butter (in pieces) and the parmigiana cheese and gently stir all of the ingredients. 

This is a perfect winter weeknight dinner, enjoy the comfort of good food!

The Best Winter Salad – Seriously


In the winter I am pretty much a salad hater.  I just can’t get behind the arugula and mixed greens that I love in the spring and summer, they all just seem so blech…  Until this weekend.

In full disclosure I did not create this recipe, in fact besides finding the recipe and eating it, I have done nothing constructive.  Mark has made this salad two times in four days and I have enjoyed it everytime.  
Spiced Butternut Squash and Lentil Salad Ingredients
3/4 cup lentils
1 medium butternut squash, peeled and “cubed”
3 tablespoons olive oil, divided
1 teaspoon ground cumin
1 teaspoon paprika
1/2 teaspoon sea salt
4 cups baby arugula
1/2 cup soft goat cheese, crumbled
1 tablespoon red wine vinegar


When we first made this it was for an impromptu New Year’s Eve dinner, happily lentils are lucky on New Years Eve.  Also lucky is that all of these ingredients were available prepared.  I am no “Semi-homemade” but, if you want to save time you can find butternut squash already peeled and cut into chunks (Trader Joe’s, Wegman’s) and lentils that have already been cooked (Trader Joe’s, Whole Foods, Wegman’s).  Major, major time savers.

Otherwise, you can peel the squash and then cut it into 1″ thick rounds until you reach the base of the squash, and then cut the base in half and continue to cube.  I’d recommend keeping the pieces on the larger side, and forgo the urge for perfectly small squares.  The larger pieces stay firmer and provide a great texture.  I promise, it’s really very simple, and nearly impossible to screw up.

Toss the cubed squash with cumin, paprika and salt and bake in a 400 degree oven for 20 minutes, and then flip the pieces and cook for another 15 minutes.  
 
Look at those delicious pieces of squash — ahh, Heaven!
Let the squash cool and then layer it with the lentils, which I had at room temperature, but they could also be warm, and the crumbled goat cheese and argula… Or, you could skip the arugula, it’s still pretty healthy.

To dress the “best winter salad ever” combine the left over oil/juice from the pan the squash baked on, red wine vinegar and salt and pepper to taste.

I realize this doesn’t seem too salad-y, but it is a great way to play with new ingredients (lentils or goat cheese), and it is beautiful to see and eat and really affordable to prepare and it keeps well for leftovers.

Share with friends, I am sure this is lucky after New Years, too!

Tomato Soup + Grilled Cheese… Winter Perfection


You know what you’re supposed to do when it looks like this where you live?  

I’ll tell you.  You’re supposed to make soup.  A big bowl of soup, filled with vegetables and not much else.  If you’re looking for extra warmth then of course you’ll need a grilled cheese sandwich to go with it.

Tomato Soup and Grilled Cheese Sandwich
Ingredients
1 Yellow Onion
2 Cloves of Garlic
4 Stalks of Celery
3 Medium Carrots
1/2 – 1 Red Pepper
1 – 12 oz. Can on Diced Tomatoes
3 cups of Low Sodium Chicken Stock
1/2 tbsp of unsalted butter
1 tbsp Olive Oil
Basil to taste
Salt and Pepper to taste
A splash of milk, totally optional
Grated Parmesean Cheese, also optional but, really good
Makes soup for 4 people, or 2-3 very hungry, cold people
Set up your soup pot over low to medium heat with 2 swirls of olive oil.  Then add the diced onion and thinkly sliced carrots and celery into the pot.  Sprinkle a little bit of salt and stir the veggies gently and let that simmer for a few minutes.  Then add diced garlic.  Seriously, at this point you could just stand there and absorb the aroma – there are few smells I enjoy more than cooking garlic.

After the garlic, onions, celery and carrots get to know each other add thinly sliced red pepper.  I only had half of a pepper, maybe if I had a whole one I would have used a whole one.  The pepper adds a richer, sweet flavor and a beautiful deep red to the veggies. 
At this point I added a touch of butter and gave the veggies another good stir and let them continue to do their thing.  After 8-10 minutes of the veggies cooking the onion should be thoroughly translucent and the carrots softened.

Add the three cups of chicken stock and the can of tomatoes and give it another stir with one final sprinkle of salt.  Turn the heat up to bring it to a boil.  Once the soon-to-be soup is boiling place the top on and reduce the heat to low for 15 minutes.


While the soup is getting soupy it is time to make a grilled cheese sandwich.  Here is the thing, I know that grilled cheese sandwiches can be make with tomatoes, bacon, fancy, cheeses, beautiful challah (my personal favorite), and sweet and savory jams, but, when I have a grilled cheese with soup I always go with an old faithful, American Cheese.  Yes, wrapped in plastic and not really cheese at all, it is the perfect melty goodness perfect for soup dipping.

Grilled Cheese Ingredients – silly, I know
2 slices of Multi-grain bread
Some butter, not a lot, really
1 1/2 slices of American Cheese per sandwich
Double as needed
Lightly butter both sides of the bread.  Very lightly.  Place cheese in between slices.  Put bread together and then put on a pan, or even better for a more authentic panini experience, grill it on a press or the George Foreman grill you still have from college.  Cook the sandwich on both sides (of a pan) until browned and the cheese is melted, or on the grill press for 3 – 4 minutes.
I like a smoother soup, and I like being able to use the random kitchen tools we have so out came the immersion blender.  You can also use a food processor.  The quick blend – 3 – 5 pulses takes the soup from a chunky minestrone style soup to the more classic tomato soup.

Be fancy, serve it cute.  This is a fairly healthy meal that will leave you feeling full, comforted from the cold and great to share.  Extra points to Mark for his great food styling and photography!

Brussel Sprout Magic


Dear Dad,

I wish you weren’t so turned off by brussels sprouts, they’re really pretty good.  In fact, they are better than pretty good, they’re really good.  All those years of turning your nose up at them at Thanksgiving when Cousin Karen would bring them seems silly now.   In fact, I like them sauteed with bacon or even served up with Greek yogurt at DC favorite Zaytinya. 

But, dad, they are also good simply roasted.  Here, let me show you.
Love, Carly

True story friends, up until a few years ago I had never tried a brussels sprout.  If you were like me, or my sister up until this past weekend, it is time for a change.  I love this as an easy, low maintenance side dish that requires no effort after prep time.  We served it with out Hanukkah party, but its a mainstay throughout winter when they are in season.

Roasted (Parmigiana – or not) Brussels Sprouts
A bag of brussels sprouts (the quantity depends on how many you’re feeding
A drizzle of olive oil
A sprinkle of salt and pepper
A shaving of parmigiana, optional
 First things first, rinse off all of those little mini lettuce heads.  TO be fair, they just look like heads of lettuce, the flavor is far more rich and intense.  Now its time to prune the sprout, or head, or whatever, it’s time to peel leaves off of the green ball in your hand…

You might notice that there are some weird/yucky/unappetizing black blemishes or dots on the outside leaves.  Fear not!  You are just going to rub back the leaf and then rip it off.  Each sprout will shrink in size a bit, but it’s okay.  It will be pretty again soon.

Ta Da!

Then you’re going to cut the brussels sprouts into thirds.  Insider secret, if after peeling off ugly leaves there is a bit of a white “stem” you can cut that off too.


With all of your sprouts laid out on a piece of parchment paper on a cookie sheet, give them a gentle drizzle of olive oil and a sprinkle of salt and pepper.  Bake in oven at 350 degrees for 40 minutes.  Check after 30, I like mine a little browner, if you’re wanting gold then 30 minutes should be just right.

Here is some extra flavor magic: sprinkle on fresh grated parmigiana, or some truffle salt, or perhaps both.  Delicious!

Basic Brisket, and so good!


When you want an authentically Jewish brisket recipe, (not barbecue brisket, or pulled brisket, just you the familiar brisket found on Hanukkah, Passover, and Rosh Hashanah tables),  you’ll probably need to call a mom, or grandma or aunt.  If you want a different variation, visit Food and Wine.

Anyway, so I found myself in Whole Foods standing in the meat refrigerator looking at some huge pieces of meat.  That is step 1 to making a brisket, the meat is huge.  Understanding that, getting over it, and knowing that it will shrink to half it’s original size is critical.

I called my cousin Amy first – she gave a list of her ingredients.  Then I called my mom, and she gave a similiar list of her ingredients.  When it came time to go, I just did everything.

 Jewish Style Brisket Ingredients, serve 8-10
3.5 – 4 lb brisket
1 onion
4 carrots, chopped
4 stalks of celery, chopped
1 packet of Lipton Onion Soup starter (crazy, I know)
1/2 can of San Marzano Pureed Tomato
1/2 cup of Apple Cider Vinegar
1/2 cup of red wine
2 tbsp of Ketchup
1 tbsp brown sugar
1/2 tbsp of butter
Salt and Pepper
Cooks for at least 3-4 hours, at 325 degrees.

In a very large non-stick pan on medium-low heat melt some butter and add the chopped onion.  Let the onion simmer and add a sprinkle of salt.  When the onion are closer to translucent than white add the brisket to the pan.


Let the brisket cook on both sides for 3 minutes.  You’re not really cooking here, you’re just browning.  Here’s the warning, brisket has a strip of fat on one side, seeing it can be a little overwhelming and gross, keep moving, don’t worry about.
After the brisket has browned on both sides place it in a large baking pan with the raw chopped vegetables and the cooked onions.   Make sure the fat part of the brisket is on the top.

 
In a medium bowl mix the ingredients, onion soup starter, tomato, wine, vinegar, ketchup and sugar. 
Then pour all over the brisket.  You may need to use some muscle to lift the brisket to get the sauce in every little spot.  Yep, just like that.  To be fair, I texted this image to my parents to get a virtual thumbs up.  You don’t have to text my parents, you don’t even have to text your parents.  This is what it should look like.
Find a roll of aluminum foil and start wrapping.  The pan needs to be completely covered and secured. Now, you can put it in the oven for 3 – 4 hours.  Walk away.  Try not to worry, definitely do not open the oven and play with the foil.   
After removing the brisket from the oven, keep it covered for an additional 30 minutes.  This will give you enough time to make a side dish or two, maybe Kasha, or potatoes?  We made kasha and bow-ties.  Seriously good.

When you unwrap the pan, you slice against the grain.  You can let it cool completely and remove the fat, or  you can go authentic, and keep the fat on.  It’s a holiday, its going to be okay.  Enjoy the sauce, the carrots will be full of a sweet and tangy flavor and the meat will be very tender.


It’s a holiday tradition, and one that is easy to be creative with.  I think when you make it for many years, like your aunt, grandma and mom, you’ll tell someone else just add some of this and some of that.  But if you need a recipe, now you’ve got it!

Happy Hanukkah!

Baked Eggplant Parmigiana


Eggplant Parmigiana is an all time favorite comfort food of mine, and a great vegetarian substitute for chicken parmigian and more filling than a similarly stacked lasagna.  The only downfall is that traditionally the eggplant has to be fried in oil before it is layered with delicious sauce and cheese.  Not so fast, it can also be baked which is healthier, takes up less “active” cooking time and doesn’t leave your kitchen smelling like a fry house.

Eggplant Parmigiana Ingredients
1 Medium Italian Eggplant
2 Eggs
1/2 cup of All Purpose/Whole Wheat flour
1/3 cup of Italian style bread crumbs
1/3 cup of Panko bread crumbs
1/2 cup of Skim Milk Ricotta Cheese
1/4 cup grated Parmigiana
Salt and pepper to taste
Parsley/Italian seasoning
Set the oven to 350 degrees
Serves 6, or 4 very hungry eaters!
I cut the eggplant into coins about 1/4 of an inch thick and give them a light sprinkle of kosher salt.  Eggplant is full of water and the light sprinkle of salt helps them to release a bit of the moisture and and brings out the flavor.

At your work station set up a small bowl with two eggs, beaten, and a shallow dish with with the mixture of bread crumbs, grated cheese and few cracked of fresh ground pepper. 


Dip each coin of eggplant into the egg and then into the bread crumbs coating each slice on both sides.


With all of the prepared eggplant slice on a parchment covered baking sheet; bake in the 350 degree oven for 30 minutes.  After baking the eggplant will be softened, the edges browned and the bread crumbs crisp and golden.

While the eggplant is baking in a small bowl mix the ricotta cheese, some pepper, parsley, and Italian seasoning.  Now here is where the fun happens.  Grab a baking dish and your favorite sauce – if it came out of a jar, it’s no big deal, I’m not telling anyone.  Spoon a thin layer of sauce on the base of the dish, add your first layer eggplant coins, another layer of sauce, and thin layer of ricotta cheese.  Repeat until you run out of eggplant.

On the top layer of eggplant add another layer of sauce, one more round of ricotta and some grated parmigiana. 

Look at those layers!  Where is the fork?

If you are preparing this on a Sunday for a Monday night dinner you can wrap this is tin-foil and keep in the refrigerator for a day.  If you’re looking for a more instant satisfaction this can bake in the oven at 350 for 15 – 20 minutes, or until the cheese is melted on the top and the sauce is looking a little bubbly.


When you’re ready to serve I like to portion out the stacks and serve with a fresh salad.  As they say in Italy, Buon Appetito!

Instant Biscuits


Somehow this weekend I became the kind of person who makes biscuits, and my house became the kind of house that barely has a meal without one…  How did this happen?  I am not really sure, but I blame it on the suddenly seasonal weather (cold),   the abundance of soup I had on hand, and the need for something extra comforting as it became clear that the abnormally warm weather wouldn’t be lasting all fall.


Instant Biscuits, adapted from MomsRetro
1 Cup of all purpose flour
2 Tsps Baking Powder
1/2 Tsp Kosher Salt
3 TBSPs  Oil/Shortening
1/3 Cup of Water


Additional Flavors:
Fresh Basil, Oregano, Parsley, Garlic Powder, Fresh grated Parmigiana-Reggiano

Set oven to 350 degrees

Before we get started on the how, I have to get into the why.  Homemade biscuits has been on my to-do list for a while, but I never got around to it because it’s one of those things that when you want it, you want it and you don’t want to wait for proofing, and who keeps buttermilk on hand?  I certainly do not.  This recipe takes 15 minutes and is made entirely from pantry items.

In a small bowl mix all of the dry ingredients: flour, salt, baking powder. 


Add the seasoning.  I went for Italian seasoning because it paired well with the soup I had on hand, but you could just as easily use any other seasoning.  Also, this was a great opportunity to use the fresh basil that has grown really beautifully all summer, before the leaves freeze!

Pluck off 6-7 leaves of fresh basil and roll them up in your hand, with a scissor cut across the leaves to create skinny ribbons of basil, if we were fancy we might call this chiffonade, but we’re not, so we won’t.

Add the oil and the water and mix gently with a fork. 

The dough is supposed to look pretty sloppy, this isn’t a typical dough that would look nice and smooth.  The roughness of the dough leads to light and flaky biscuits.

With your fingers pull apart clumps of dough about the size of a full tablespoon and place on a cookie sheet with parchment paper.


Bake for 10 – 15 minutes.  If you can resist, let them cool enough so your can handle them.  They are very moist and won’t require butter, but that could might only make them better. 

Seriously, this is just about as easy as popping open a can of pre-made biscuits, but you won’t chip a nail, you won’t have weird flakes of paper/tin attached the dough, and they will be that much more delicious and rewarding.  Enjoy – and share with 6-8 people (because that is how many biscuits it will make, or enjoy them all by yourself!)

Roasted Potatoes, Poupourri You Can Eat


To be fair this is not so much of a “recipe” as it is a suggestion.  

I know that this weekend is dedicated to running around for last minute costumes, carving pumpkins, excessive makeup, buying candy, consuming lots more candy, and indulging on some other celebratory vices.  And that is all good.  But, the weekend is long, and eventually you’ll want something that is healthy, and easy.  This is so easy that while you’re setting your hair in curlers and finishing the details of your meat dress this can cook.

Roasted Potatoes is the most homey non-recipe recipe there is.  I like to mix a large variety of potatoes (white, red, purple, sweet, yellow) and chop them all up into chunks that are about 1/4 – 1/3 of an inch thick.

Set the oven to 400 degrees and prepare a cookie sheet with parchment paper.  And get chopping. 

Ta da!  All chopped.  When all the chopped potatoes are in a bowl drizzle on some olive oil, sprinkle on some Kosher salt, crack some black pepper.  
Okay, now here is where you have some creative license.  Are you feeling traditional?  How about some rosemary and thyme.  Want some heat?  Sprinkle on some cayenne.  Want Italian flavors?  Try oregano, parsley, and maybe some  finely grated Parmigiana-Reggiano, or do as we do and go a little crazy with the Old Bay.  There is no right or wrong amount, but you’ll want to see the flecks of flavor on each piece of potato.  This is truly an instance of “flavor to taste”.

Throw in the oven and bake for 30-40 minutes, the longer it’s in there the more browned the edges will become, again this is a personal preference.  Also, I am going to again recommend mixing up the variety of potatoes, they each have a different flavor and texture and so all together they are like a little (healthy) party in your mouth.
Enlarged to show flavor intensity detail!
Happy Halloween, this year instead of a pre-trick or treating peanut butter and jelly sandwich, or pizza (which are all more than fabulous), mix it up with this!