Category Archives: Christmas

2011 Gift Guide: Edible Edition


This year, I really want to make some of my gifts, and since I was never one for shop class our friends and family can expect gifts made from chocolate and flours, not wood and glue.

I know, of course, that during the holiday season you’re able to find a variety of goods and gummies, but nothing says love, and hopefully “yum”, like something handmade and homemade.

Make: Spice Cookies, Pistachio Trees, Spiced Nuts, Savory Cookies, Caramel Sauce, Ginger Sesame Brittle, Meringues, Almond Bark, Gummy Drops

These edible gifts are my inspiration as I head into the kitchen.  There are a variety of flavors, textures and treats.  I love the idea of surprising bites, and taking classic and traditional treats and adding some sophisticated flavors to them.

What is your favorite edible gift to give?  Tell me in the comments!

Grilled Eggplant Pesto Parmigiana


Sometimes I realize that the recipe featured here require a mixer, or an immersion blender, and for as much as I try to simplify recipes by using simple tools, it can become intimidating if your kitchen equipment is pieced together with hand-me-downs and college left overs.

This recipe requires not much more than George Foreman grill, the staple of every college “registry”, and it looks and tastes a bit more sophisticated than college.

Grilled Eggplant Pesto Parmigiana
Ingredients
1 large Italian eggplant
Pesto Sauce (either premade, or homemade – do it!  It is soo easy)
Grated Parmigiana cheese
Marinara sauce
Salt and Pepper

Preheat oven to 400 degrees.  On a cutting board slice the eggplant into 1/2″ coins.  Sprinkle generously with Kosher salt.  Salting the eggplant adds flavor and it also helps the eggplant to “sweat” out some of it’s moisture.

In a small bowl prepare the pesto sauce, come on, I know you went homemade.  Another even lower calorie option that is strong on flavor is crushed basil, garlic and olive oil – I recommend the frozen basil and garlic cubes at Trader Joe’s.
Lay the eggplant coins out on the grill and cook for 3-4 minutes or until golden brown grill marks appear and then rotate for a beautiful cross pattern.   
Lay all of the grilled eggplant slices on a cookie sheet and spread each slice with a 1/2 teaspoon of your spread.  (If you’re  not into pesto, or garlic, or basil, or whatever, a tapenade would be amazing, or just your basic marinara sauce).  Sprinkle with the grated parmigiana cheese and bake for 10 – 15 minutes or until the cheese is a little bit melted.
If you can help it, arrange the grilled eggplant slices on a plate and serve with fresh sauce.  If you can’t help it, try not to burn your fingers as you eat them right from the pan.  We ate them both ways in my house, and they taste just as good with or without the fancy presentation!

This makes for a healthy, affordable, and really satisfying dinner or appetizer for a crowd.  Buon Appetito!

Italian French Toast


I consider myself a connoisseur of French Toast, and having said that I think the only way you can really make a good French Toast is with challah, brioche if you’re fancy, egg bread if you’re not.

It is very difficult to find a challah in DC that rivals Publix’s challah, which is just as good since I have graduated to whole wheat bread, but when it comes to French Toast healthy just doesn’t make sense. 

What do I substitute for challah?  Panettone.  Made in Italy, Panettone is a dome of rich egg bread studded with raisins, currants and sometimes bits of orange.  They are a traditional Italian Christmas treat and Panettone french toast has become a bit of a tradition for our family.  Because Panettone stays fresh (and delicious) for a very long time, the shelf life of this recipe last long after Christmas ends.

Panettone French Toast Ingredients
1 medium sized Panettone 
4 eggs
1/3 cup of skim milk
1 tsp of vanilla
1/2 tsp of almond extract
2 tsp of cinnamon
1/4 tbsp of butter for the pan
In a medium sized bowl whisk together the eggs and the milk and then add the extracts and the cinnamon.  Some people like lots of cinnamon, if you’re one of those people, add more.

Slice your panettone across the dome and then cut those pieces in half – I do this to make it easier to manage in the pan, but it also helps with the portion control 🙂

Dip each piece of pannettone into the egg mixture so that each slice is completely covered.

In a non stick pan, or a griddle pan, cook the slices so that they are golden brown on both sides, about 2-3 minutes each.  Tip: use a flat, wide spatula to help maneuver the slices.  Because the bread has a softer texture than a wheat bread they can get  a bit flimsy in the batter.

Serve with your favorite jam, a sprinkle of cinnamon sugar, syrup or nothing at all.  Enjoy!  Buon Appetito!

Candied Pecans and Bleu Cheese Bites


This originally was featured on the DC Ladies Blog but the recipe was too easy and too good to not share!
Earlier I posted savory bleu cheese and pecan cookies, which were awesome and easy and fun to eat for breakfast, if that’s your thing (which, evidently it is mine). Anyway, those cookies were the round 2 to this even easier, and also quite charming, appetizer.  Because the whole thing takes about 8 minutes to prepare and assemble this might be perfect for when you have surprise company or perhaps need reinforcements at a cocktail party.

Candied Pecans and Bleu Cheese Bites
Ingredients
French baguette
Candied Pecans, recipe here
Bleu Cheese crumbles
Honey
Your freshly made, or store bought pecans get a good chop and are set aside.
Cut a French baguette into thin slices and toast lightly.  (This isn’t really necessary, but generally speaking there are few things better than warm bread).  With the back of a spoon “spread” the crumbled bleu cheese on top of the baguette slices. 
Sprinkle on top of the bleu cheese and the chopped candied pecans and a light drizzle of honey.


Each bite is like a divine sampling of a cheese platter at the most divine wine bar, and easy to do and made with ingredients that are probably in your pantry!

Happy Holidays – wishing you delicious entertaining!

Bleu Cheese and Candied Pecan Savory Cookies


I love cheese, like looooove it.  I love going to a restaurant and getting to order a cheese plate: with beautiful wedges of fragrant cheese, breads, honeys and perhaps some nuts.  The idea of this arrangement of flavors always seems so sophisticated but perhaps a little intimidating to try at home.

I tested this out last night (in two different way), and success!  These Savory Cookies are perfect for when you entertain, as an a pre-meal snack, or as a gift to a hostess packaged in a cute bag.

Ingredients:
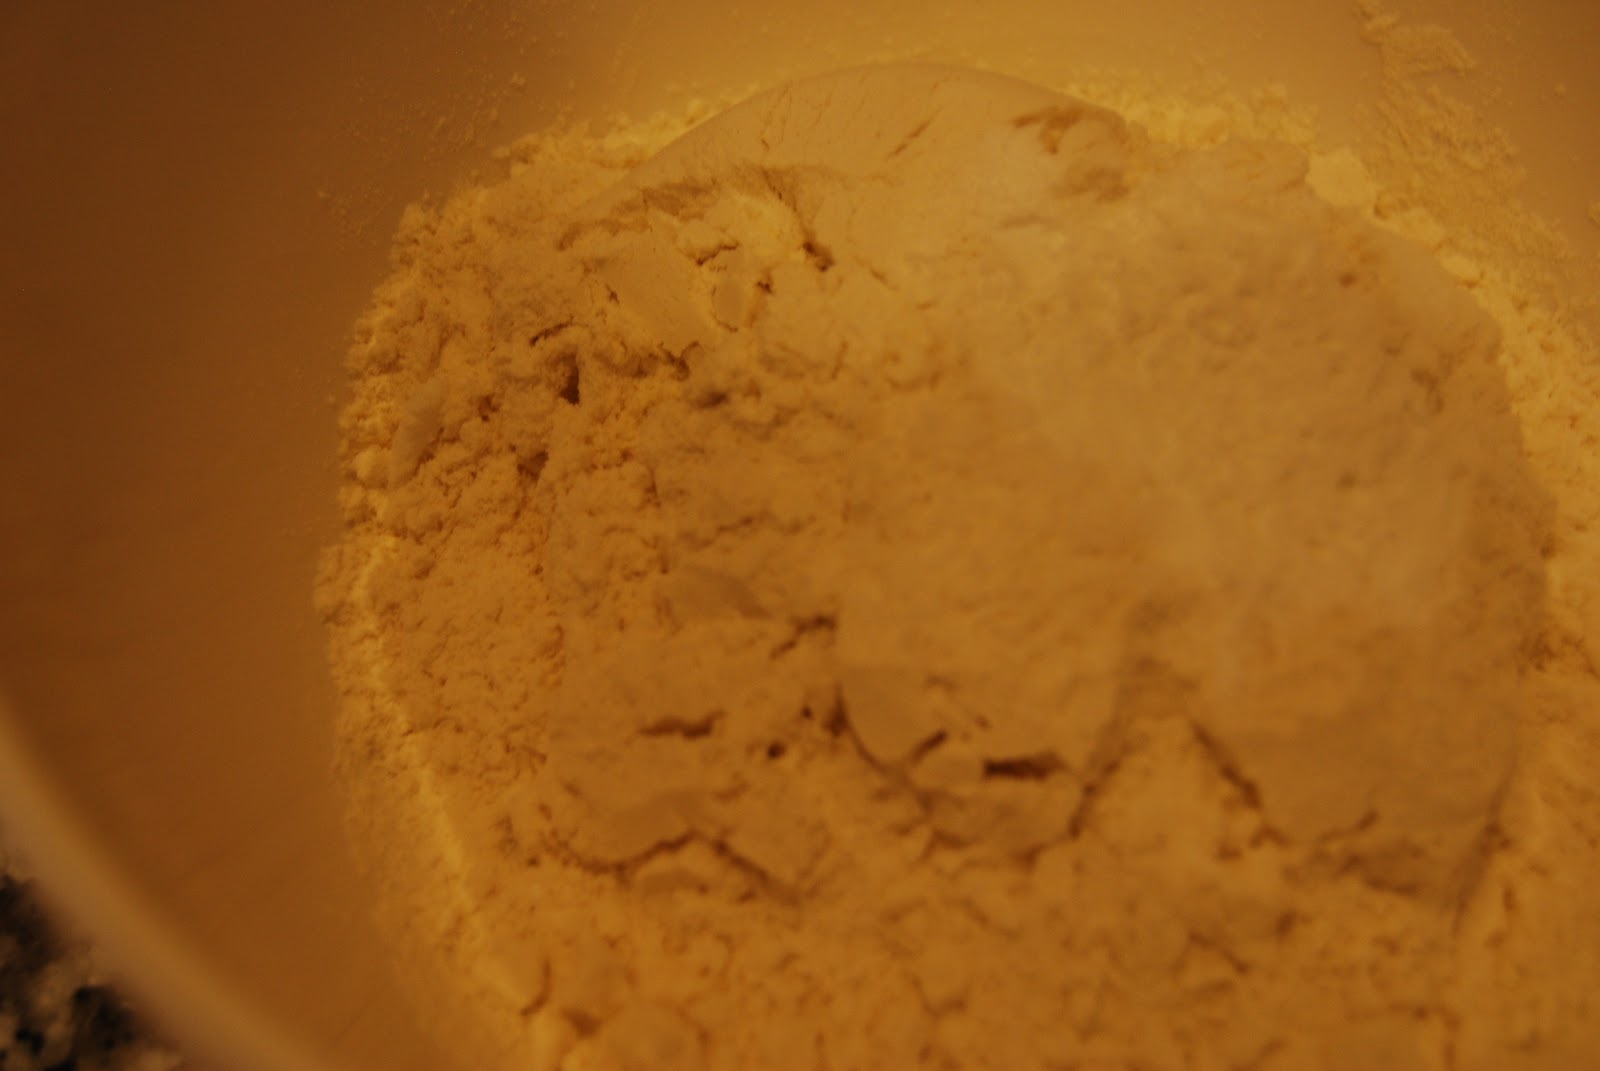
1/2 Cup of Whole Wheat Flour
1/2 Stick of Butter (4 Tbsp), softened
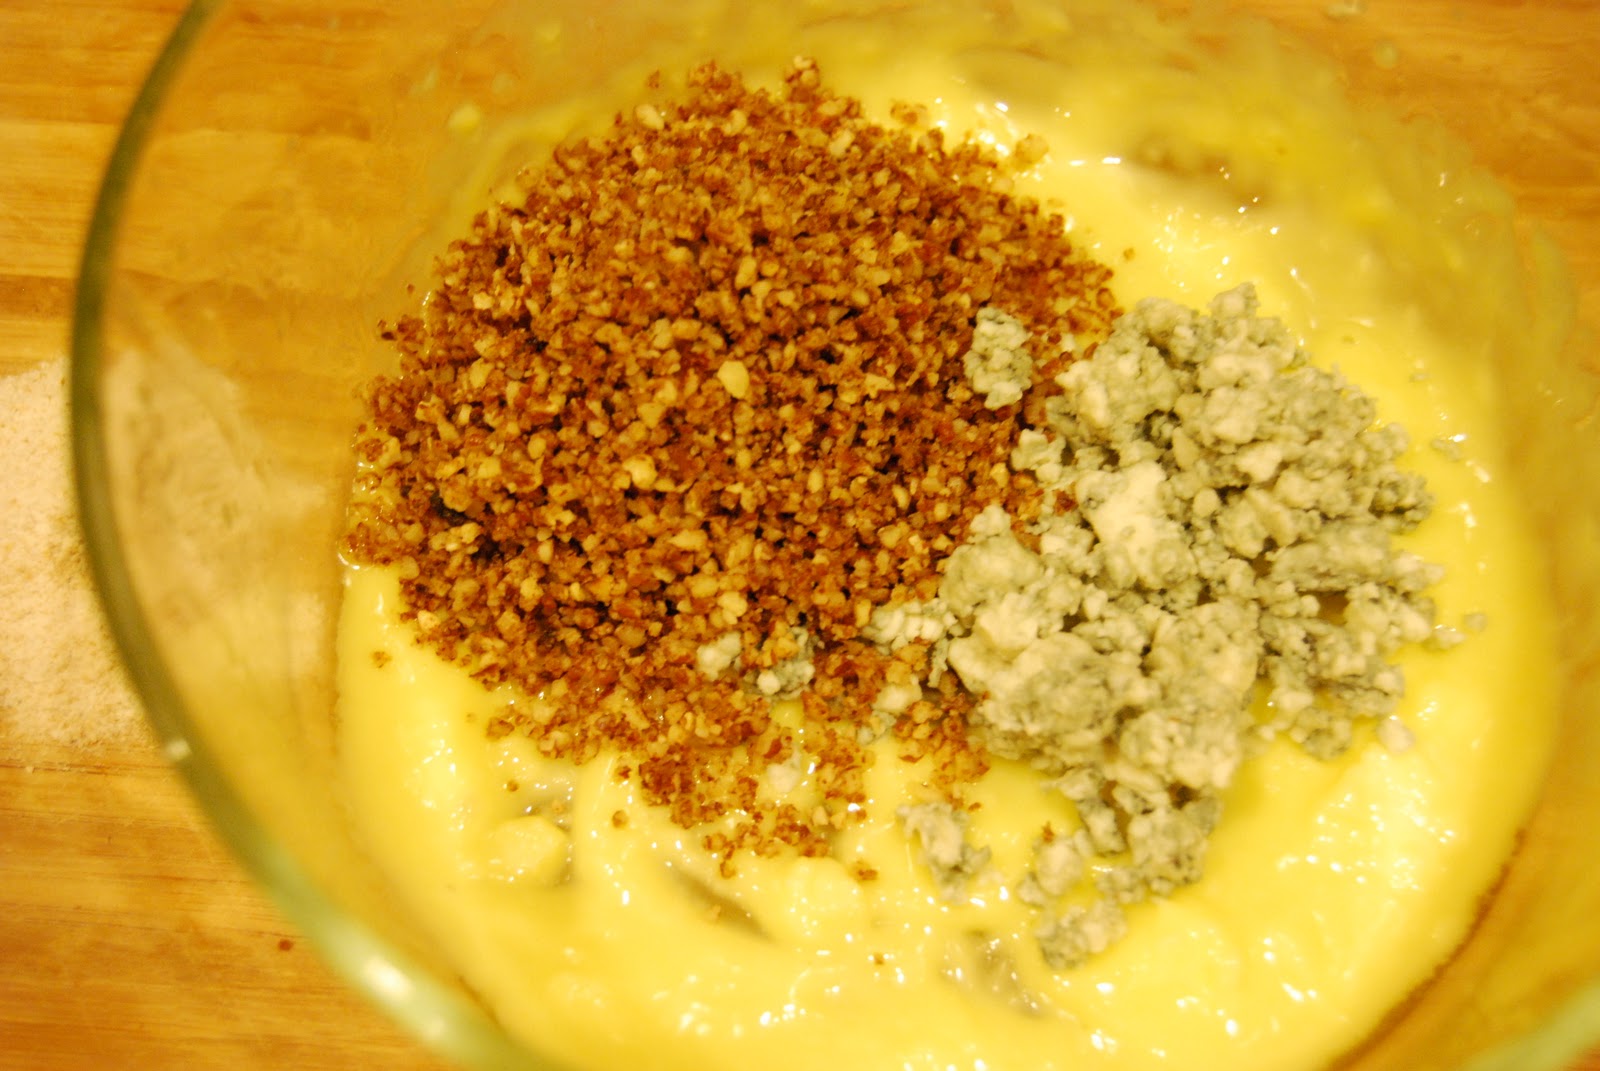
1/3 Cup of Candied Pecans, grounded
1/4 Cup of Crumbled Bleu Cheese
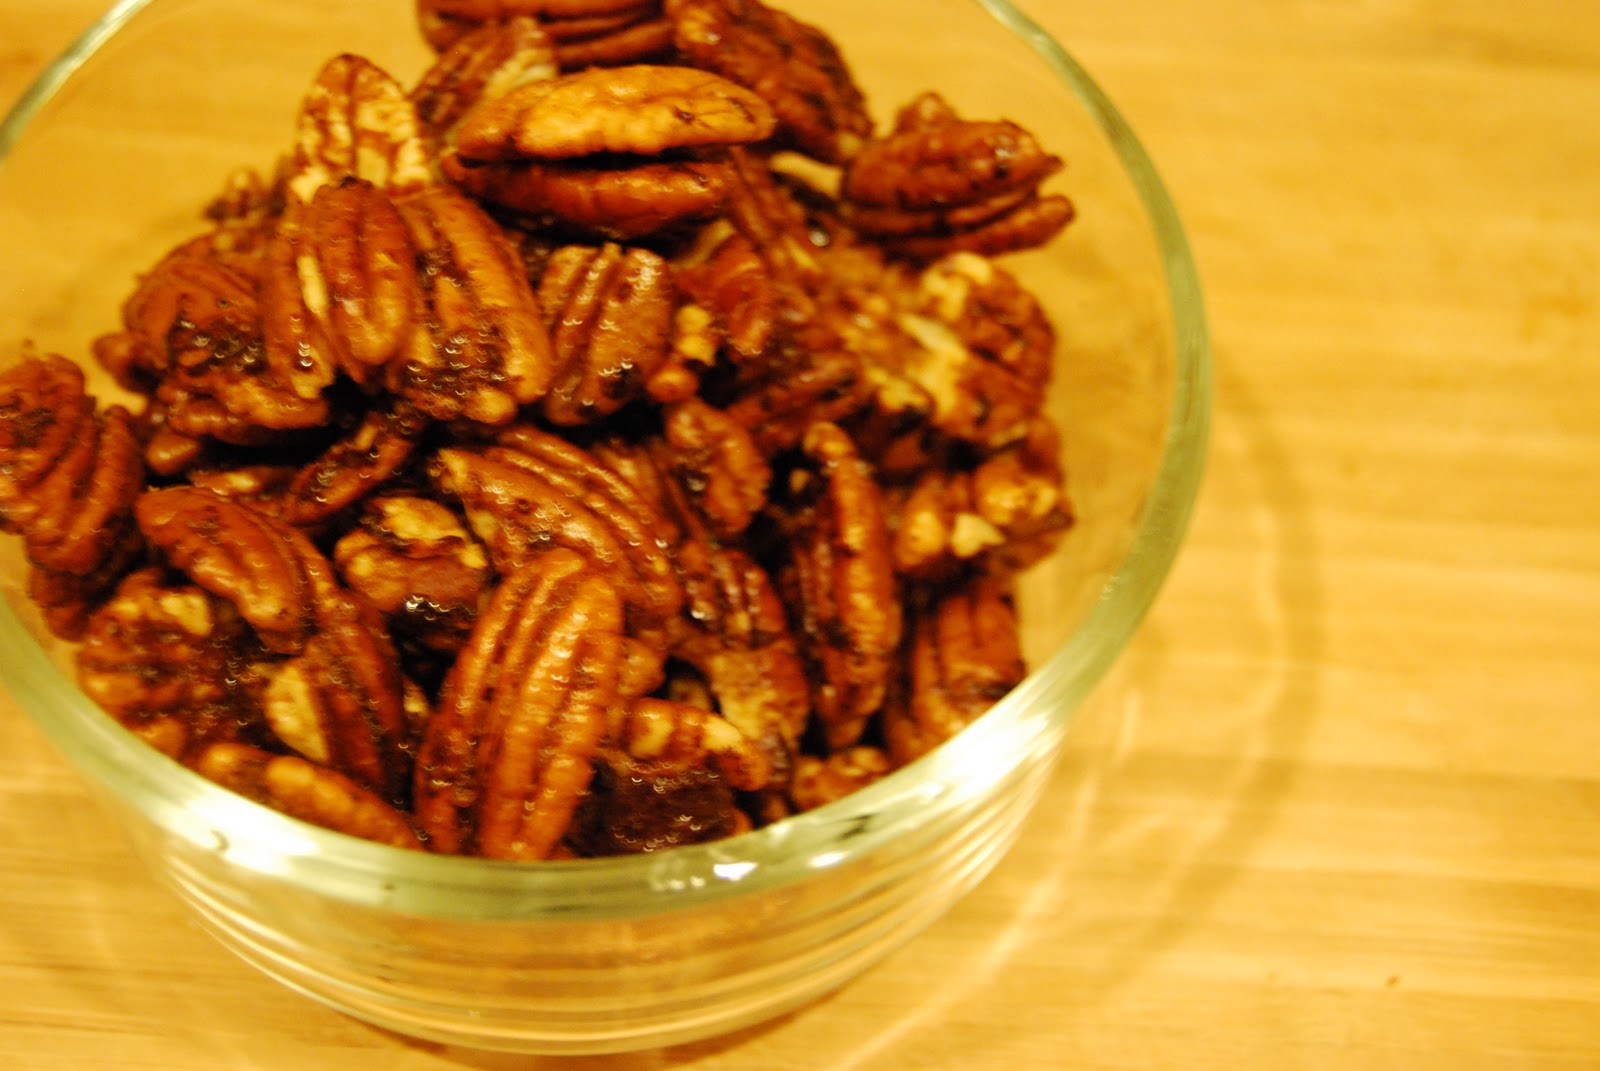
Candied Pecans
1 1/4 cup of Pecans
1/2 tbsp of butter, unsalted
1 tbsp of brown sugar
1/2 tsp of cinnamon

In a non stick pan melt butter, add the pecans and sugar and cinnamon and stir with a silicon spatula over low-medium for 5-7 minutes until the pecans are covered with small flecks of caramel goodness.  Set aside to cool

In a food processor grind up the pecans to a small grind, but now a fine powder.  Set aside.
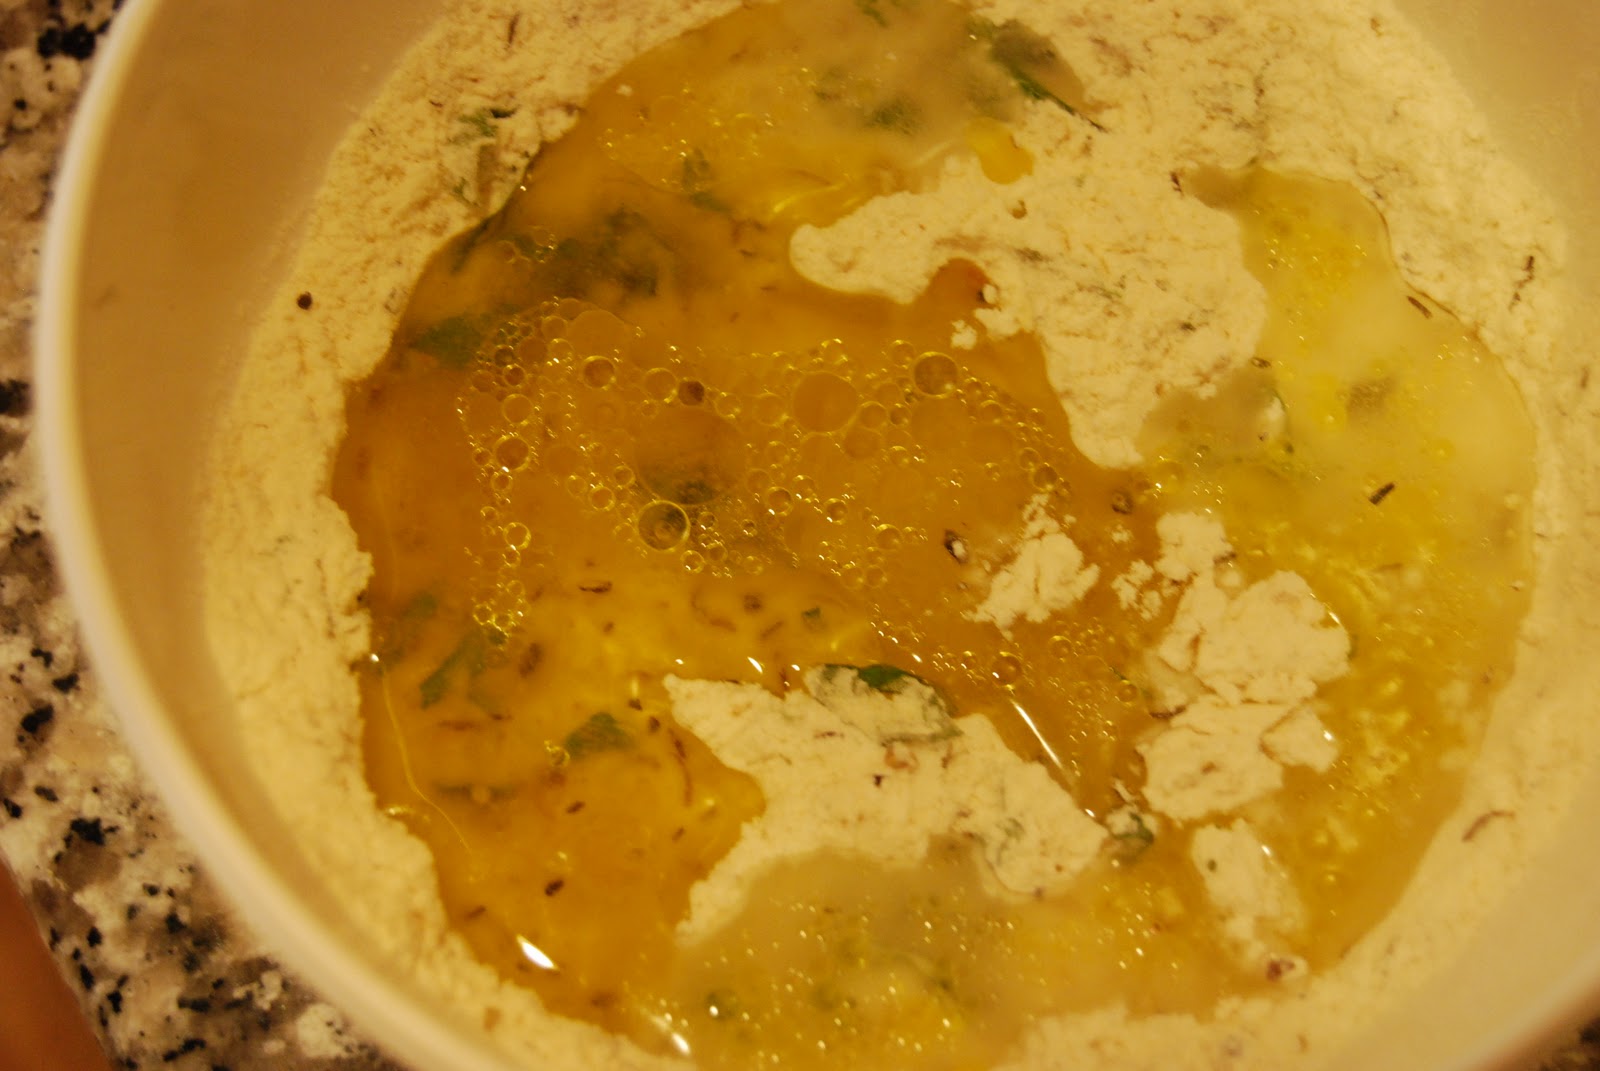
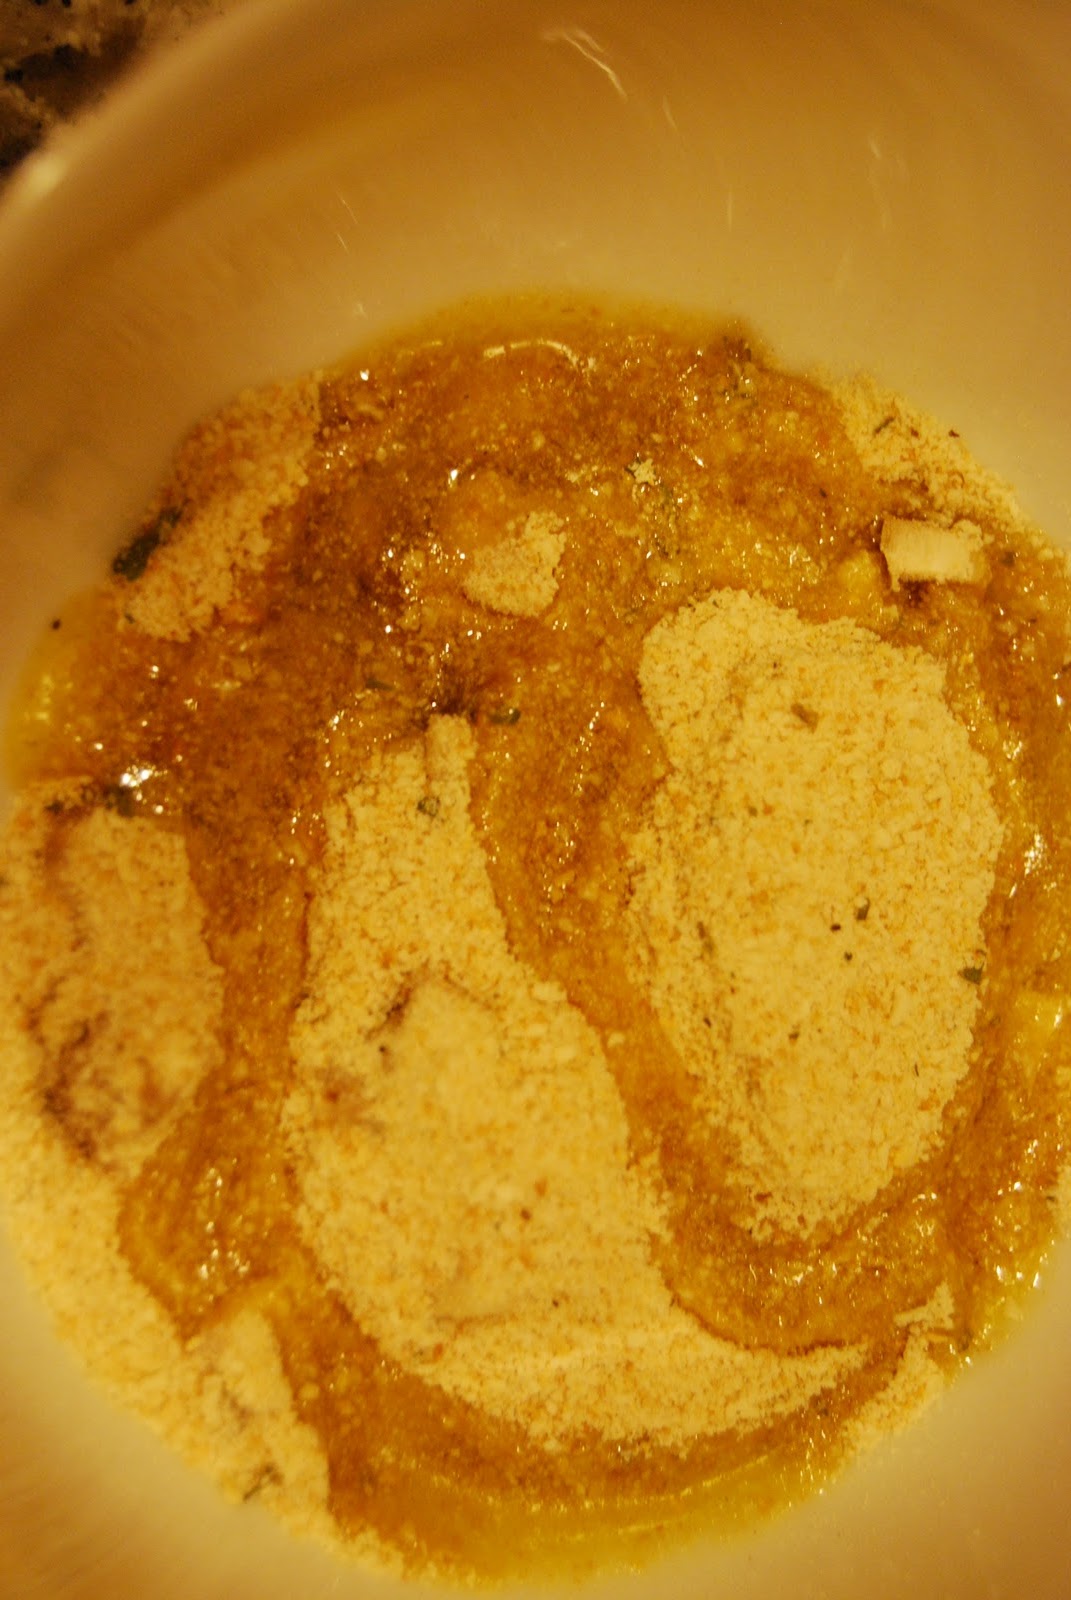
In a medium size bowl blend the softened butter and then add the bleu cheese, ground pecans and flour.  Side note, you could definitely use regular all-purpose flour, but I opted for whole wheat for its nuttier flavor and texture, and the potential for it to be a little more nutritious.
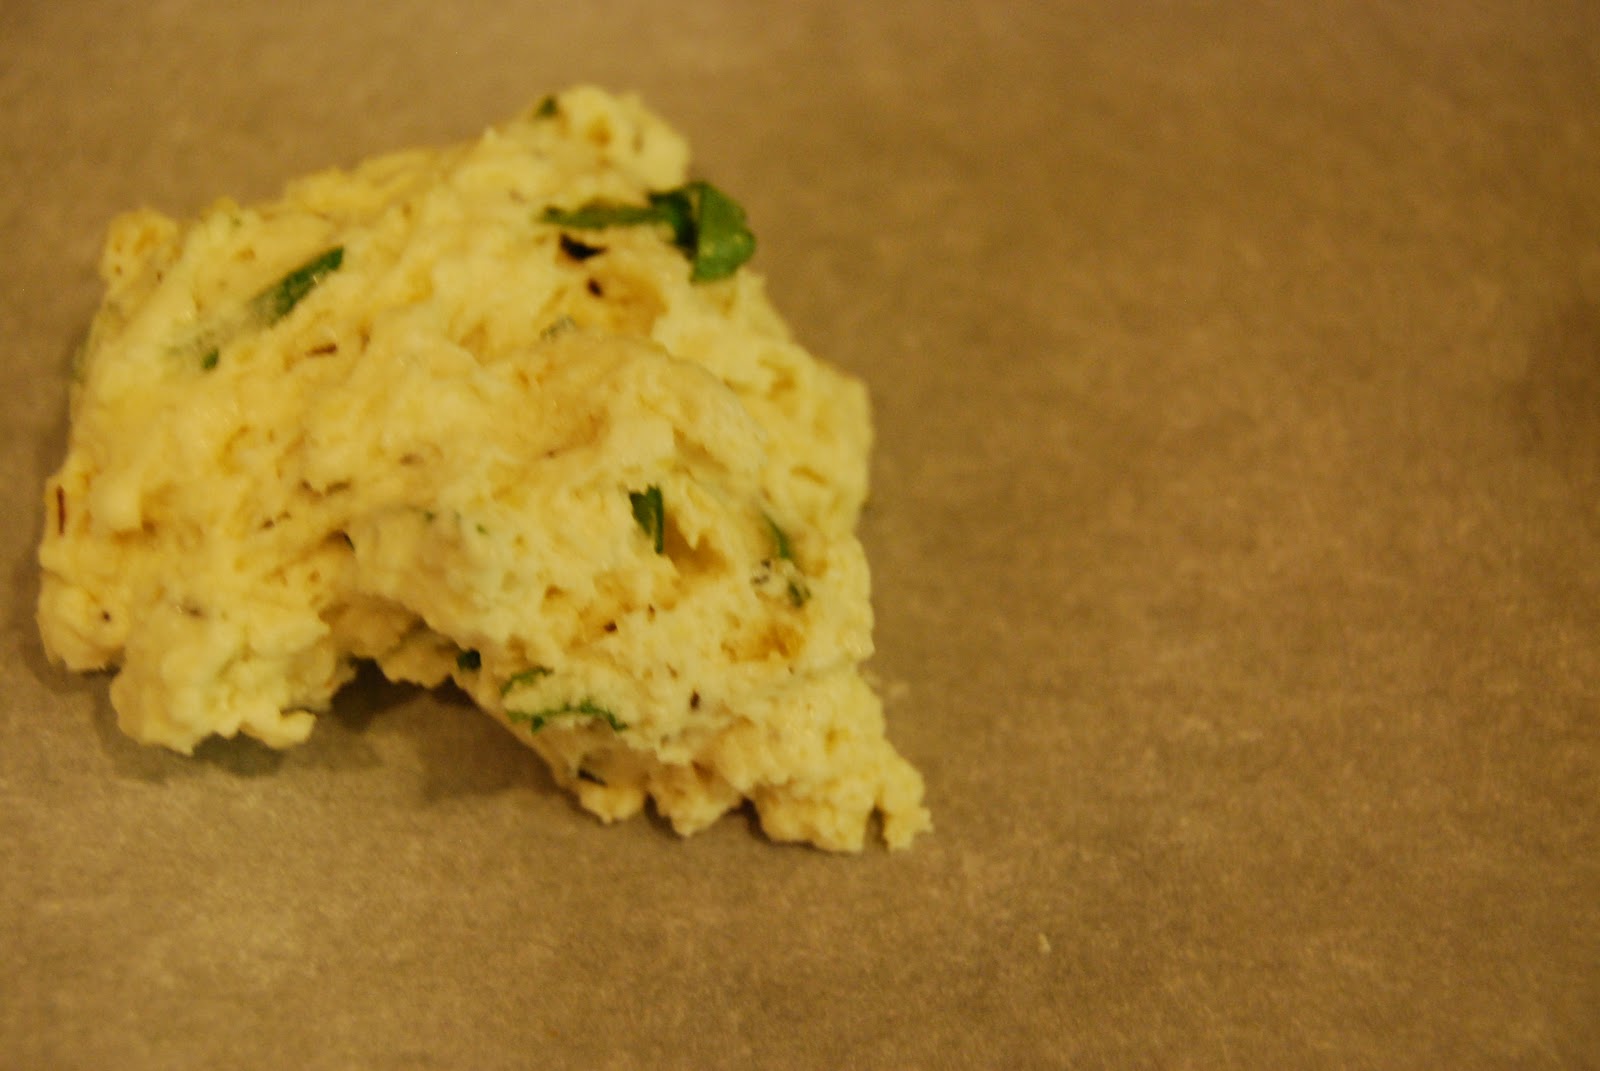
The dough will be crumbly, and look like a bunch of little tan colored peas.  Sprinkle a little extra flour on your work surface and begin to form the dough into a log.  This is completely visually unappealing.  I’m sorry – please, don’t let it dissuade you from making this recipe…
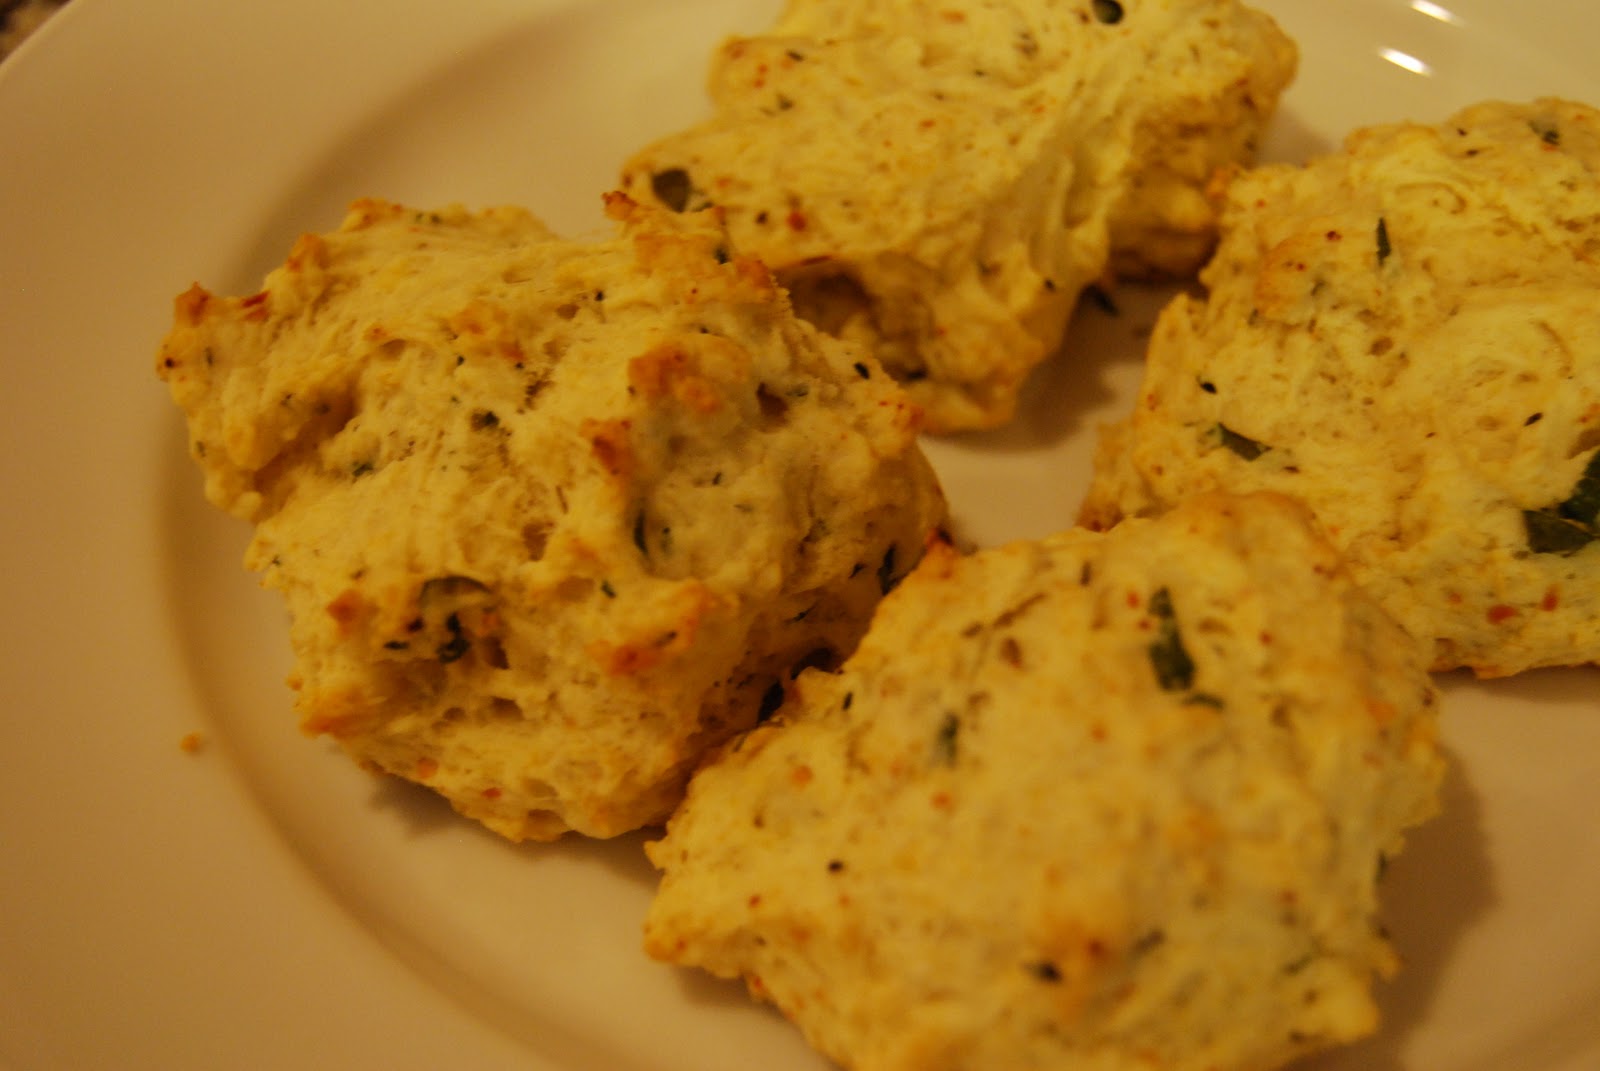
Cut the dough into 1/3″ slices and lay out on a non-stick cookie sheet or silpat and bake for 15 minutes at 350 degrees. (See those flecks of cheese?  They are going to bubble and melt into amazing deliciousness!)
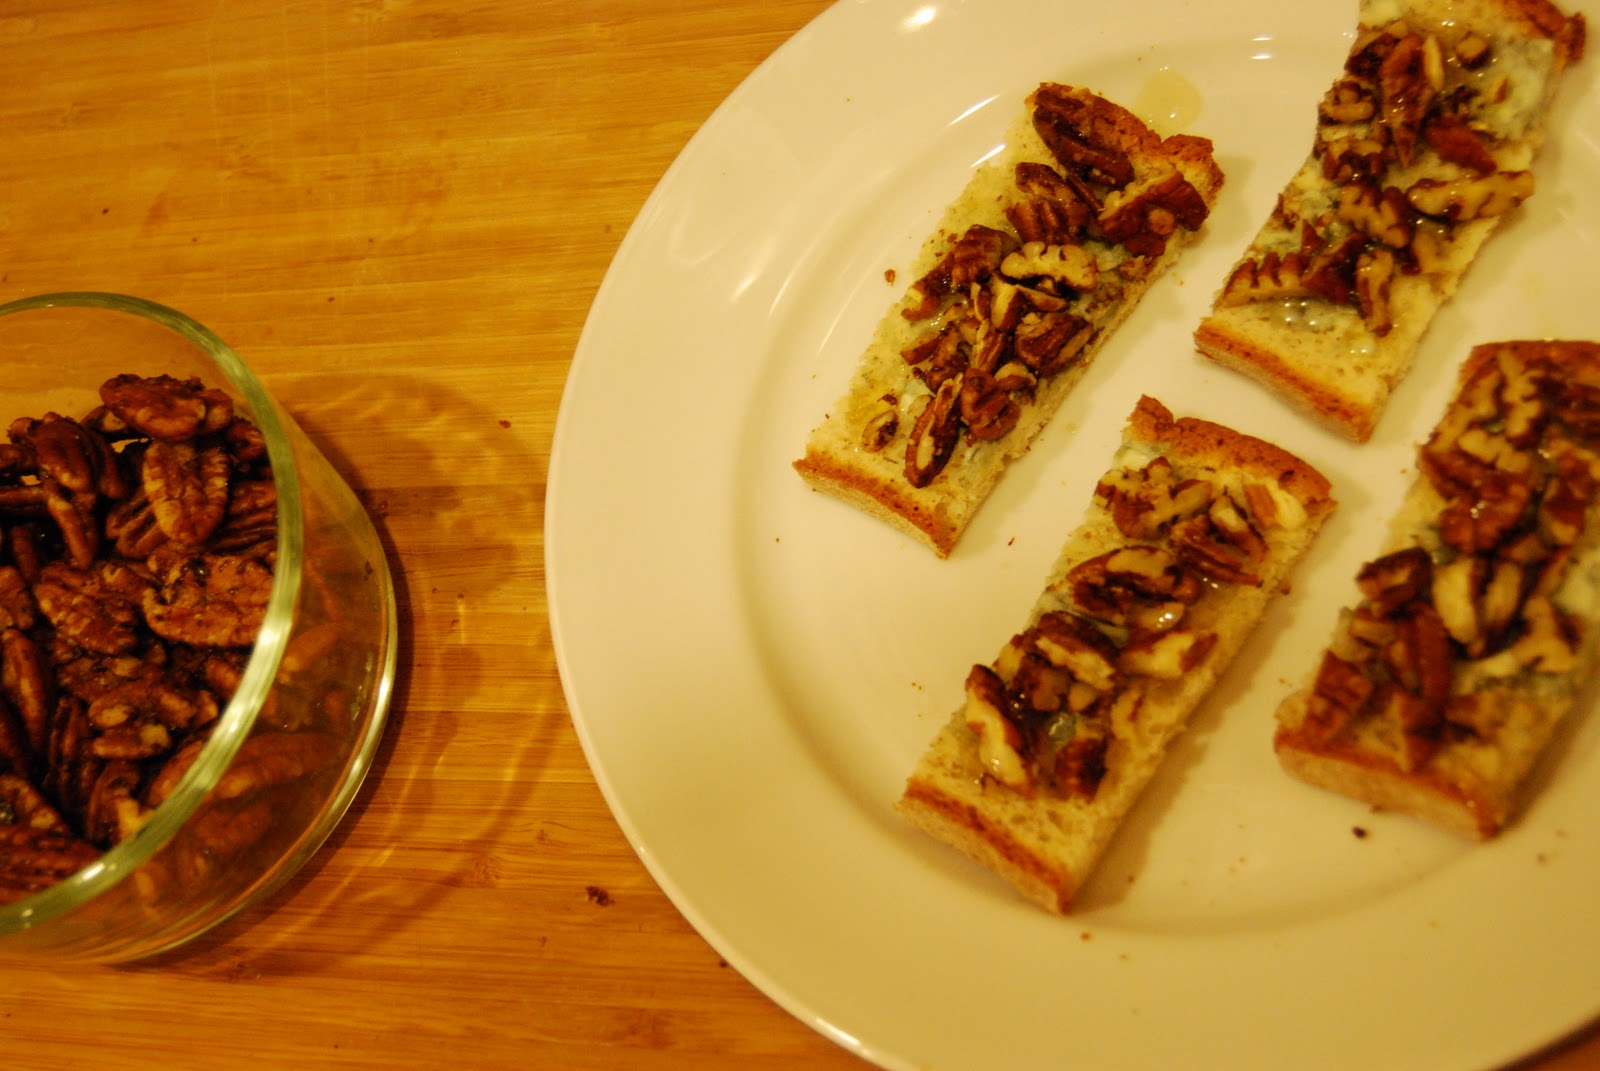
Let these cool for about 10  minutes after baking and serve with your favorite wine and either a drizzle of honey on top or a small dollop of your favorite pear or apricot preserves (that helps add back the sweetness found on your favorite cheese plates).

 These are great, and they keep nicely, and well, if we’re being honest I ate two for breakfast so they’re all around perfect snack to bake and share.

Brussel Sprout Magic


Dear Dad,

I wish you weren’t so turned off by brussels sprouts, they’re really pretty good.  In fact, they are better than pretty good, they’re really good.  All those years of turning your nose up at them at Thanksgiving when Cousin Karen would bring them seems silly now.   In fact, I like them sauteed with bacon or even served up with Greek yogurt at DC favorite Zaytinya. 

But, dad, they are also good simply roasted.  Here, let me show you.
Love, Carly

True story friends, up until a few years ago I had never tried a brussels sprout.  If you were like me, or my sister up until this past weekend, it is time for a change.  I love this as an easy, low maintenance side dish that requires no effort after prep time.  We served it with out Hanukkah party, but its a mainstay throughout winter when they are in season.

Roasted (Parmigiana – or not) Brussels Sprouts
A bag of brussels sprouts (the quantity depends on how many you’re feeding
A drizzle of olive oil
A sprinkle of salt and pepper
A shaving of parmigiana, optional
 First things first, rinse off all of those little mini lettuce heads.  TO be fair, they just look like heads of lettuce, the flavor is far more rich and intense.  Now its time to prune the sprout, or head, or whatever, it’s time to peel leaves off of the green ball in your hand…

You might notice that there are some weird/yucky/unappetizing black blemishes or dots on the outside leaves.  Fear not!  You are just going to rub back the leaf and then rip it off.  Each sprout will shrink in size a bit, but it’s okay.  It will be pretty again soon.

Ta Da!

Then you’re going to cut the brussels sprouts into thirds.  Insider secret, if after peeling off ugly leaves there is a bit of a white “stem” you can cut that off too.


With all of your sprouts laid out on a piece of parchment paper on a cookie sheet, give them a gentle drizzle of olive oil and a sprinkle of salt and pepper.  Bake in oven at 350 degrees for 40 minutes.  Check after 30, I like mine a little browner, if you’re wanting gold then 30 minutes should be just right.

Here is some extra flavor magic: sprinkle on fresh grated parmigiana, or some truffle salt, or perhaps both.  Delicious!

Instant Biscuits


Somehow this weekend I became the kind of person who makes biscuits, and my house became the kind of house that barely has a meal without one…  How did this happen?  I am not really sure, but I blame it on the suddenly seasonal weather (cold),   the abundance of soup I had on hand, and the need for something extra comforting as it became clear that the abnormally warm weather wouldn’t be lasting all fall.


Instant Biscuits, adapted from MomsRetro
1 Cup of all purpose flour
2 Tsps Baking Powder
1/2 Tsp Kosher Salt
3 TBSPs  Oil/Shortening
1/3 Cup of Water


Additional Flavors:
Fresh Basil, Oregano, Parsley, Garlic Powder, Fresh grated Parmigiana-Reggiano

Set oven to 350 degrees

Before we get started on the how, I have to get into the why.  Homemade biscuits has been on my to-do list for a while, but I never got around to it because it’s one of those things that when you want it, you want it and you don’t want to wait for proofing, and who keeps buttermilk on hand?  I certainly do not.  This recipe takes 15 minutes and is made entirely from pantry items.

In a small bowl mix all of the dry ingredients: flour, salt, baking powder. 


Add the seasoning.  I went for Italian seasoning because it paired well with the soup I had on hand, but you could just as easily use any other seasoning.  Also, this was a great opportunity to use the fresh basil that has grown really beautifully all summer, before the leaves freeze!

Pluck off 6-7 leaves of fresh basil and roll them up in your hand, with a scissor cut across the leaves to create skinny ribbons of basil, if we were fancy we might call this chiffonade, but we’re not, so we won’t.

Add the oil and the water and mix gently with a fork. 

The dough is supposed to look pretty sloppy, this isn’t a typical dough that would look nice and smooth.  The roughness of the dough leads to light and flaky biscuits.

With your fingers pull apart clumps of dough about the size of a full tablespoon and place on a cookie sheet with parchment paper.


Bake for 10 – 15 minutes.  If you can resist, let them cool enough so your can handle them.  They are very moist and won’t require butter, but that could might only make them better. 

Seriously, this is just about as easy as popping open a can of pre-made biscuits, but you won’t chip a nail, you won’t have weird flakes of paper/tin attached the dough, and they will be that much more delicious and rewarding.  Enjoy – and share with 6-8 people (because that is how many biscuits it will make, or enjoy them all by yourself!)

Roasted Potatoes, Poupourri You Can Eat


To be fair this is not so much of a “recipe” as it is a suggestion.  

I know that this weekend is dedicated to running around for last minute costumes, carving pumpkins, excessive makeup, buying candy, consuming lots more candy, and indulging on some other celebratory vices.  And that is all good.  But, the weekend is long, and eventually you’ll want something that is healthy, and easy.  This is so easy that while you’re setting your hair in curlers and finishing the details of your meat dress this can cook.

Roasted Potatoes is the most homey non-recipe recipe there is.  I like to mix a large variety of potatoes (white, red, purple, sweet, yellow) and chop them all up into chunks that are about 1/4 – 1/3 of an inch thick.

Set the oven to 400 degrees and prepare a cookie sheet with parchment paper.  And get chopping. 

Ta da!  All chopped.  When all the chopped potatoes are in a bowl drizzle on some olive oil, sprinkle on some Kosher salt, crack some black pepper.  
Okay, now here is where you have some creative license.  Are you feeling traditional?  How about some rosemary and thyme.  Want some heat?  Sprinkle on some cayenne.  Want Italian flavors?  Try oregano, parsley, and maybe some  finely grated Parmigiana-Reggiano, or do as we do and go a little crazy with the Old Bay.  There is no right or wrong amount, but you’ll want to see the flecks of flavor on each piece of potato.  This is truly an instance of “flavor to taste”.

Throw in the oven and bake for 30-40 minutes, the longer it’s in there the more browned the edges will become, again this is a personal preference.  Also, I am going to again recommend mixing up the variety of potatoes, they each have a different flavor and texture and so all together they are like a little (healthy) party in your mouth.
Enlarged to show flavor intensity detail!
Happy Halloween, this year instead of a pre-trick or treating peanut butter and jelly sandwich, or pizza (which are all more than fabulous), mix it up with this!

Stuffed Mushrooms for Last Minute Appetizer


Stuffed Mushrooms are the kind of appetizer that takes no time to make, you’re likely to have all of the ingredients in your refrigerator and pantry, and they are delightful bite full of flavor.

Stuffed Mushrooms Ingredients:
15 medium Baby Bella Mushrooms (a whole container)
2 tbsps of Olive Oil
1/3 cup of Italian Bread Crumbs
1 tbsp of Skim Ricotta Cheese
2 tbsps grated parmesean
2 tsps of italian seasoning
Dash of Red Pepper Flakes
Salt and Pepper to taste
Add chopped basil, or parsley, chopped garlic
First rinse and rub all of the mushrooms and let them dry.  Remove all of the stems and reserve.  Take the stems and chop them to a small chop.  

In a small bowl add all of the seasonings, cheese, bread crumbs and olive oil.  Add to that the chopped mushrooms.

With a fork mix all of the ingredients.  This recipe is sort of the exact opposite of baking; you can swap out other ingredients, you can change the seasoning, want more spice, less spice, no cheese, more veggies, this is a great clean out the pantry in a flash recipe.


Prepare the oven to 400 degrees and put parchment paper on a cookie sheet.  Turn the mushrooms cavity down and lightly oil the outside of the mushrooms, and sprinkle to taste with salt and pepper.  With a small spoon, or of course your fingers, stuff the mushrooms to the top.


Bake for twenty minutes.  Allow to cool, just long enough so that when you pop an entire mushroom in your mouth and it’s not so hot that you have to do that “it’s too hot” dance.  Enjoy!

Just want Chocolate


For the past few baking posts I’ve shared recipes that starred peaches and blueberries, the bounty of our Farmer’s market.  But, you know what is always in season?  Chocolate.  Sometimes chocolate like to be eaten straight from the wrapper, but sometimes it wants to get dressed up and be a star and this cake lets it be the star.

Chocolate Bundt Cake with Vanilla Frosting

Ingredients for Cake:
1 cup chocolate chips
1/2 cup (1 stick) butter, softened 
1 cup boiling water
2 cups all-purpose flour
1-1/2 cups sugar
1/2 cup Hot Chocolate Powder
2 teaspoons baking soda
1 teaspoon salt
2 eggs
1/2 cup Greek Yogurt, 0%
1 teaspoon vanilla extract
Heat oven to 350°F. Butter and flour a standard bundt pan.
Combine in a medium sized bowl the chocolate chips and softened butter, and stir in the boiling hot water.
Blend together until the chocolate, butter and hot water make a silky chocolate soup.
In a separate bowl combine flour, hot chocolate powder, baking soda and salt and gradually blend in the chocolate soup.  

Then add the eggs, yogurt and vanilla and continue to blend, and pour into the prepared bundt pan.
I retained a little bit of the batter for 4 cupcake sized portion since we had friends over, and I wanted to taste test the new recipe, so I only baked it for around 40 minutes, even though the recipe calls for 55 to 60.  I would recommend checking at 40 minutes with the toothpick trick and then extending for five minutes and checking again.
After baking, let the cake cool in the pan for at least ten minutes, and then invert on a plate and if time allows continue to let cool.  I made my cake the night before a family party and made the glaze the morning of, but I am sure they could all be done the night before and would stay beautiful and delicious.

Ingredients for Glaze:
1/2 stick of butter
2 cups of powdered sugar
1 teaspoon of vanilla extract
2 – 3 tablespoons of hot water

This might be the most simple, most delicious frosting.  I think  you could be creative and add food color, or other flavor extracts (almond, mint, liquor, lemon, etc), but I kept it simple.

Melt the butter and gradually stir in the powdered sugar, water and vanilla.  
 Beat by hand with a whisk until smooth, adding more water a teaspoon at a time if you’re finding it too thick, or lumpy.   This makes more than enough glaze – so maybe you’ll lick the whisk, or share with a friend!


Pour a generous amount all around the cake, in any free form design.  I think with a cake this classic it doesn’t need to look “too perfect”.   I added some plain slivered almonds for fun – and crunch.  

Cut a big slice and enjoy!  This cake is sweetened with the sugar and chocolate chips, but not too sweet with the balance of the yogurt.  I think you could tweak this recipe with nearly anything you had on hand.  It’s so moist you don’t need anything else, but that doesn’t mean you wouldn’t love it with a scoop of vanilla ice cream!