Tag Archives: gluten free dessert

Gluten Free Double Chocolate Orange Biscotti


If we’re being honest, any time of the year is a good time for cookies, but the start of Fall seems like an especially good time for cookies that are meant to enjoyed with a cup of coffee, tea, or hot cocoa.

This little cookie is inspired by the season and full of flavor, so really 1 or 2 (or 3 or 4) is enough.

Gluten Free Double Chocolate Orange Biscotti
Ingredients
1 cup blanched almond flour
2 tablespoons cocoa powder
1 tablespoon GF corn starch
1/4 teaspoon of baking soda
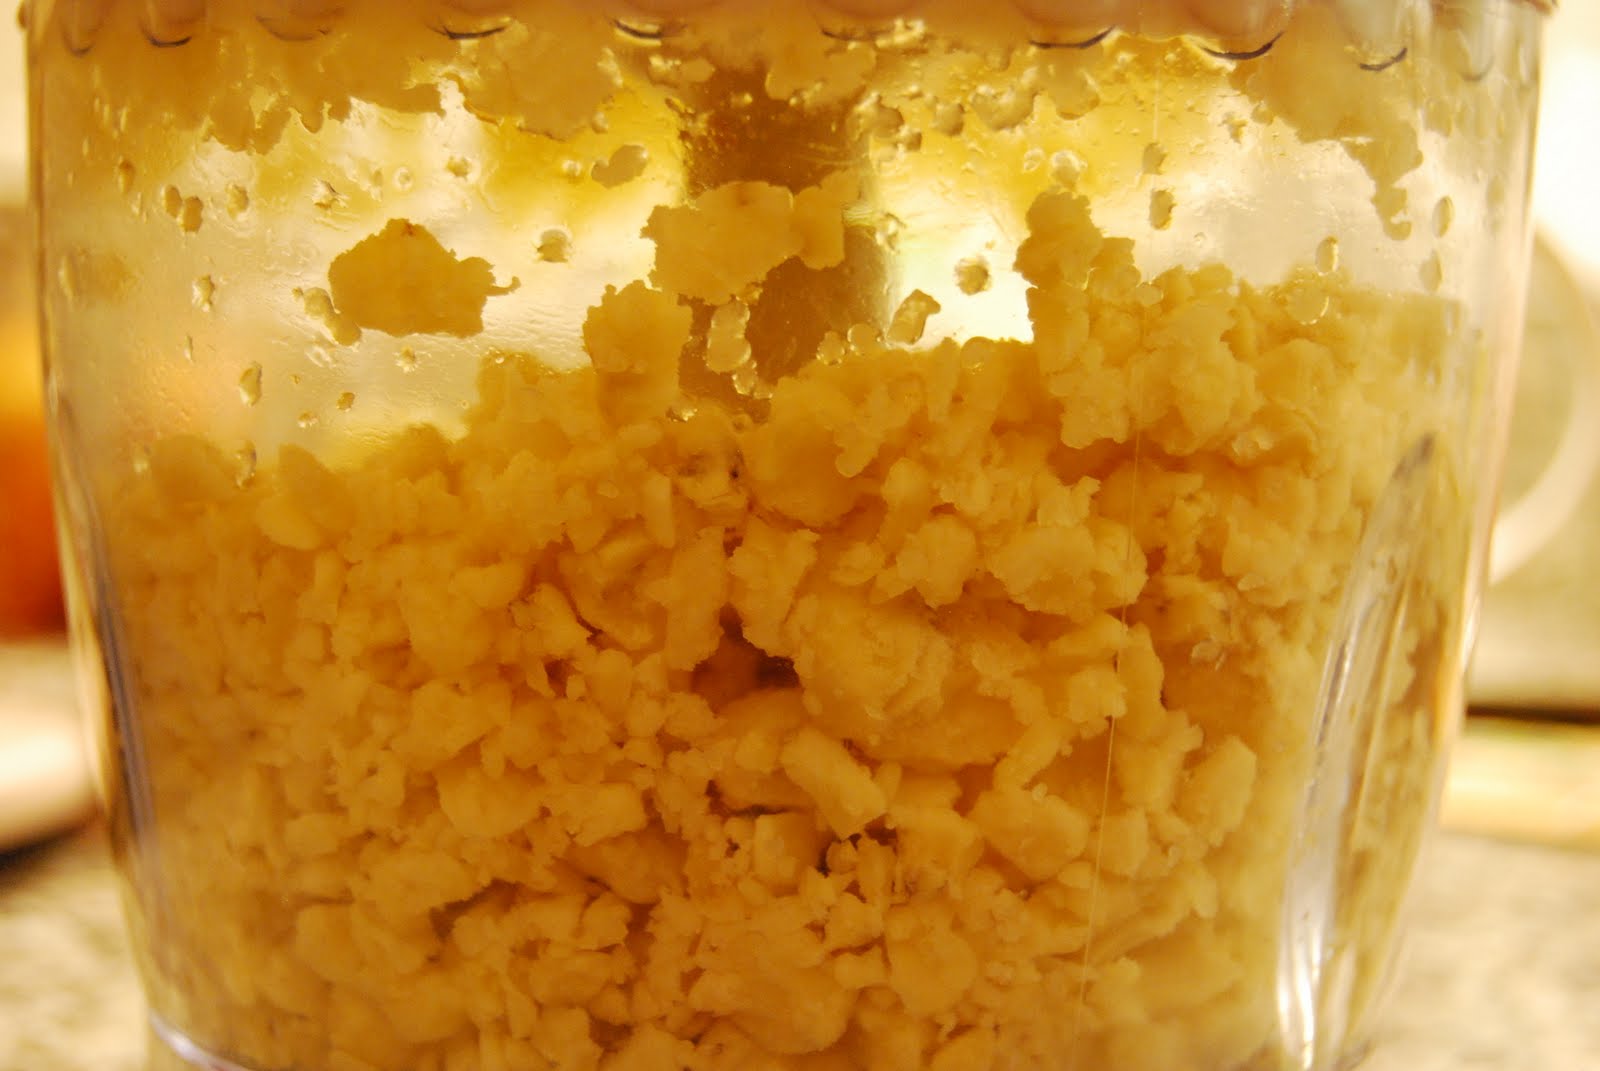
1/8 teaspoon of Kosher salt
½ teaspoon baking soda
1 tablespoon of agave nectar
1 tablespoon of fresh orange juice
1/8 cup dark chocolate chips
1/8 cup pistachio nuts
1/4 teaspoon orange zest
Sprinkle of sugar
Set oven to 350 degrees
 
In the bowl of a food processor combine the almond flour, cocoa powder, corn starch, baking soda and salt.  The ingredients will pulse to be even finer and fully integrated.
 
 
Then add the orange juice and the agave syrup and pulse again until the ingredients start to form together into a ball. (Helpful hint: scrape with a spoon the batter away from the edges).  Add the pistachio nuts, the chocolate chips and orange zest and pulse one more time.
 
 
Pour all of the ingredients onto a cookie sheet with parchment paper.  Use your hands, or the parchment paper to guide the dough into a loaf shape, about an inch tall and 8-10″ long.  Bake in the oven for 15 minutes at 350 degrees.
 
After 15 minutes, remove the pan from the oven and allow to cool – for about 15 minutes.  Then with a sharp knife cut the loaf in a diagonal and if you’d a little extra sweetness, sprinkle with sugar.  Then separate the slices cookies by a few millimeters and rebake for another 15 minutes at 300 degrees.
 
 
Finally, you know what to do… eat and enjoy!


Gluten Free Apple Muffins


Easy holiday, or anytime recipe, no dairy, no gluten, no sugar, no mixer!

Rosh Hashanah, the Jewish New Year, is quickly approaching and I am excited for the many baking opportunities.  It is customary to wish people a “Sweet New Year” and even more customary to enjoy the sweetness of the season’s bounty of fruits, particularly apples, with honey.

Frankly, I could eat apples and honey any time of day or year, but I realize that to snack or travel too far with this sweet snack can become a bit of a sticky situation.  So, instead, we have muffins.

Gluten Free Apple Muffins
Ingredients
1 1/2 cups of GF all purpose flour (Namaste brand)
1/2 cup of GF Oats
1 teaspoon of baking soda
1 teaspoon of cinnamon
1/2 teaspoon of Kosher salt
 
1/2 cup canola oil
2 eggs
2 4oz. containers of unsweetened apple sauce
1/2 cup of agave syrup
1 large (Braeburn) apple grated
 
1/4 apple chopped and cinnamon for garnish
Set oven to 325 degrees

In a medium size bowl mix the flour, oatmeal, baking soda and cinnamon and salt.

In a separate larger bowl mix the canola oil, agave syrup, and vanilla extract.  Add to that the eggs and whisk by hand.  Then add the apple sauce and continue to mix.


Then using a box grater, grate a large apple into the wet ingredients.  I used a Braeburn apple, which has a sweet but tart flavor, but you could use whatever kind of apple you most prefer.  Fold the grated apple into the wet ingredients.

Add the dry ingredients to the wet and continue to stir, stopping when the dry ingredients are completely incorporated and before you over mix.

Scoop large spoonfuls into muffin liners and then you can add slivers of chopped apples and a sprinkle of cinnamon to the top.  The apple sliver remind me of shark fins, but taste delicious, and serves as a hint of all the amazing apple goodness inside.

Bake for 25 minutes and then enjoy.  These are delicious alone, or with a pad of butter, smear of almond butter, or maybe even a slice of sharp cheddar.

This will be the first of many sweet things as we move into fall!


Triple Chocolate Cupcakes – Gluten Free/Dairy Free


Sometimes you just have to do your sweet tooth a favor, and by favor, I obviously mean indulge its cravings and drown it out in chocolate.  That’s pretty much the deal with anything that is triple chocolate, like these triple chocolate cupcakes.  I made them for a family gathering, because I wanted to accommodate everyone’s dietary restrictions, even if cupcakes typically fall outside of a diet.  And, the beauty of these cupcakes is that, even though they are dairy and gluten free, they are awesome!

Triple Chocolate Cupcakes
adapted from Elana’s Pantry, which is an amazing resource for anyone exploring GF baking

Ingredients

¼ cup coconut flour
¼ cup cocoa powder
¼ cup vegan chocolate chips
¼ teaspoon kosher sea salt
½ teaspoon baking soda
3 eggs
¼ cup canola oil
½ cup agave nectar
Set oven to 375 degrees

Here’s the thing, with gluten free baking you might come across ingredients that seem a little “ehh” or just plain weird.  Frankly that is how I felt about the coconut flour, mainly because the smell and taste of coconut reminds me of a bottle of Banana Boat, but this high in fiber flour has no such smell or taste. So fear not!

Moving on… In a medium size bowl combine the coconut flour and coca powder, salt and baking soda.

In a separate and larger bowl, blend the oil, eggs and agave.  Then slowly add the dry ingredients to the wet, and add the chocolate chips.

Scoop about 1/4 cup of batter into muffin wrappers and bake in a 375 degree oven for 20 minutes.  Check with a toothpick to make sure they are done and fully baked.

While the beautiful and very chocolatey cupcakes are cooling, get to work on the frosting.

Vegan Chocolate Frosting

Ingredients

3/4 cup dairy-free spread (Earth-Balance is also soy-free)
2 2/3 cups powdered sugar
6 tbs unsweetened cocoa powder
2 tsp vanilla extract

In a medium sized bowl mix the coca powder, and powdered sugar over the spread with a spoon.  Add the vanilla and then use a blender to fully incorporate and achieve the soft, whipped consistency of butter cream, you know without the butter.

Pour yourself a big, BIG glass of milk/soy milk/rice milk/almond milk and enjoy!

Hungry for the Weekend


This was quite a week in food, our beloved food pyramid turned into a plate,  and I spent a lot of time thinking about how I too could be eating healthier, and living healthier. Summer is a funny time, the fruits and vegetables are at their best, but they are often being lured into some creamy dips, or the warm, flaky crust of a pie shell.

I am excited for the weekend, and everything that it brings: dinners with friends, time with family, baking adventures and trips to the farmers’ market.

If you’re winding down your week and also “hungry” for the weekend, here are some great links to check out:

Gluten Free Donuts - Shut Your Mouth! (And Chew)

Have a delicious weekend!

The New Banana Split


I like cookies, brownies, cakes (in slices and in cups) but sometimes, I want to take a break from the butter and sugar, and eggs and go a little bit more natural.  By natural, I don’t mean baking with agave or honey, which I have done, or using whole wheat flour, which I do more and more, I mean just eating fruit.

This summer we have reaped the benefits of living within walking distance to a farmers’ market and enjoying peaches, blueberries, strawberries and melon by the bowlful.  But, this dish, this changed it all.  Let me introduce you to banana ice cream, which I found on The Kitchn, made with just bananas.
 
The bananas that are currently sitting on your counter top that are getting more and more freckles each day?  That is your only ingredient. Depending on the desired serving size, I have found 2 bananas enough for 3 people – but it’s just banana so there’s no downside in eating a lot!


Cut the bananas up into 1/2 inch slices and throw them in the freezer for at least 2 – hours.  I recently froze mine for 24 hours, and that was fine too.  The more frozen the better.


After they bananas slices are thoroughly frozen dump them all into your blender/food processor and go.  At first the bananas will look gravelly, and hard, and chunky, and not at all ice creamy -although my sister did point out that it resembled Dippin’ Dots, everyone’s local mall’s version of the ice cream of the future. 

No matter… Press on, keep grinding, and occasionally pausing to scrape down the sides with a spoon.  In a matter of moments, seriously 3-4 minutes tops, the banana gravel becomes beautiful whipped banana ice cream.

Now you can eat it right now in a bowl (or out of the mixer) if you want, and it is amazing.  Or you can add additional flavors.  Some favorites in my house right now are a teaspoon of chunky peanut butter, honey, or cinnamon, but why not some coconut flakes (if you like that, I don’t), or some cocoa powder, or chocolate syrup?

So far this hasn’t lasted past dessert, because we eat it all so quickly – but I would eat it for breakfast, or serve it with warm waffles/pancakes/french toast.  I need a brunch party, stat!