When you want an authentically Jewish brisket recipe, (not barbecue brisket, or pulled brisket, just you the familiar brisket found on Hanukkah, Passover, and Rosh Hashanah tables), you’ll probably need to call a mom, or grandma or aunt. If you want a different variation, visit Food and Wine.
Anyway, so I found myself in Whole Foods standing in the meat refrigerator looking at some huge pieces of meat. That is step 1 to making a brisket, the meat is huge. Understanding that, getting over it, and knowing that it will shrink to half it’s original size is critical.
I called my cousin Amy first – she gave a list of her ingredients. Then I called my mom, and she gave a similiar list of her ingredients. When it came time to go, I just did everything.
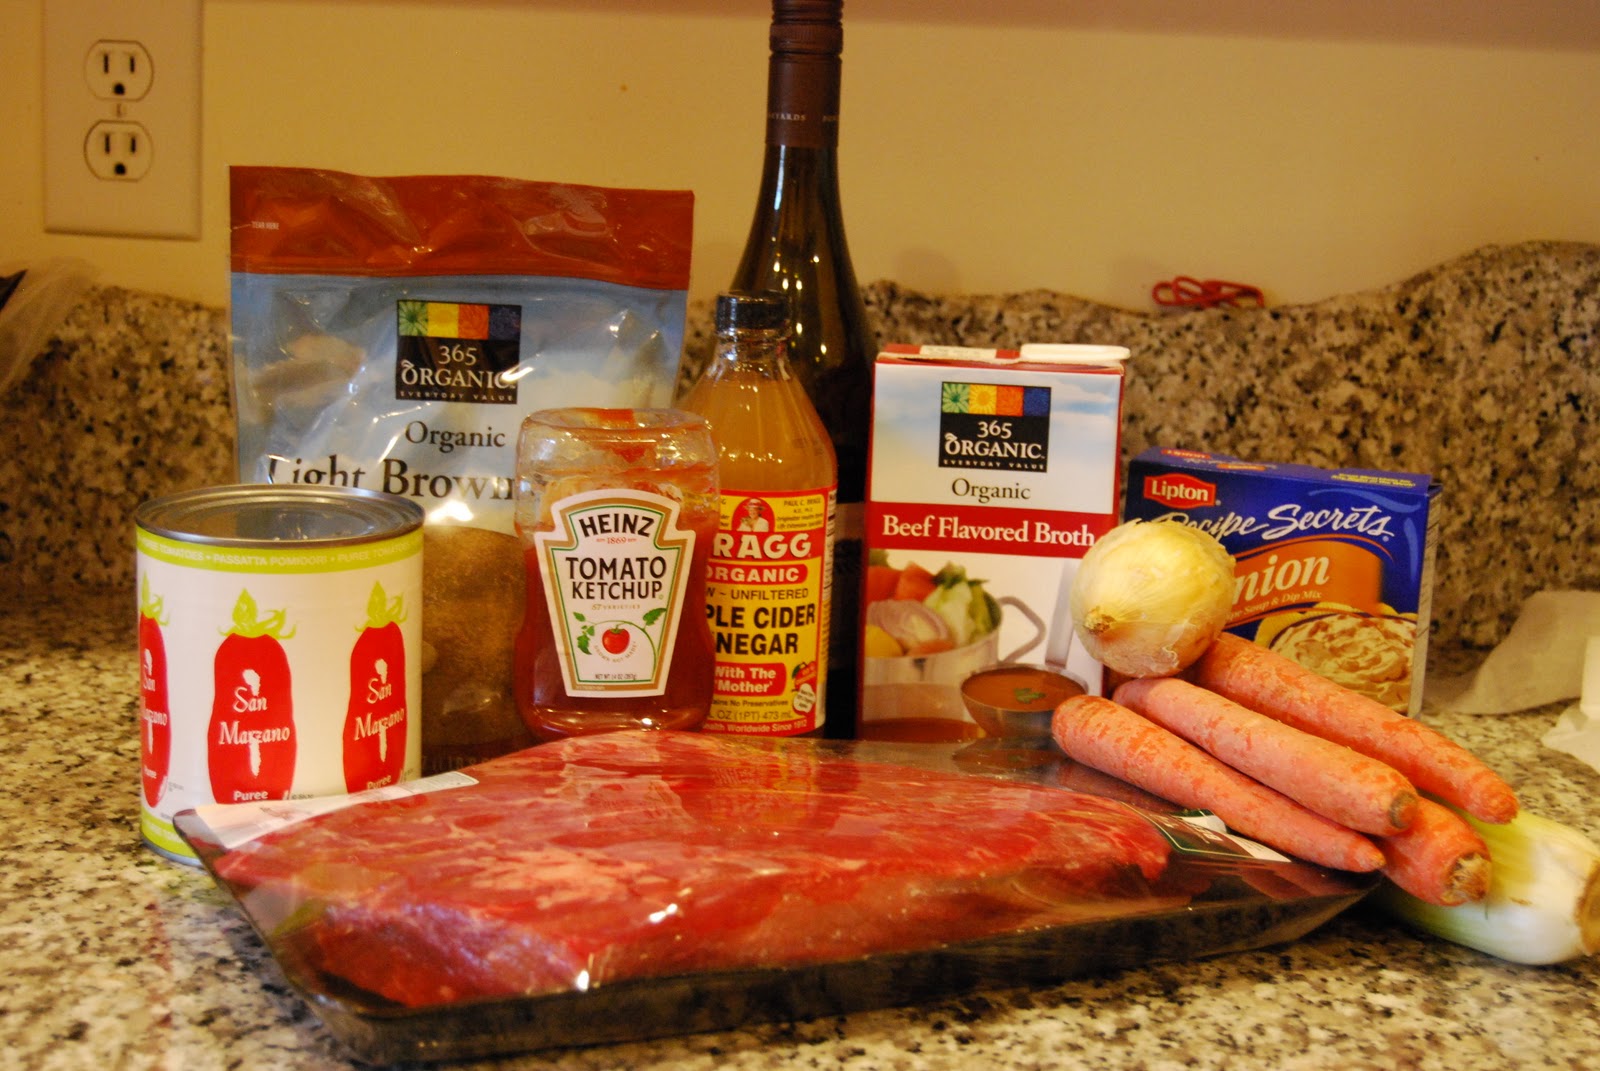
Jewish Style Brisket Ingredients, serve 8-10
3.5 – 4 lb brisket
1 onion
4 carrots, chopped
4 stalks of celery, chopped
1 packet of Lipton Onion Soup starter (crazy, I know)
1/2 can of San Marzano Pureed Tomato
1/2 cup of Apple Cider Vinegar
1/2 cup of red wine
2 tbsp of Ketchup
1 tbsp brown sugar
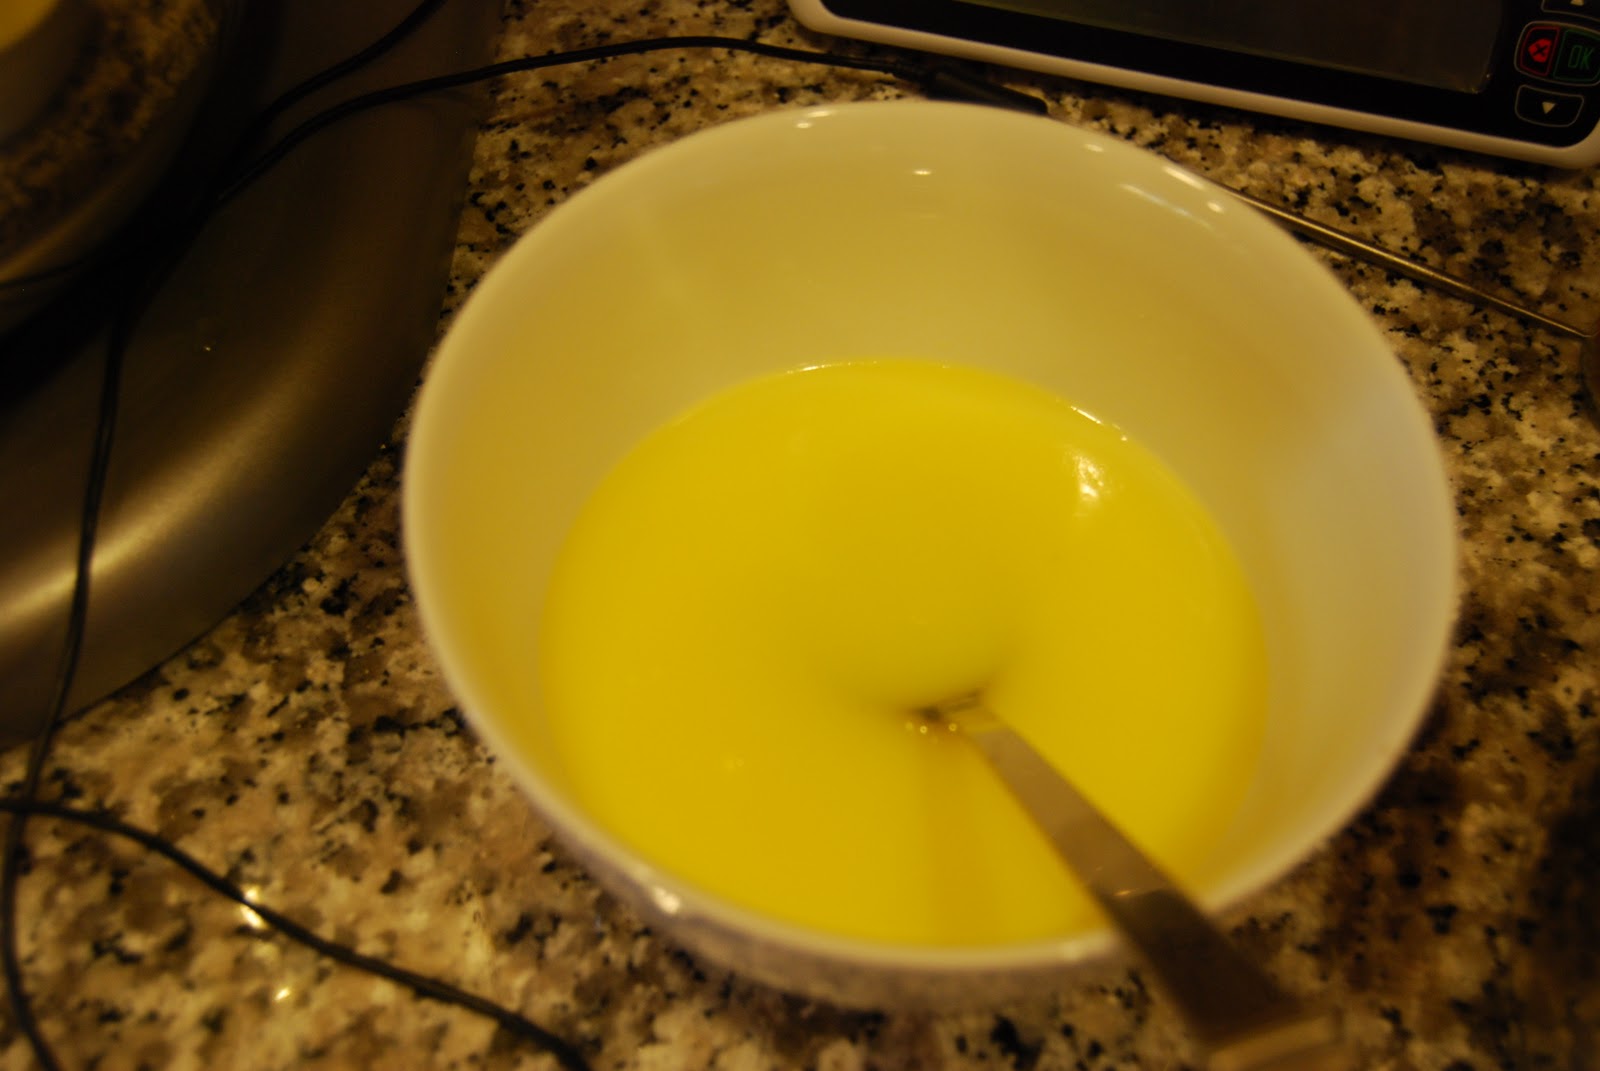
1/2 tbsp of butter
Salt and Pepper
Cooks for at least 3-4 hours, at 325 degrees.
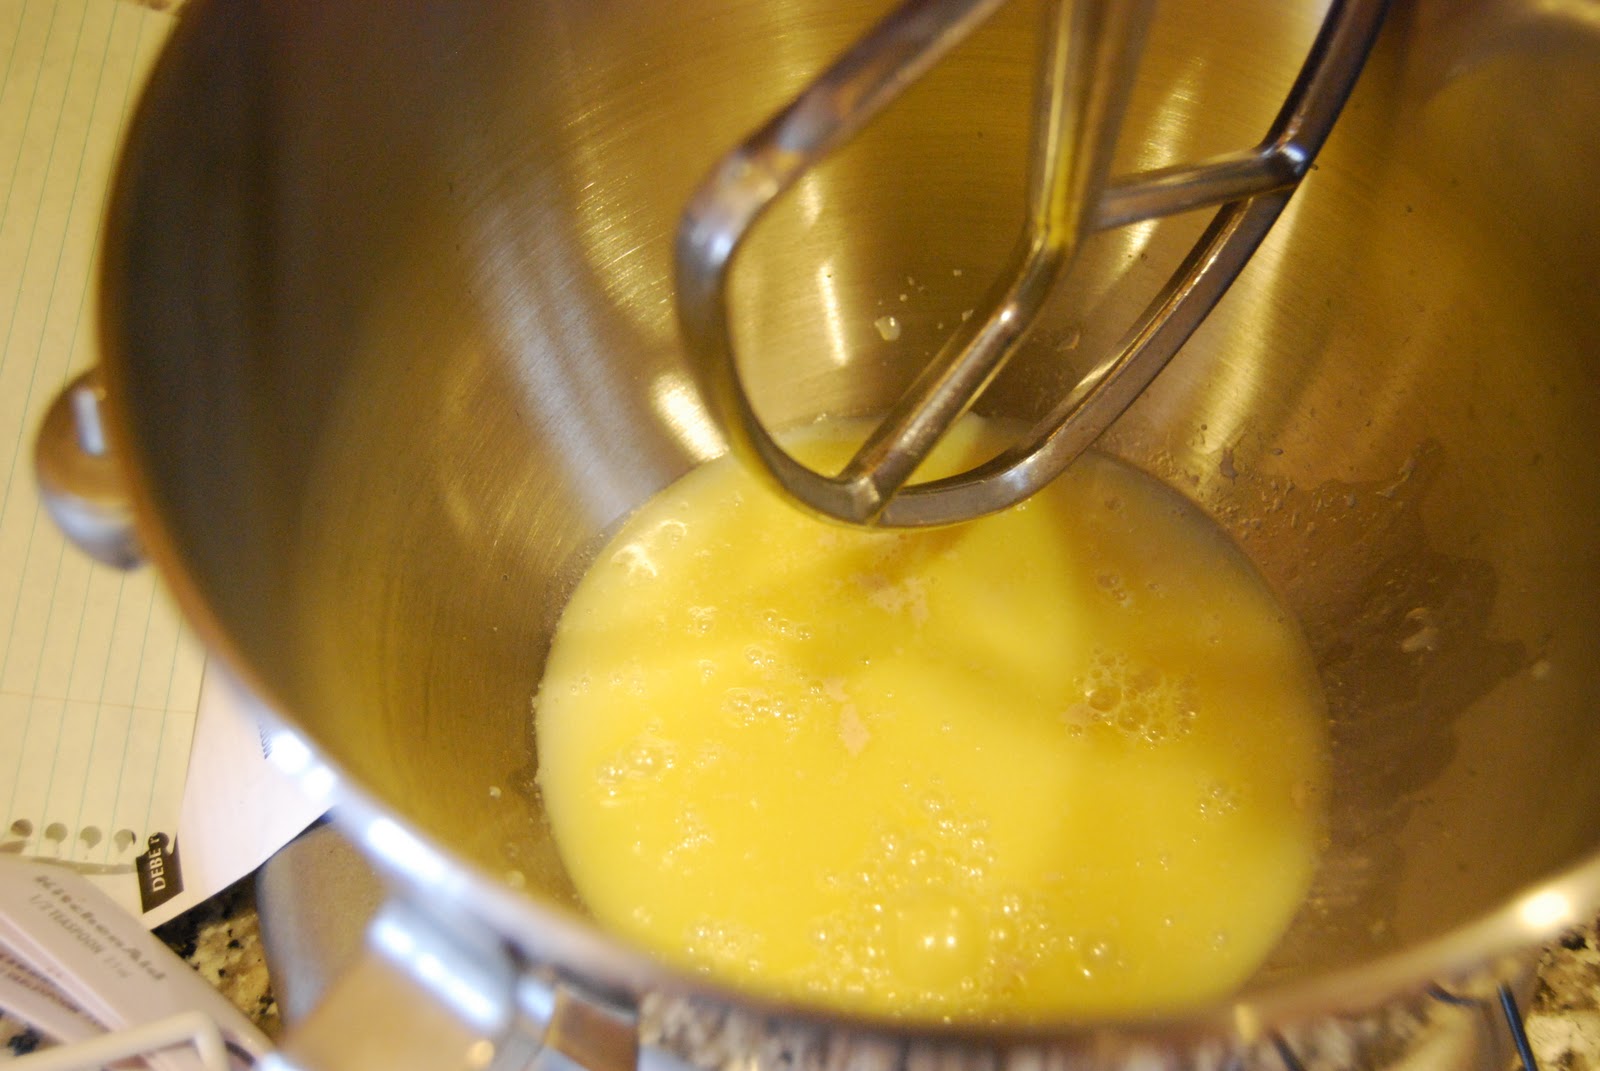
In a very large non-stick pan on medium-low heat melt some butter and add the chopped onion. Let the onion simmer and add a sprinkle of salt. When the onion are closer to translucent than white add the brisket to the pan.
Let the brisket cook on both sides for 3 minutes. You’re not really cooking here, you’re just browning. Here’s the warning, brisket has a strip of fat on one side, seeing it can be a little overwhelming and gross, keep moving, don’t worry about.
After the brisket has browned on both sides place it in a large baking pan with the raw chopped vegetables and the cooked onions. Make sure the fat part of the brisket is on the top.
In a medium bowl mix the ingredients, onion soup starter, tomato, wine, vinegar, ketchup and sugar.
Then pour all over the brisket. You may need to use some muscle to lift the brisket to get the sauce in every little spot. Yep, just like that. To be fair, I texted this image to my parents to get a virtual thumbs up. You don’t have to text my parents, you don’t even have to text your parents. This is what it should look like.
Find a roll of aluminum foil and start wrapping. The pan needs to be completely covered and secured. Now, you can put it in the oven for 3 – 4 hours. Walk away. Try not to worry, definitely do not open the oven and play with the foil.
After removing the brisket from the oven, keep it covered for an additional 30 minutes. This will give you enough time to make a side dish or two, maybe Kasha, or potatoes? We made kasha and bow-ties. Seriously good.
When you unwrap the pan, you slice against the grain. You can let it cool completely and remove the fat, or you can go authentic, and keep the fat on. It’s a holiday, its going to be okay. Enjoy the sauce, the carrots will be full of a sweet and tangy flavor and the meat will be very tender.
It’s a holiday tradition, and one that is easy to be creative with. I think when you make it for many years, like your aunt, grandma and mom, you’ll tell someone else just add some of this and some of that. But if you need a recipe, now you’ve got it!
Happy Hanukkah!

 Make: Spice Cookies, Pistachio Trees, Spiced Nuts, Savory Cookies, Caramel Sauce, Ginger Sesame Brittle, Meringues, Almond Bark, Gummy Drops


