Not too long ago I listed my favorite things about fall, and somehow this got left off the list – very tragic! I found this recipe last year and made it for my office, and it was a big, big hit. Pumpkin is a fall mainstay and one that I very much enjoy. Growing up a favorite smell and surprise was the aroma of a freshly baked pumpkin bread in my mom’s kitchen, which I really should get the recipe for.
In the meantime, we’ll have some cookies, Dark Chocolate Chunk Pumpkin Cookies
Dark Chocolate Chunk Pumpkin Cookies
Ingredients, adapted from Big Fat Cookies by Elinor Klivans
1 cup whole wheat flour
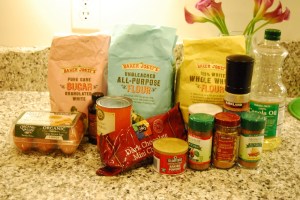
1 cup white flour
1 ½ tsp baking powder
1tsp baking soda
½ tsp salt
1 tsp ground cinnamon
¼ tsp of nutmeg
¼ tsp of pumpkin pie spice
2 eggs
1 cup of sugar
½ cup of canola oil
1 cup of pure pumpkin, pureed
1 tsp of vanilla
1 cup of dark chocolate chips (or not, totally up to you)
1 ½ tsp baking powder
1tsp baking soda
½ tsp salt
1 tsp ground cinnamon
¼ tsp of nutmeg
¼ tsp of pumpkin pie spice
2 eggs
1 cup of sugar
½ cup of canola oil
1 cup of pure pumpkin, pureed
1 tsp of vanilla
1 cup of dark chocolate chips (or not, totally up to you)
Set Oven to 325 degrees
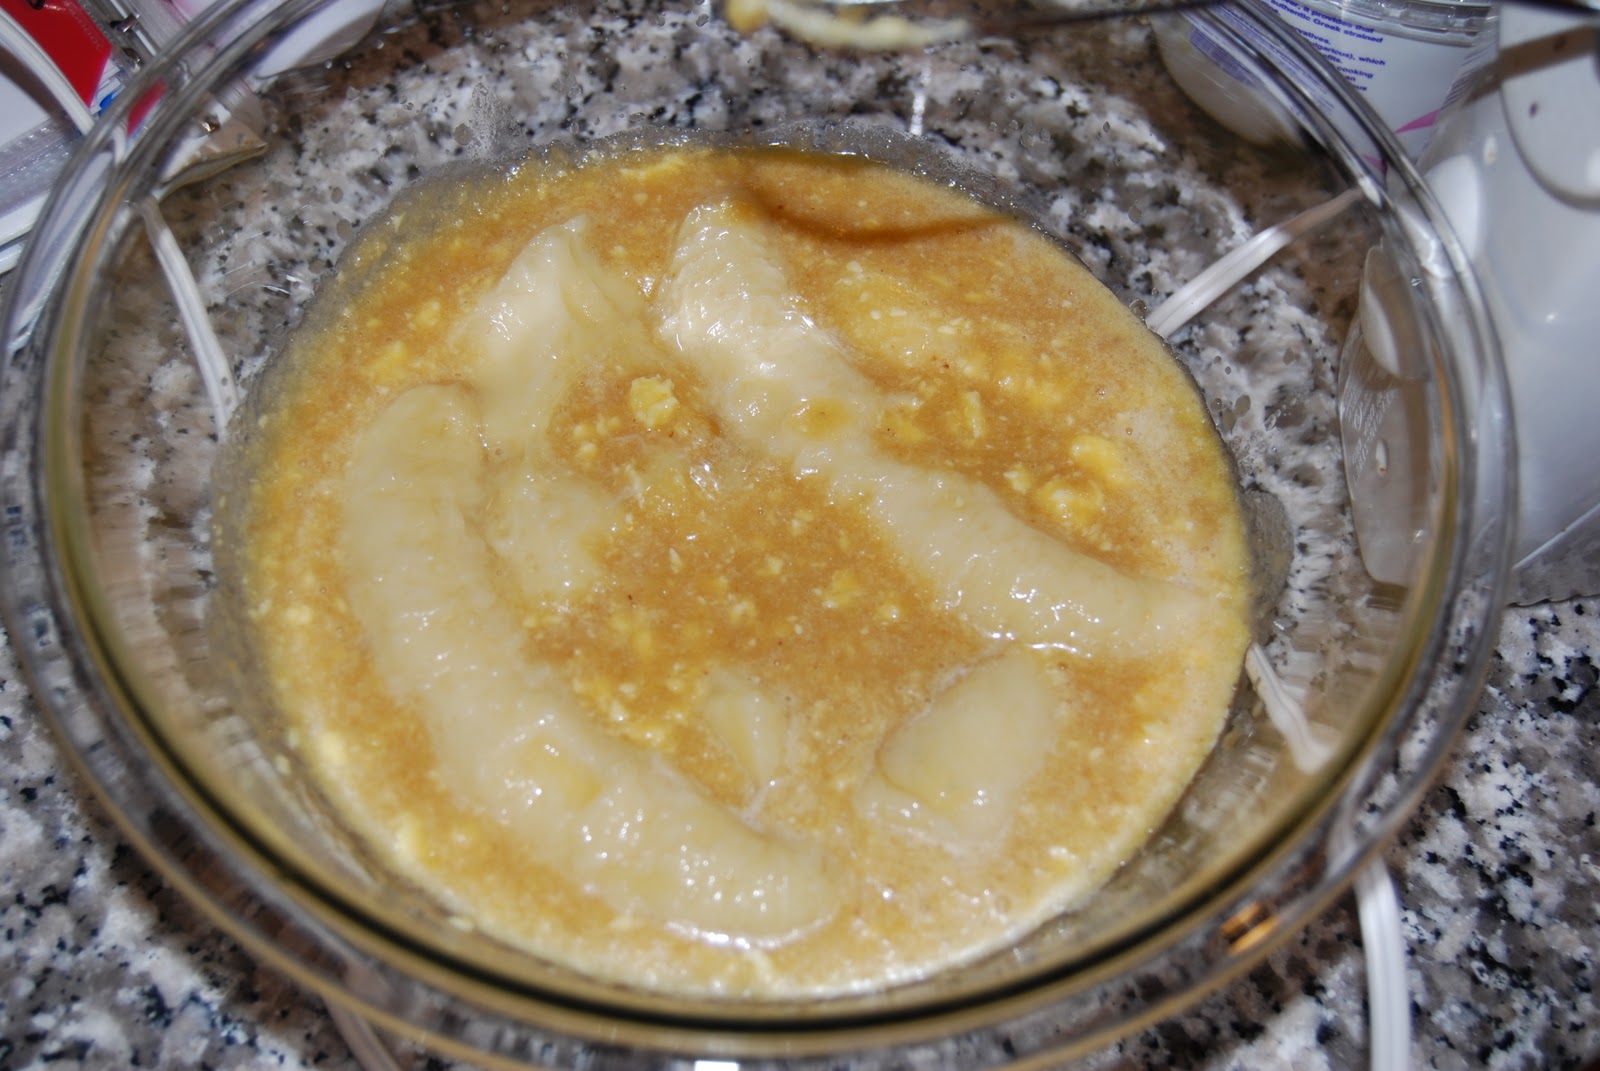
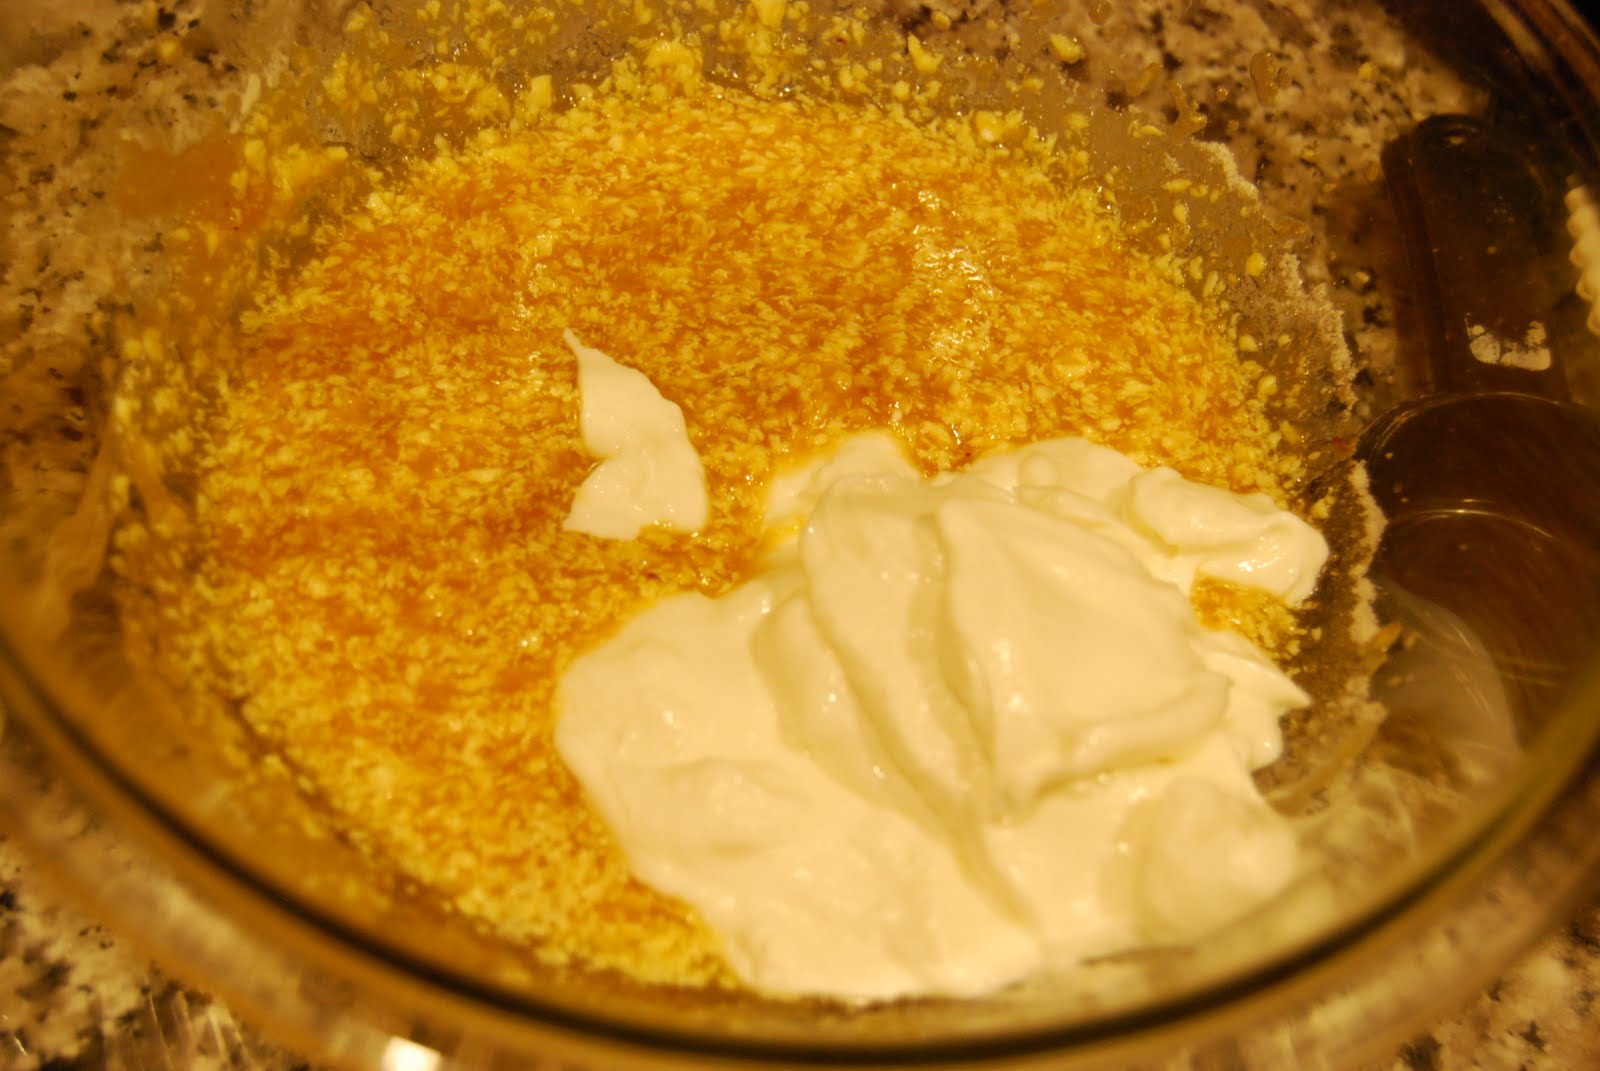
In one bowl lightly beat the sugar and eggs for a light golden color and slightly frothy texture. Add to the eggs and sugar the oil, vanilla and pumpkin puree.
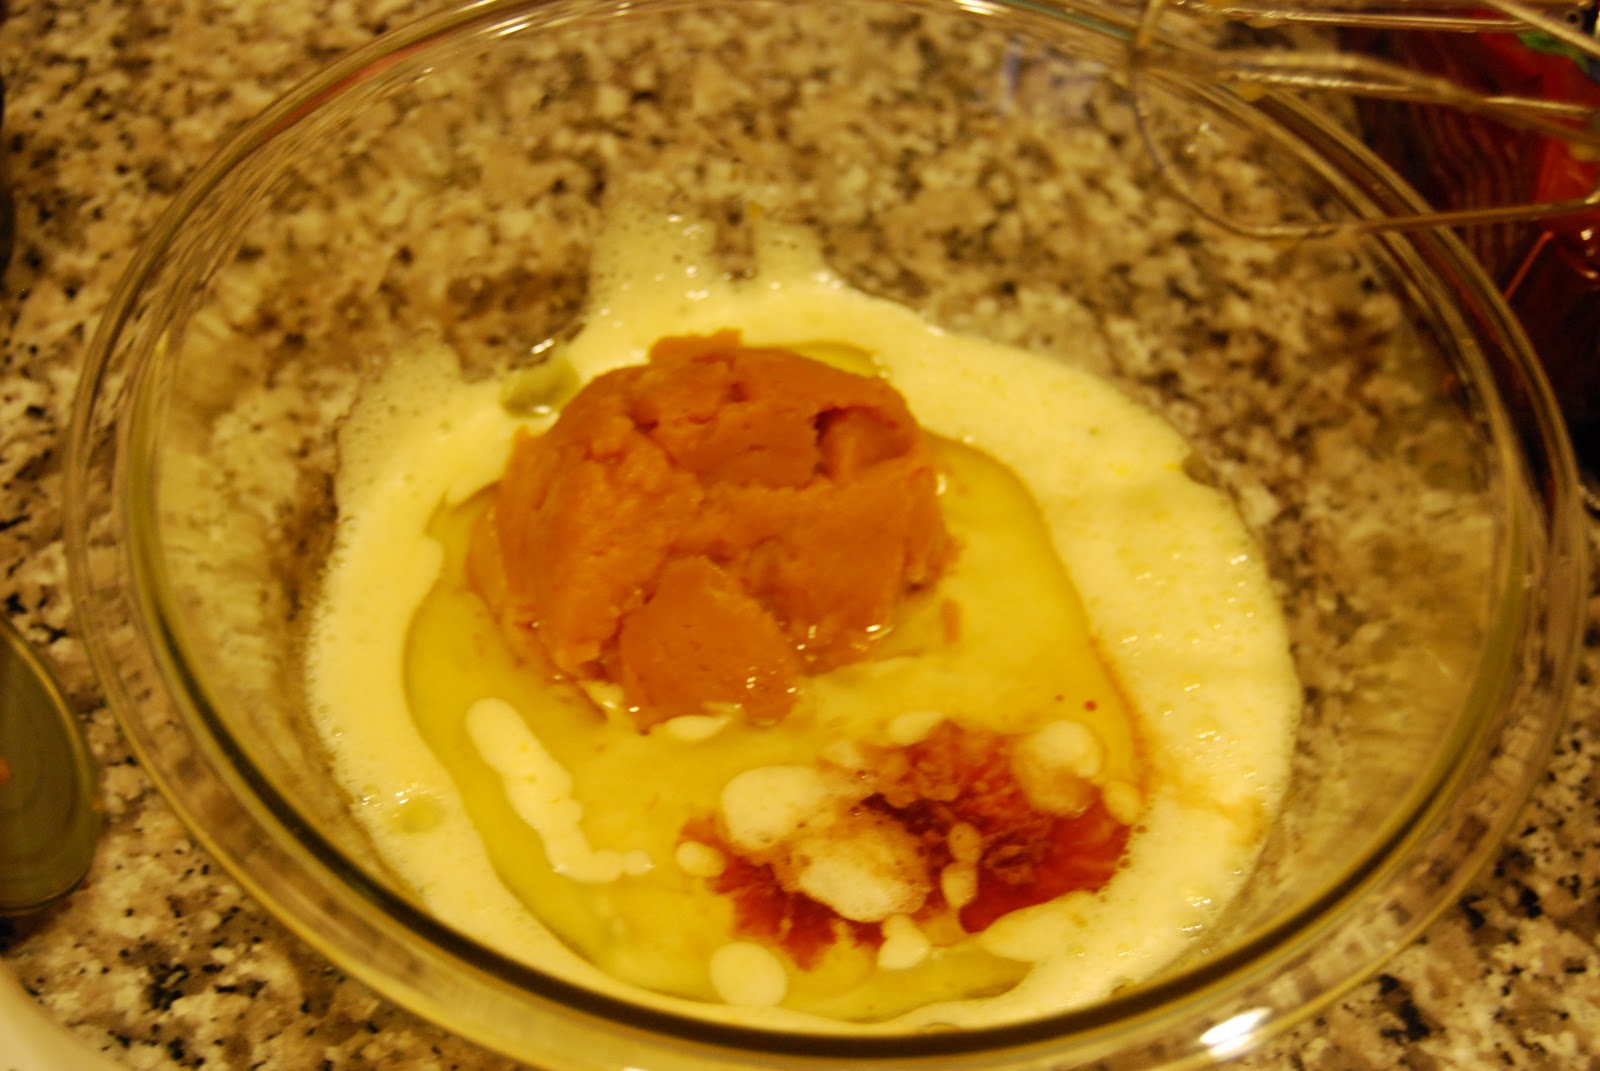
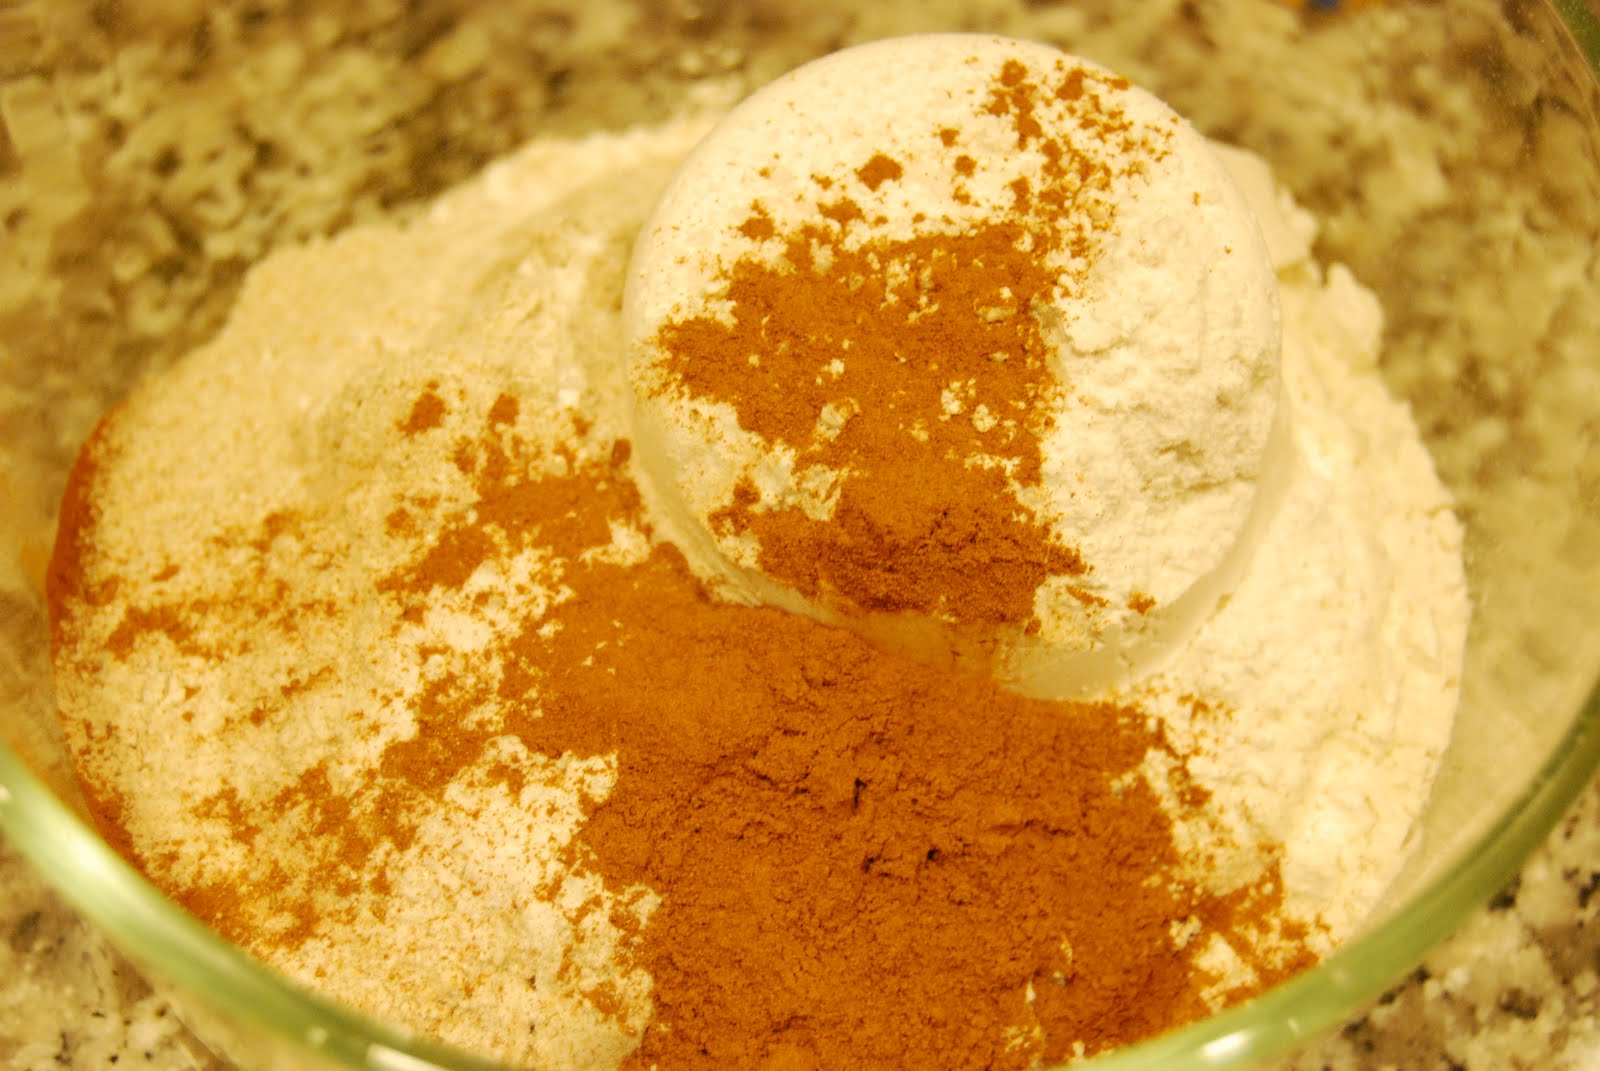
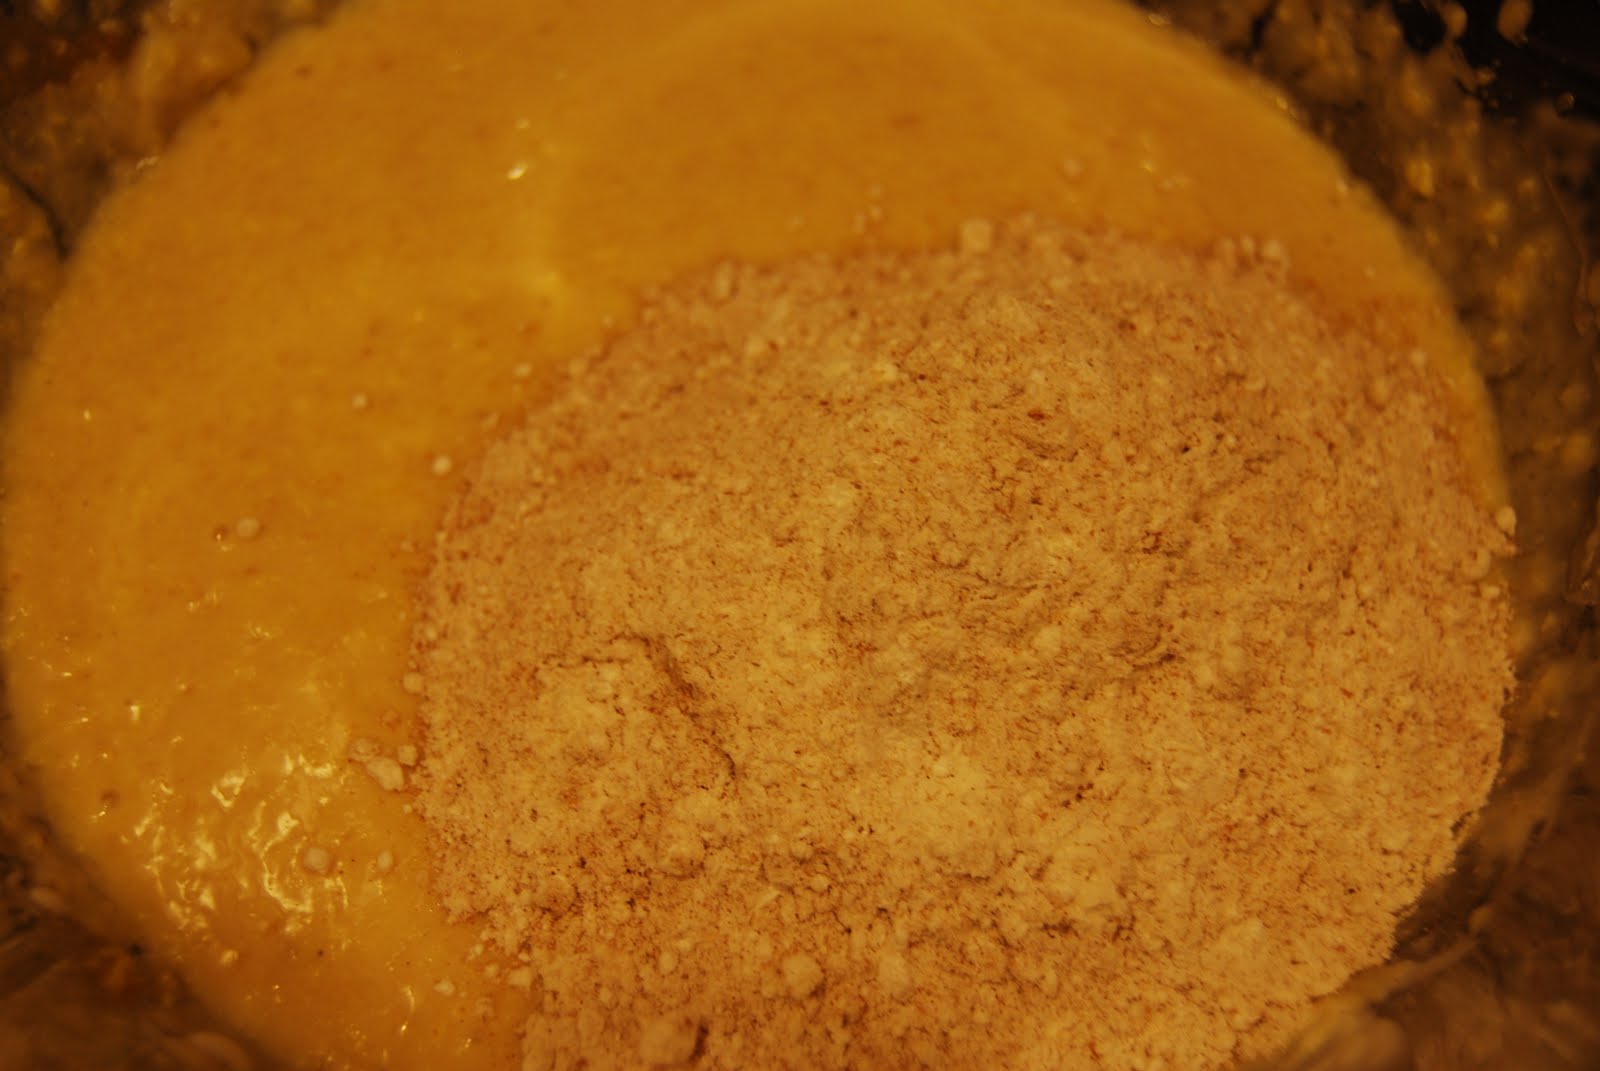
Add to the wet ingredients the white flour and whole wheat flour, baking soda and powder and all of your spices and seasonings. It will smell like fall, right there in the bowl. Remember the uncooked eggs? Don’t try the batter yet.

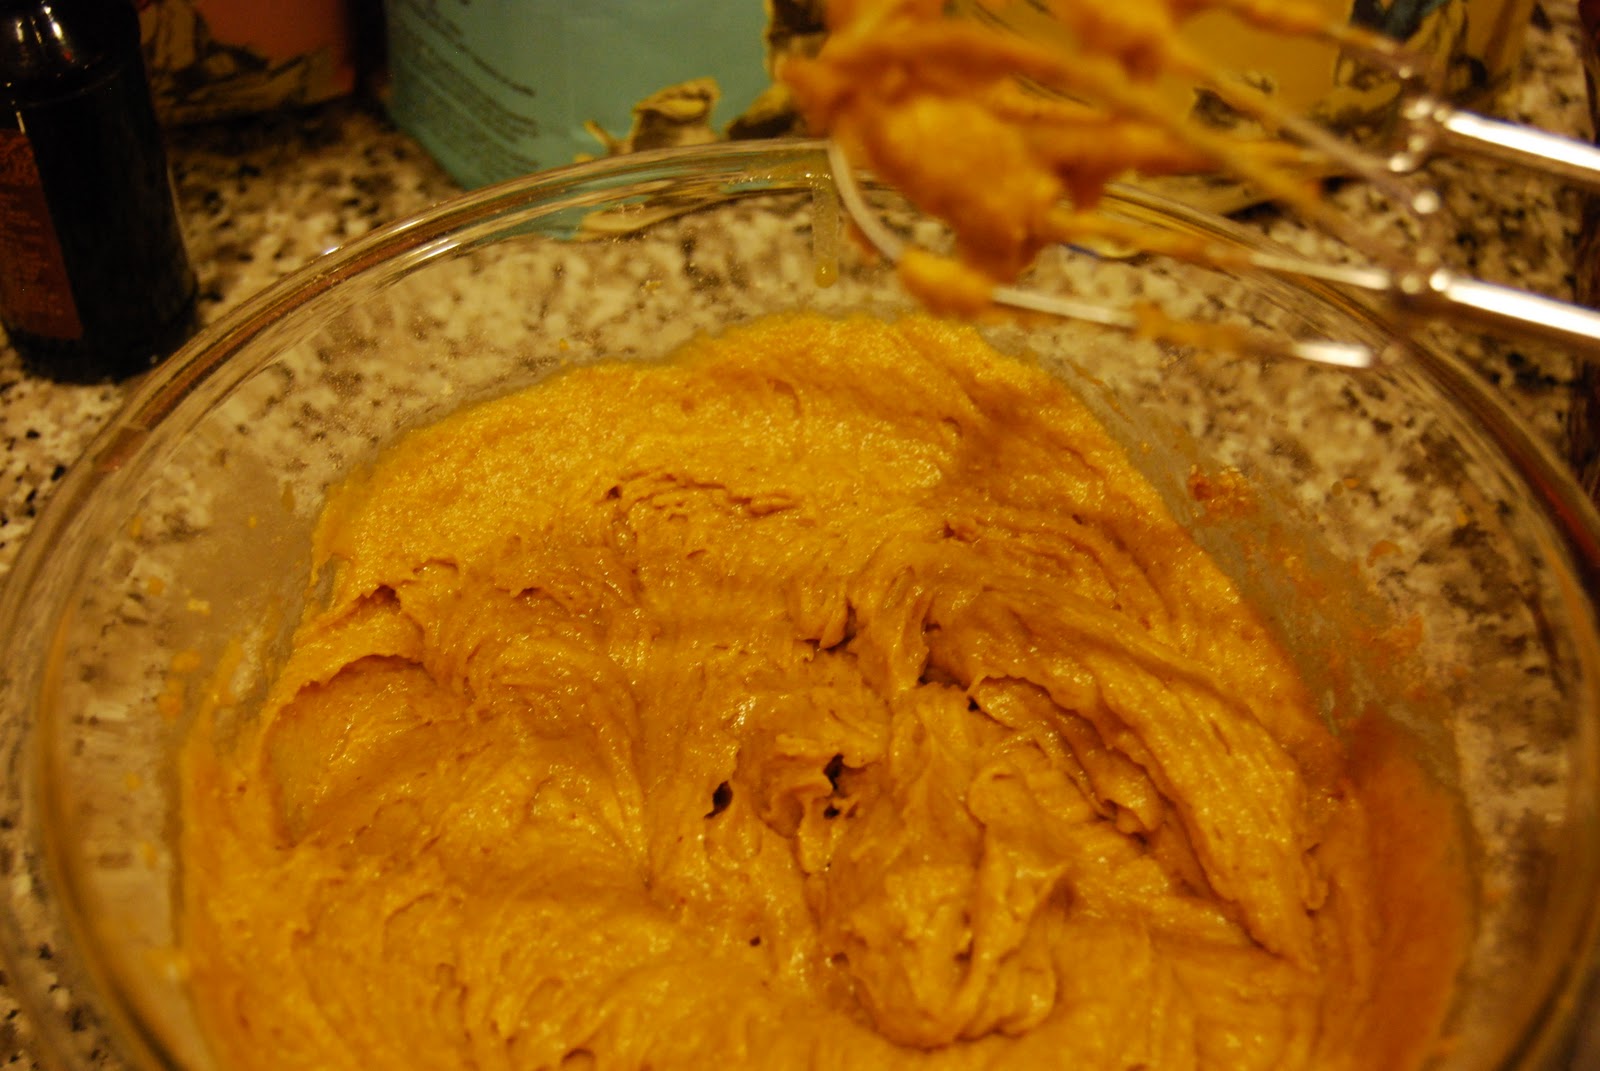
Did you notice that there is more baking powder that is normally required for most cookie recipes? This makes the batter extra airy and fluffy. You’ll notice this difference in texture as soon as you mix it up.
Orange, pumpkin scented, and delicious… What is missing? Chocolate! Pumpkin is a must for fall, but in our house chocolate chips are a year round staple. I make no apologies for this confession, besides it is dark chocolate – that has to count as being on the healthy side of the aisle. I suppose if chocolate isn’t your thing, which is shocking in and of itself, you could swap in nuts, or a blend of raisins, or dates?

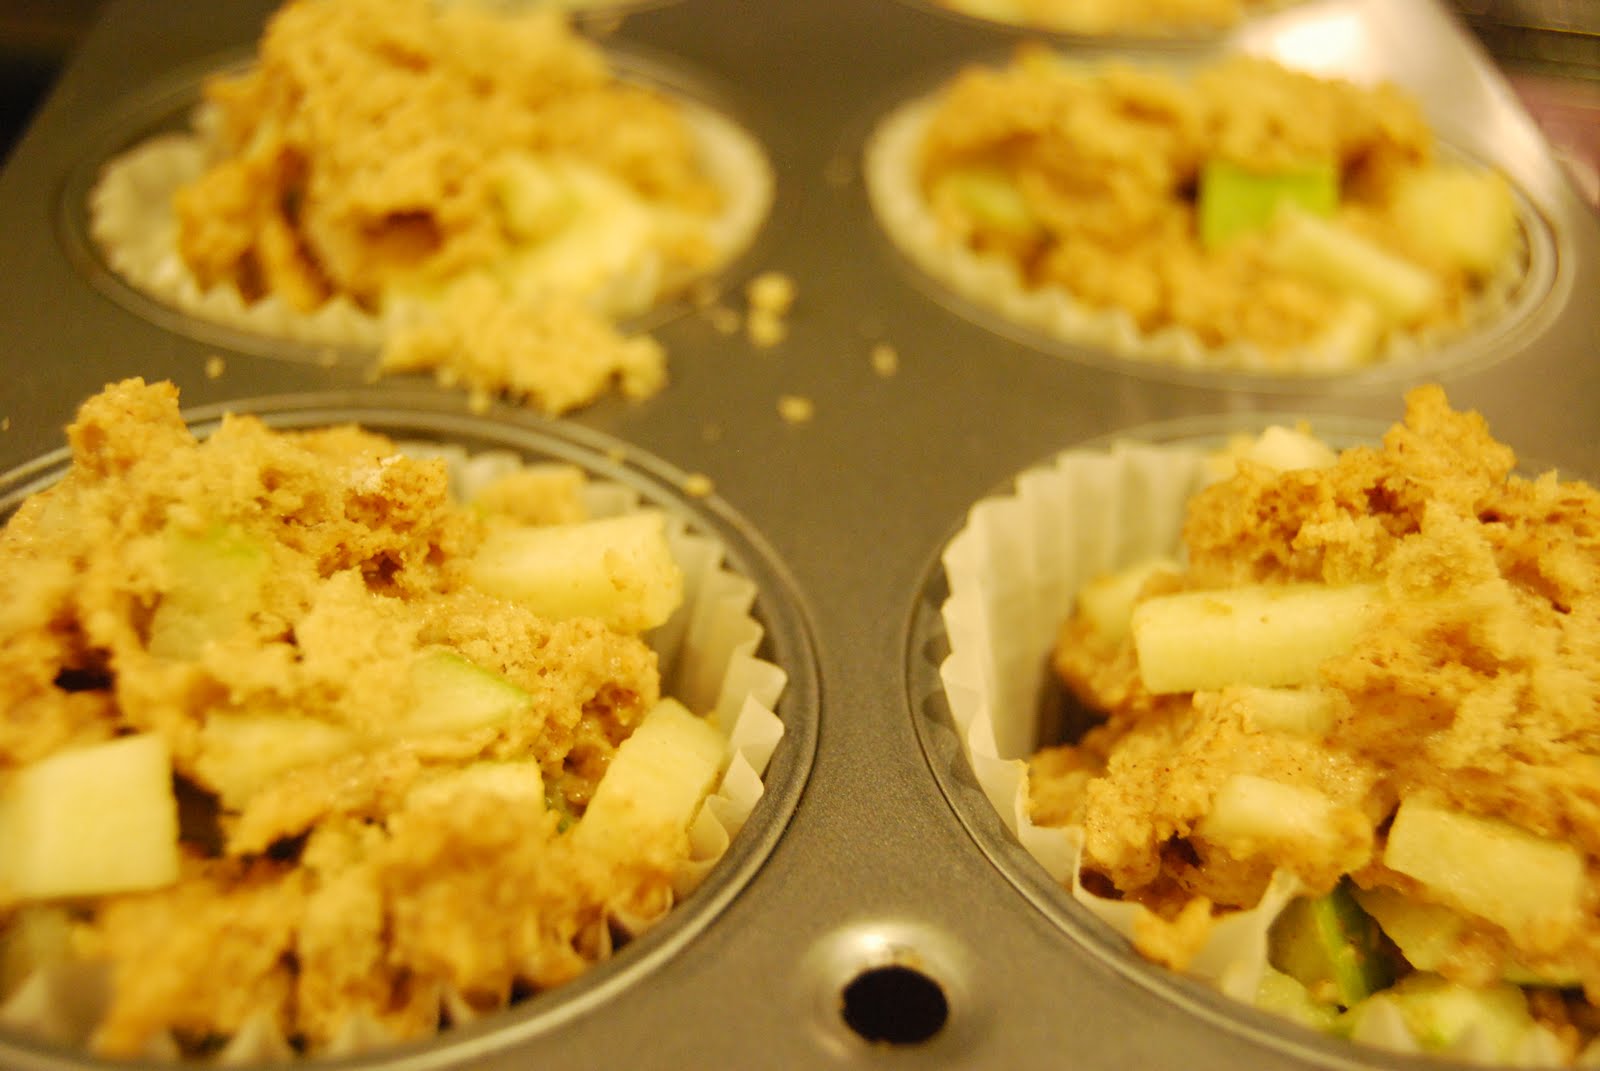
I use a large spoon to scoop these out and bake them in a 325 degree oven for 15 minutes. As I mentioned, these cookies bake up extra fluffy and high as opposed to baking and spreading on the pan, so no need to worry about crowding the pan.

When the cookies are out of the oven, these are the critical next steps: find a sweater (to my Florida readers, maybe a light cardigan?), find a cool breeze, a cup of cider/tea/coffee/chai and share with someone you love. Cookies and cake are delicious, but when you eat them with someone you love, wow, the flavor is x 1000.
Happy Fall!