When entertaining for the holidays, or really any time of the year, your table is never fully dressed without a centerpiece. The Fall and Winter seasons provide plenty of inspiration for table decor that is special but also simple.
I first turn to the master of all “good things”, Ms. Martha Stewart, for inspiration:
For a simple everyday table setting how sweet is table with a collection of small sized baskets with seasonal fruits? Let the fruit double as part of your dessert and you have a two for one special.
 |
| via Martha Stewart |
In a continuation of the fruit theme, I love the stately nature of the pillar candles and baskets filled with plump berries and grapes. The colors sing fall while not being generic or too obviously themed.
 |
| via Martha Stewart |
For a crafty decor idea there is nothing easier than this for the mantle: take candle holders/vases that you already own and wrap with pretty paper and secure with a double stick tape. An illuminated candle inside gives this idea an ever brighter glow.
 |
| via Martha Stewart |
I love, love, love this centerpiece. It is a true centerpiece and worthy of a special dinner or even a fall wedding. A bundle of wheat twisted and tied with a beautiful silk ribbon compliments the warmth and heart of the season.
 |
|
| via Martha Stewart |
Here are some more great centerpiece ideas that I could not resist:
From pottery barn, this is a simple hurricane candle holder wrapped with dried maze and tied with twine. It probably take no more than minutes to assemble but makes a very pretty visual impact.
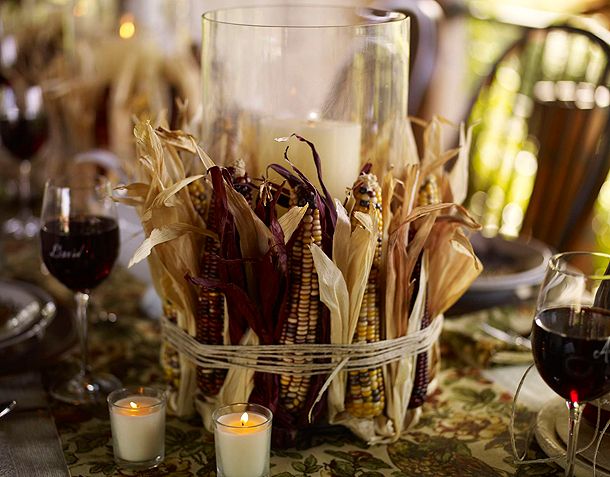 |
| Via Pottery Barn |
Or you can always order a vibrant, beautiful bouquet of flowers for your table and for around your home:
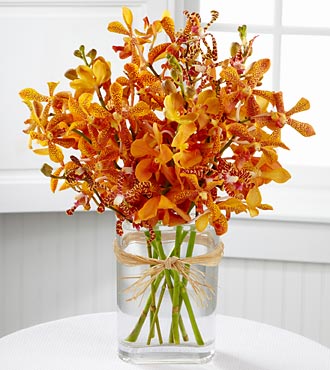 |
| via FTD |
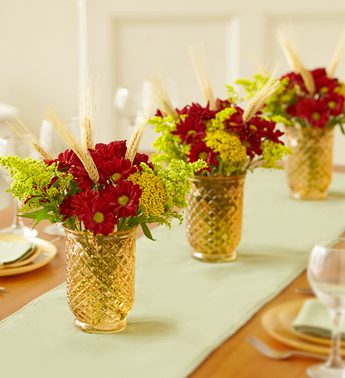 |
| via 1800Flowers |
Whatever you do keep it easy, make it reflect you and your home, and make it special with a little extra sparkle.
Happy Friday and have a beautiful weekend!