Category Archives: fall

Pumpkin Chocolate Nut Squares


This is an adaptation of a recipe my mom has been making for as long as I can remember.  Here is how the adaptation occurred.  I was waiting on my mom for the recipe, and knowing I would need butter I left a stick (1/2 cup) out on the counter to soften.

On the phone with my mom she is reading off the recipe at which time I realize I do not have the necessary two sticks of softened butter, and I was short on brown sugar…  So, this is what happened…

Mom:  The recipe has 1 cup of butter
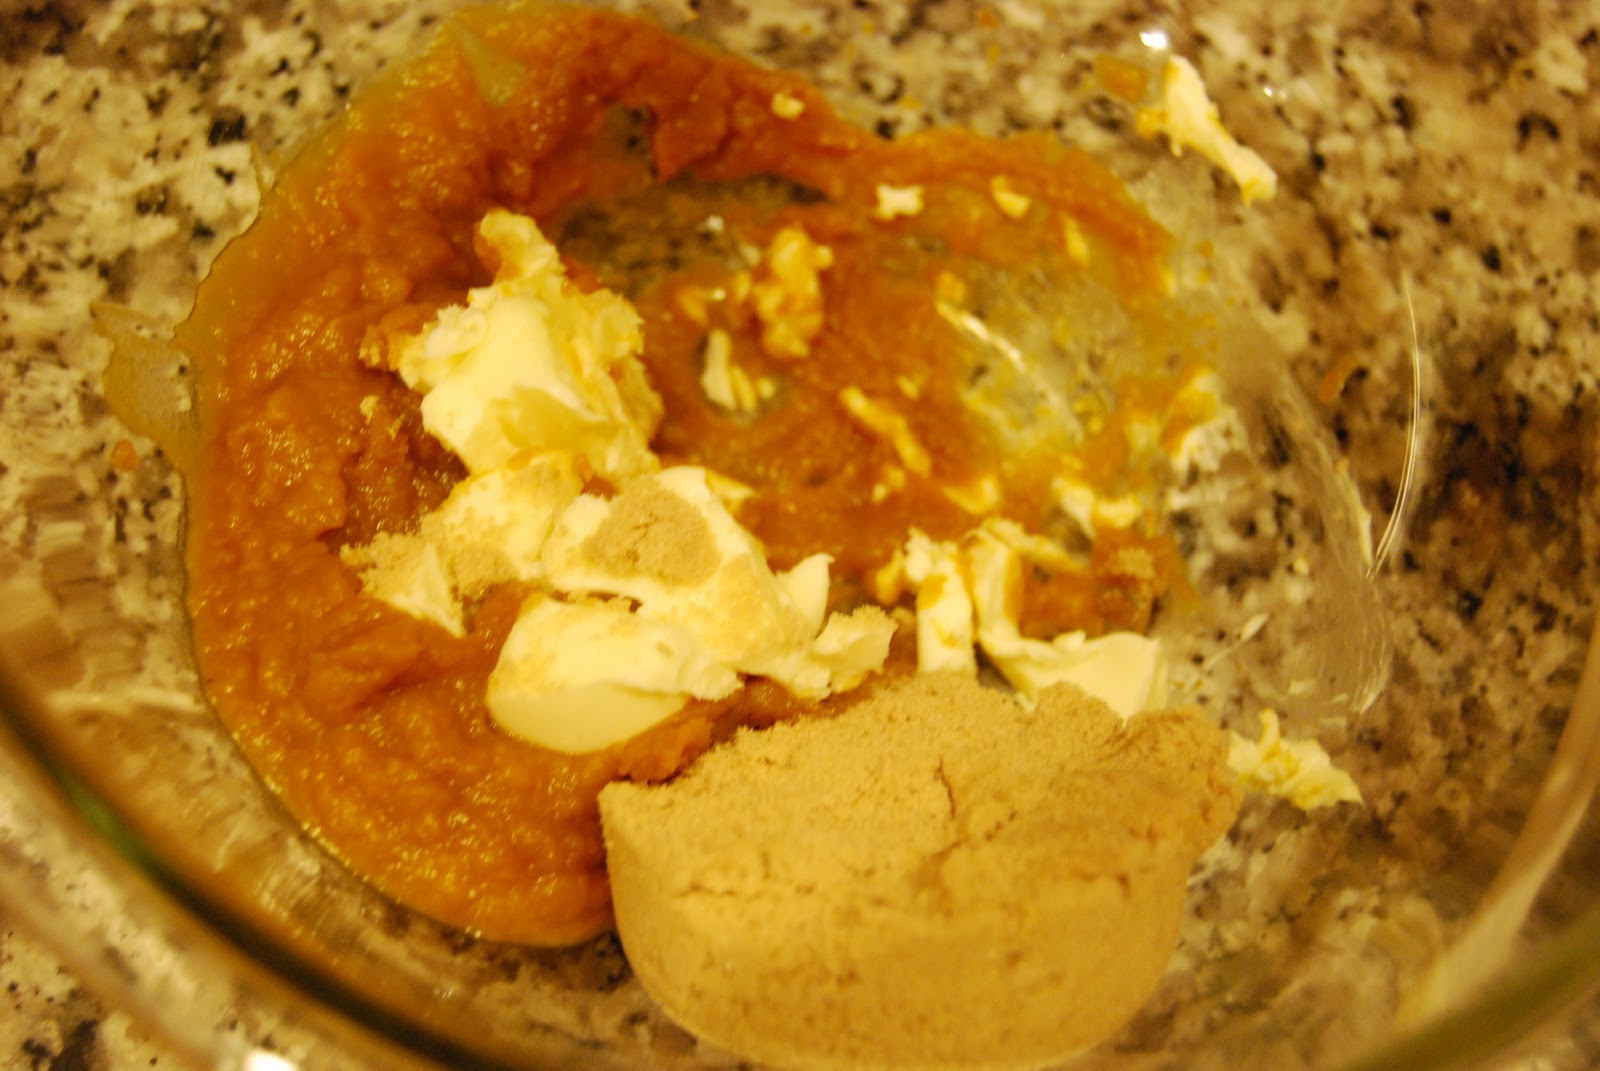
Carly: One cup… (sigh) I don’t have a cup of butter,  I’ll use pumpkin
Mom:  No, Carly, you can just follow the recipe
Carly: Mom, I think it will be fine.  I have some pumpkin lying around – it’ll be great.

Pumpkin Chocolate Nut Squares
Ingredients
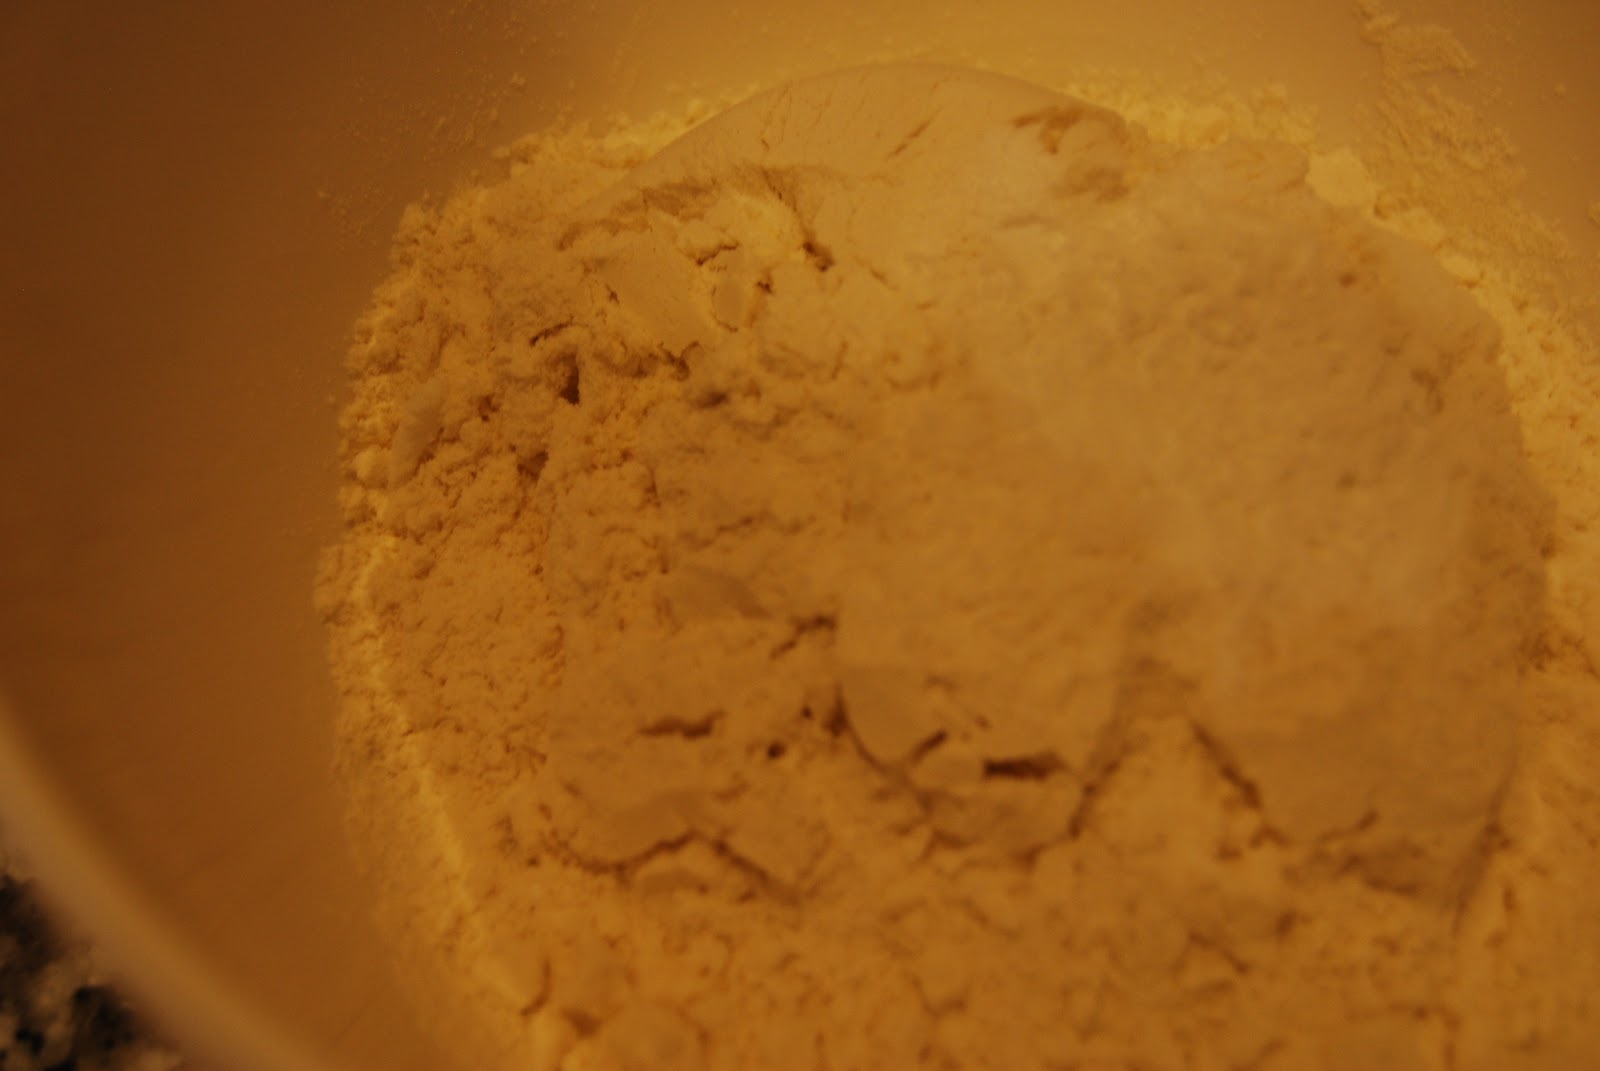
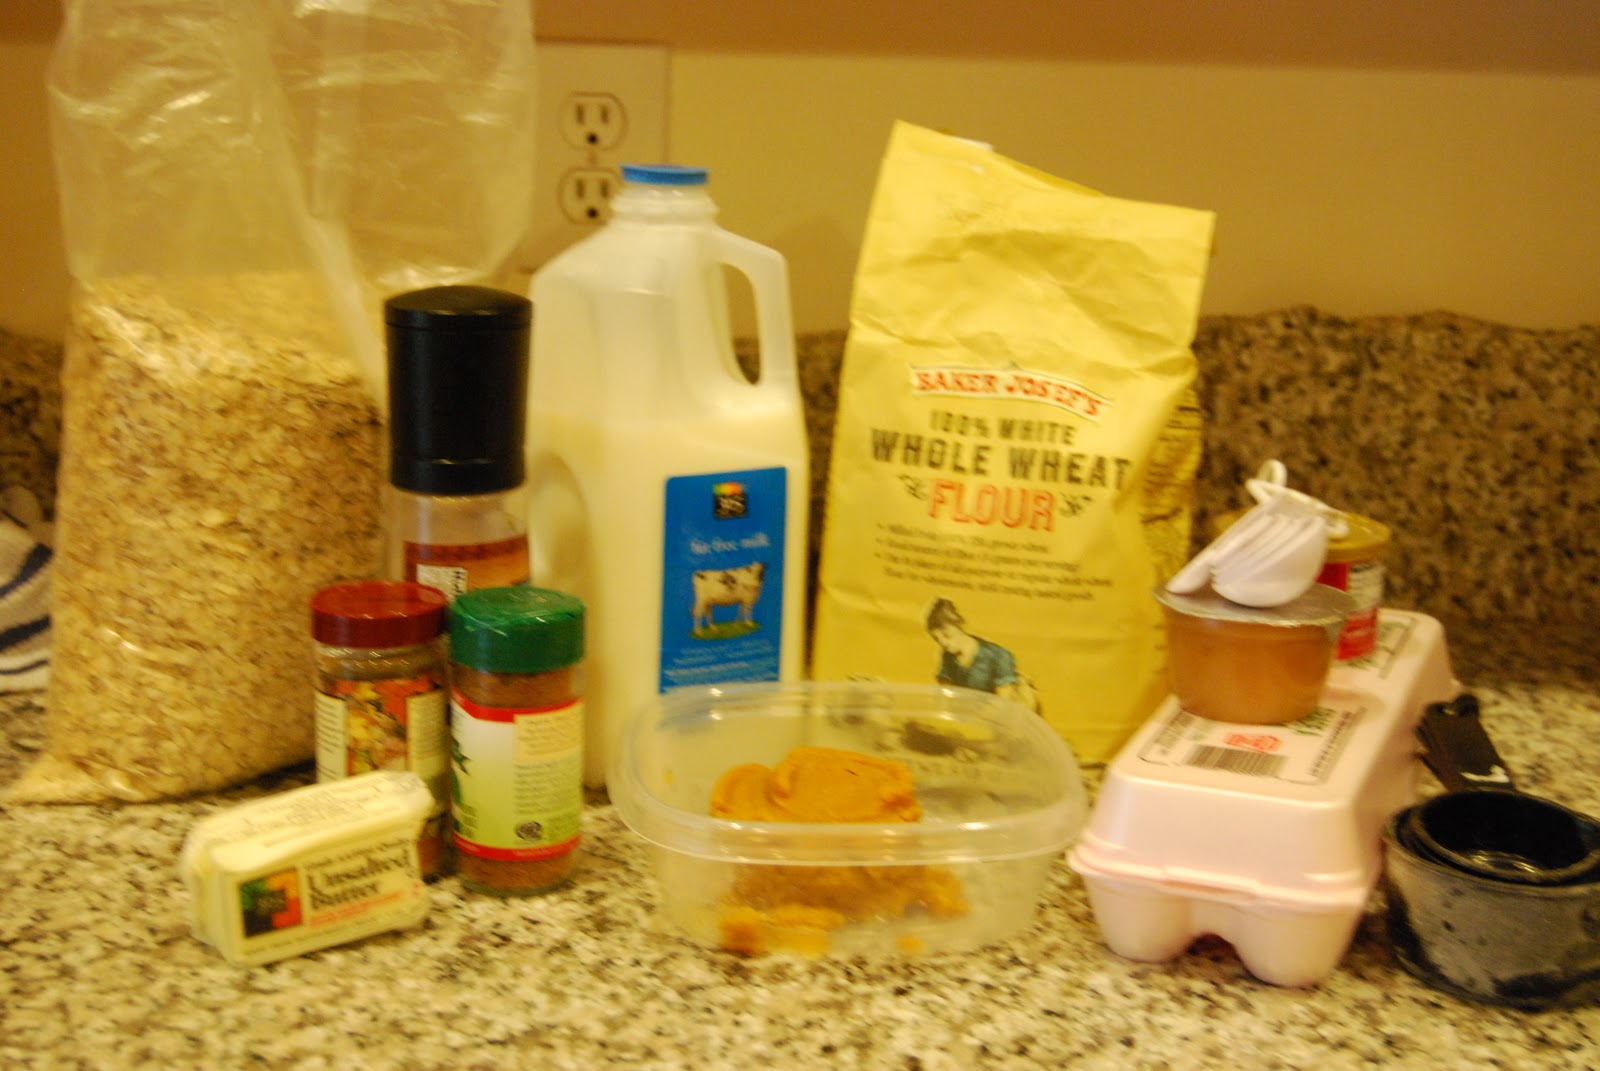
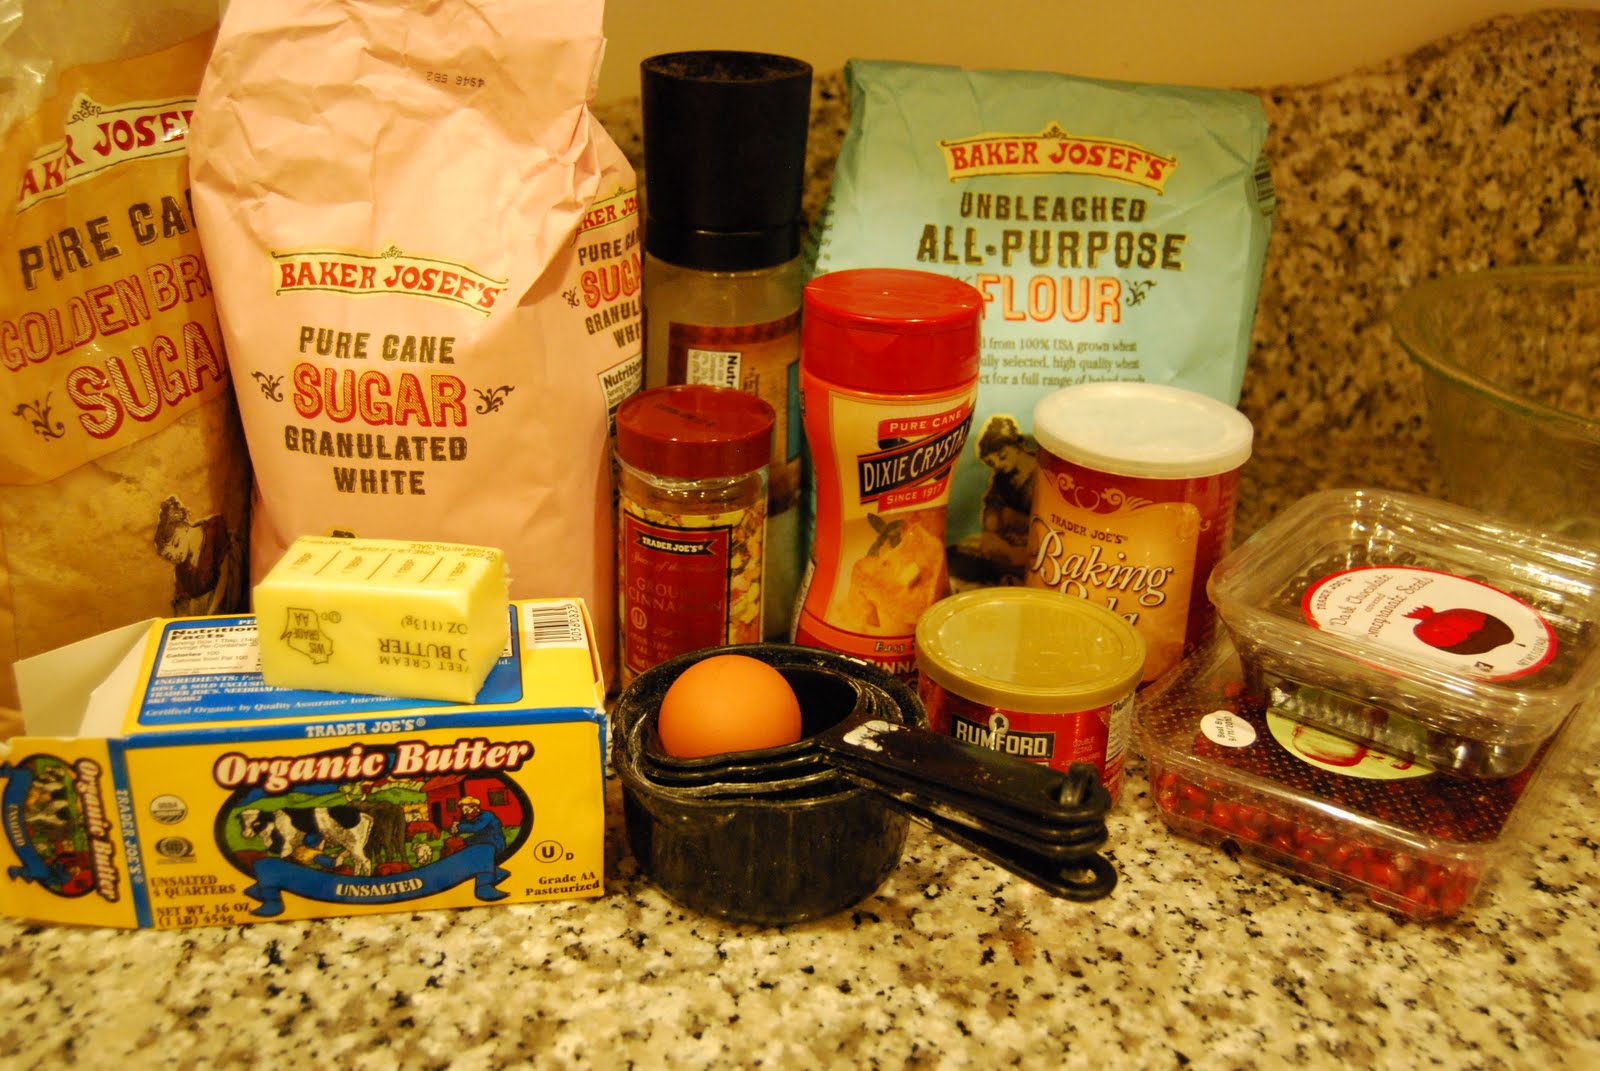
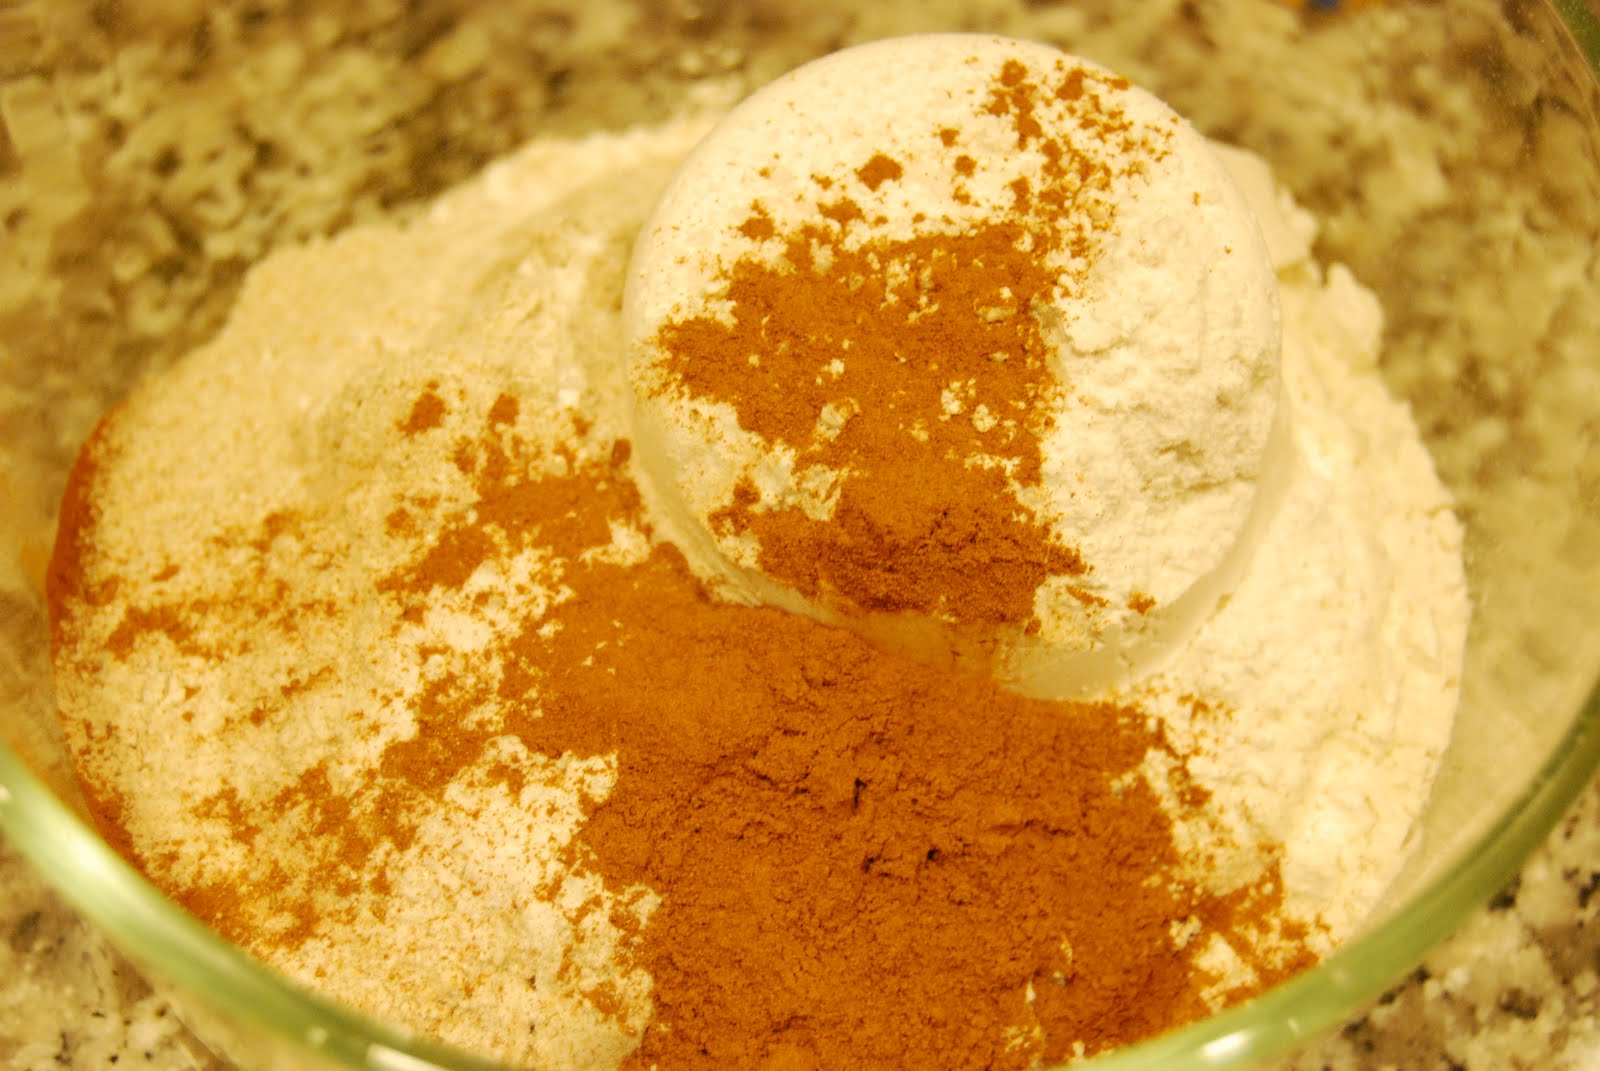
2 Cups of all-purpose flour
1/2 tsp of cinnamon
1/4 tsp of nutmeg

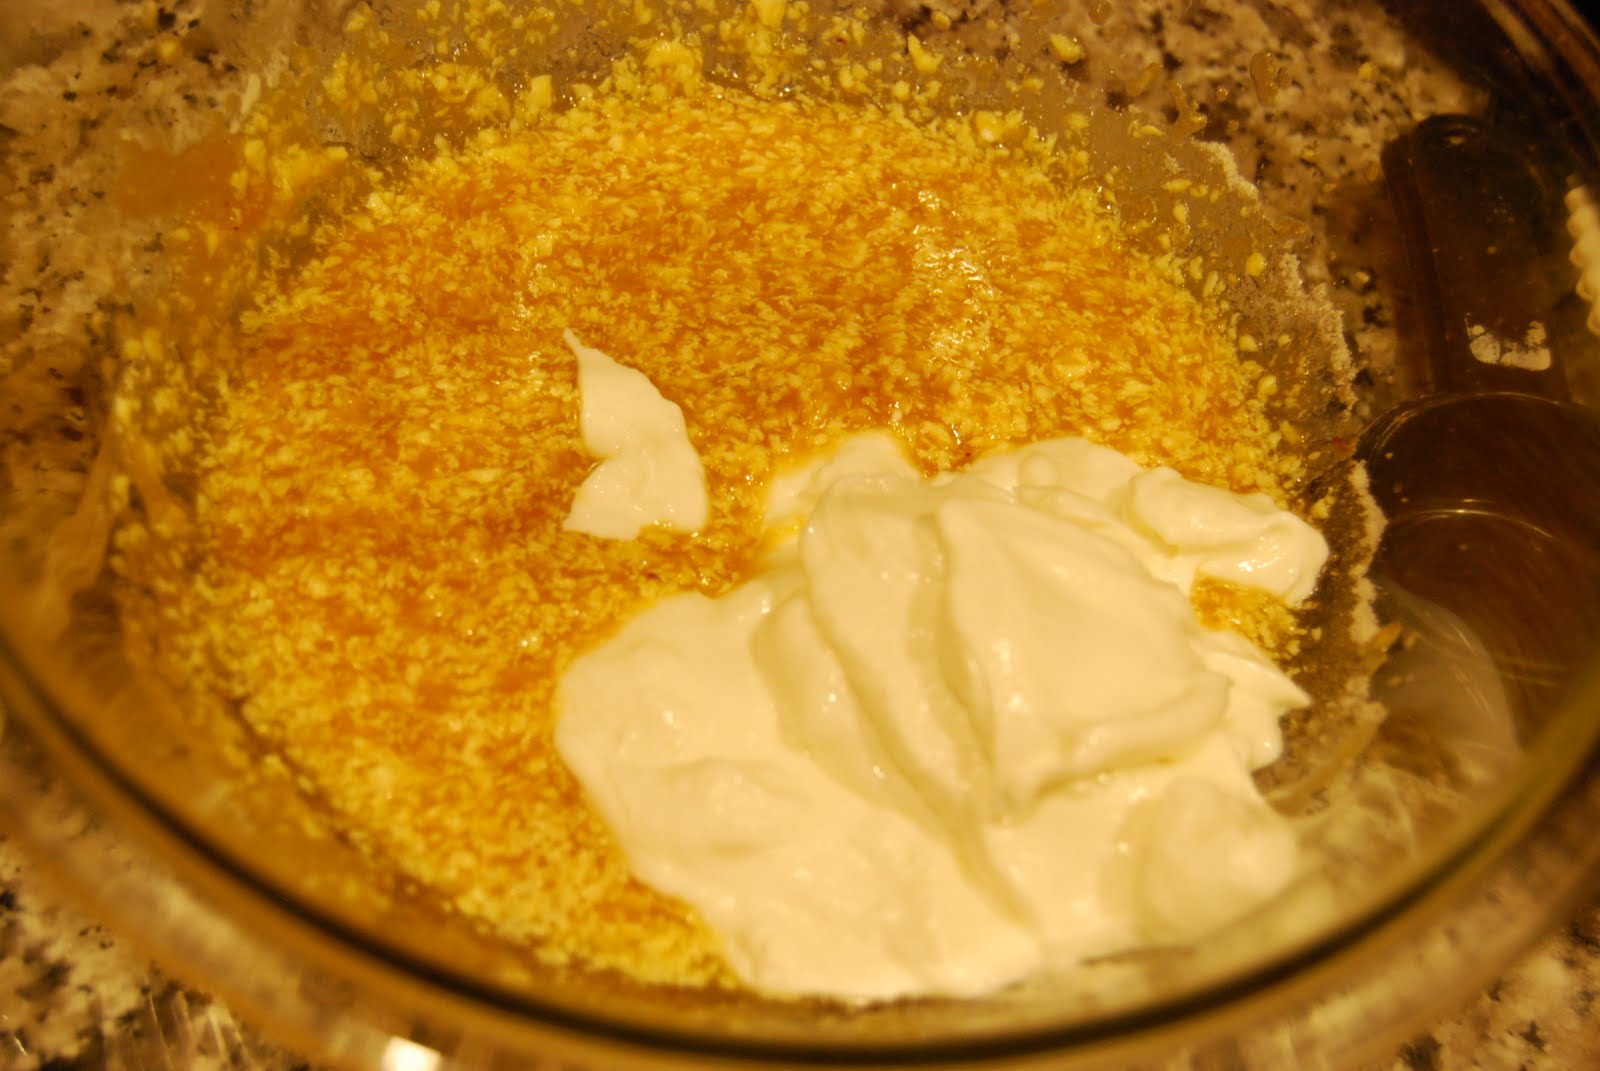
1 stick of butter (unsalted)
1 cup of pumpkin
1/2 cup of brown sugar
1 egg
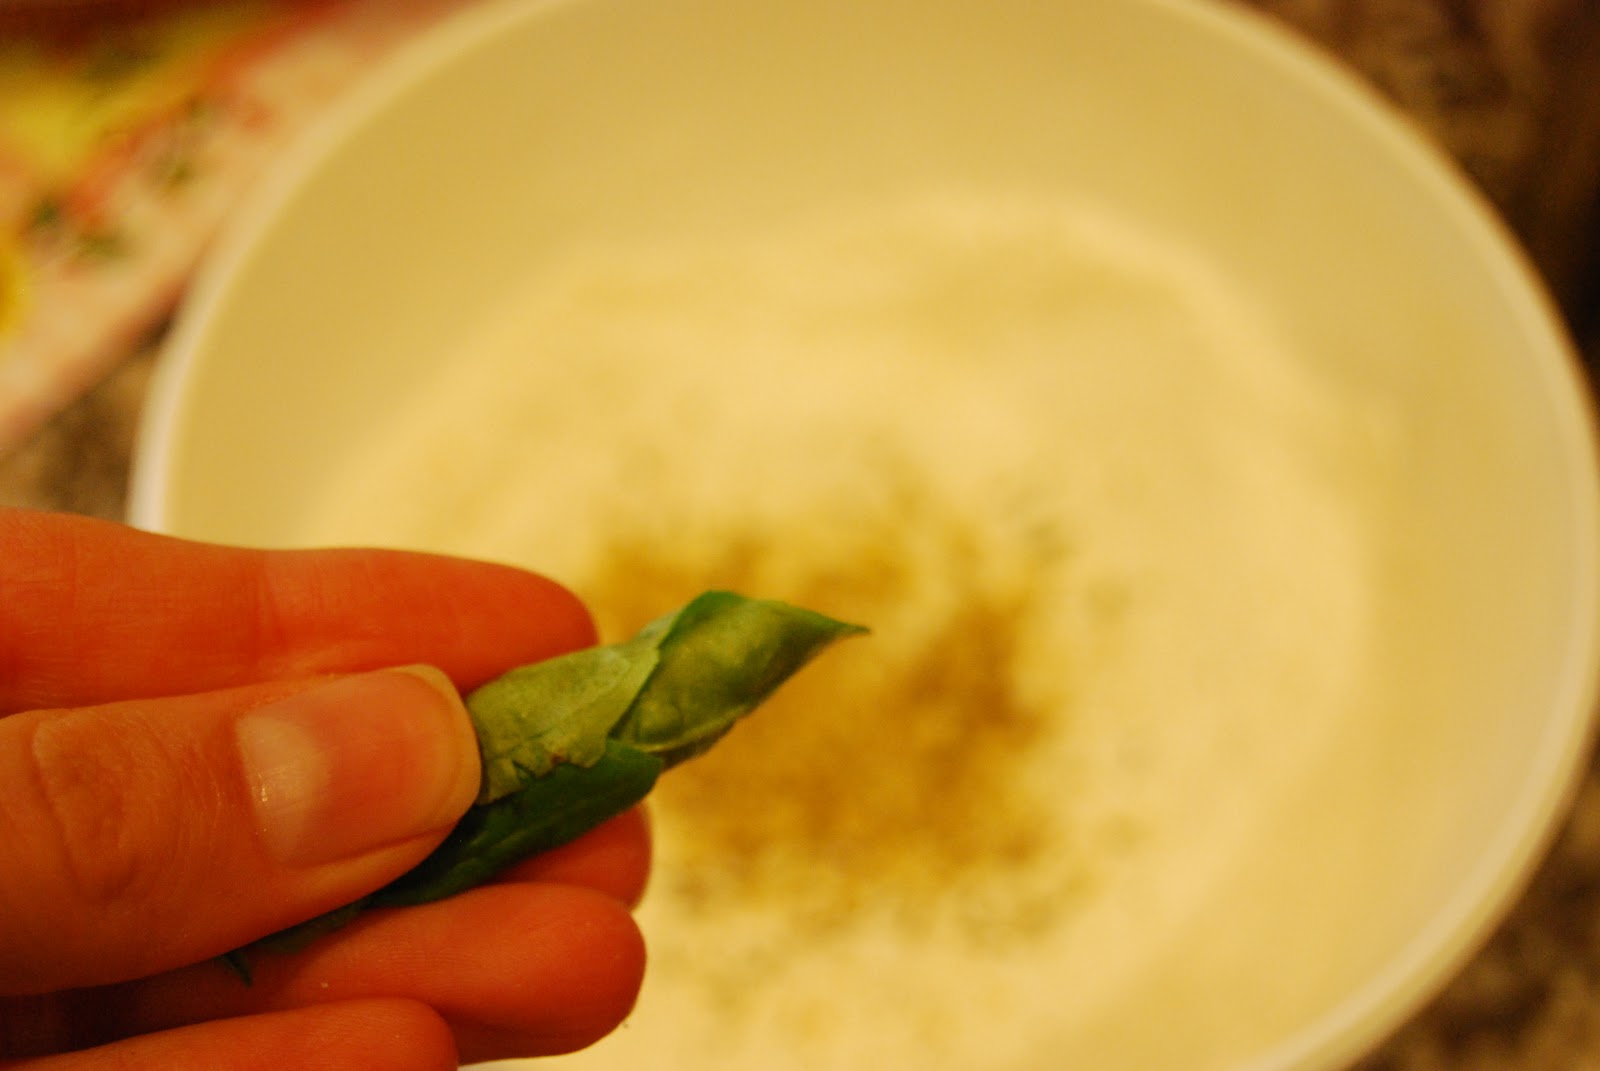
1 1/2 tsp of vanilla

Frosting:
12 oz. of semi-sweet chocolate chips
2 tbsp butter
3 tbsp light corn syrup

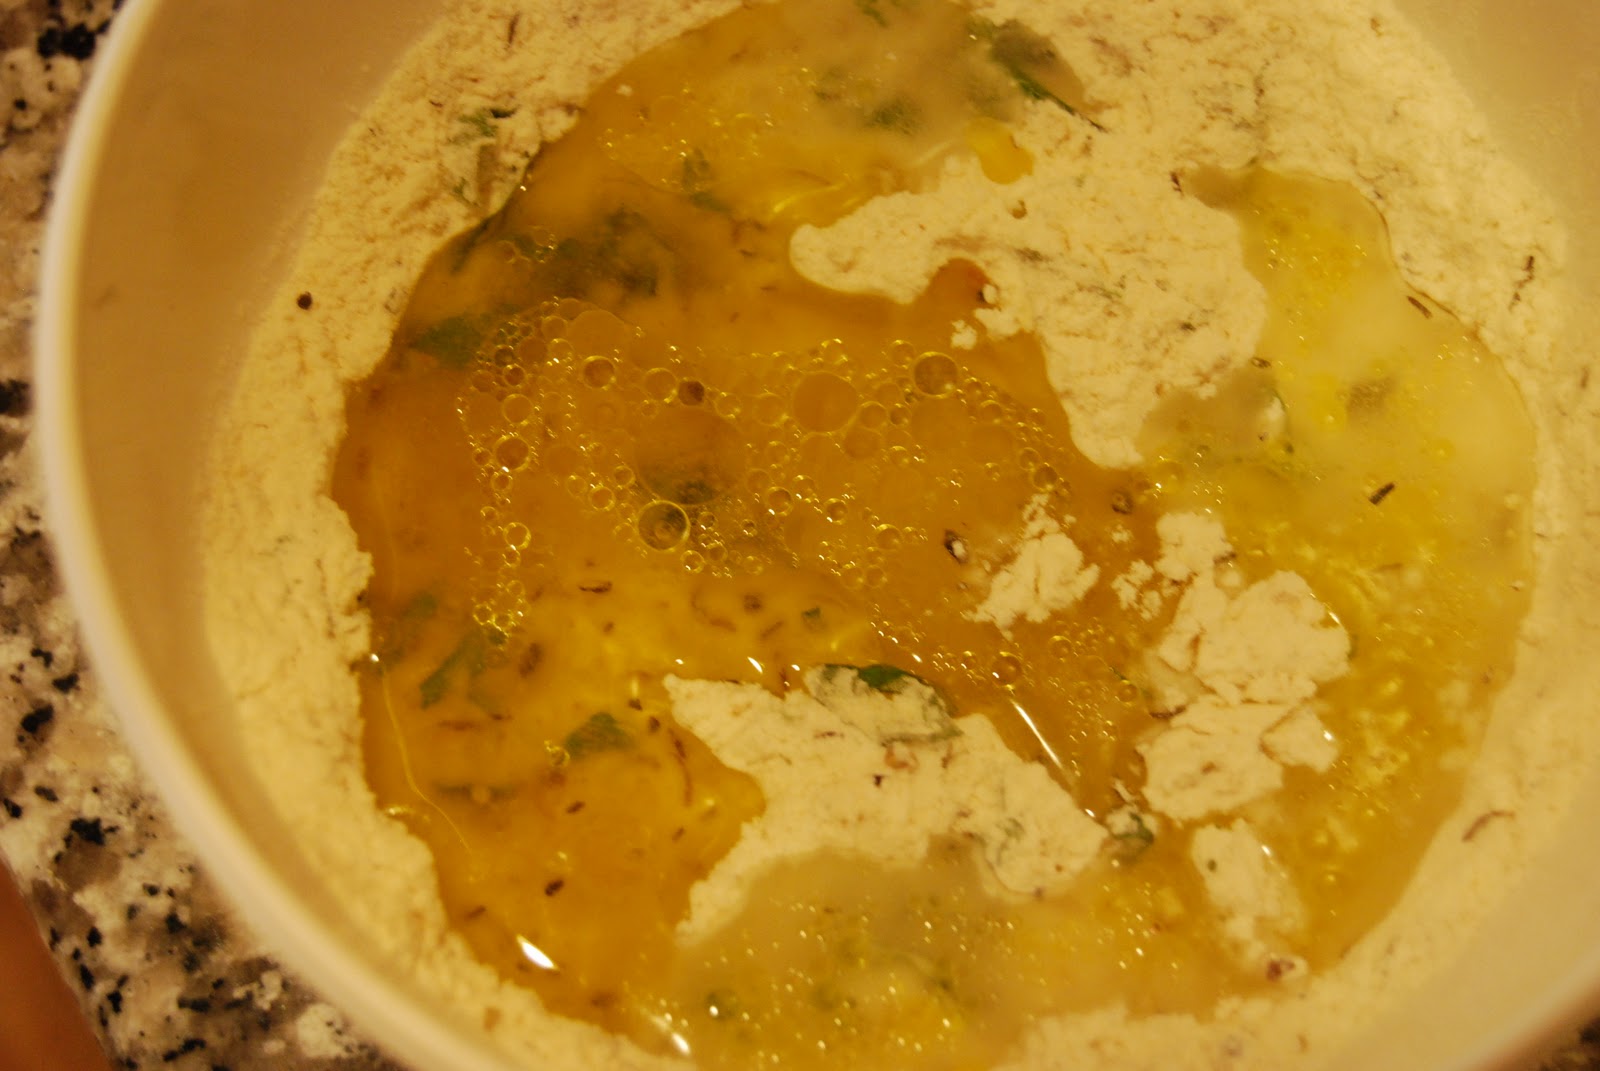
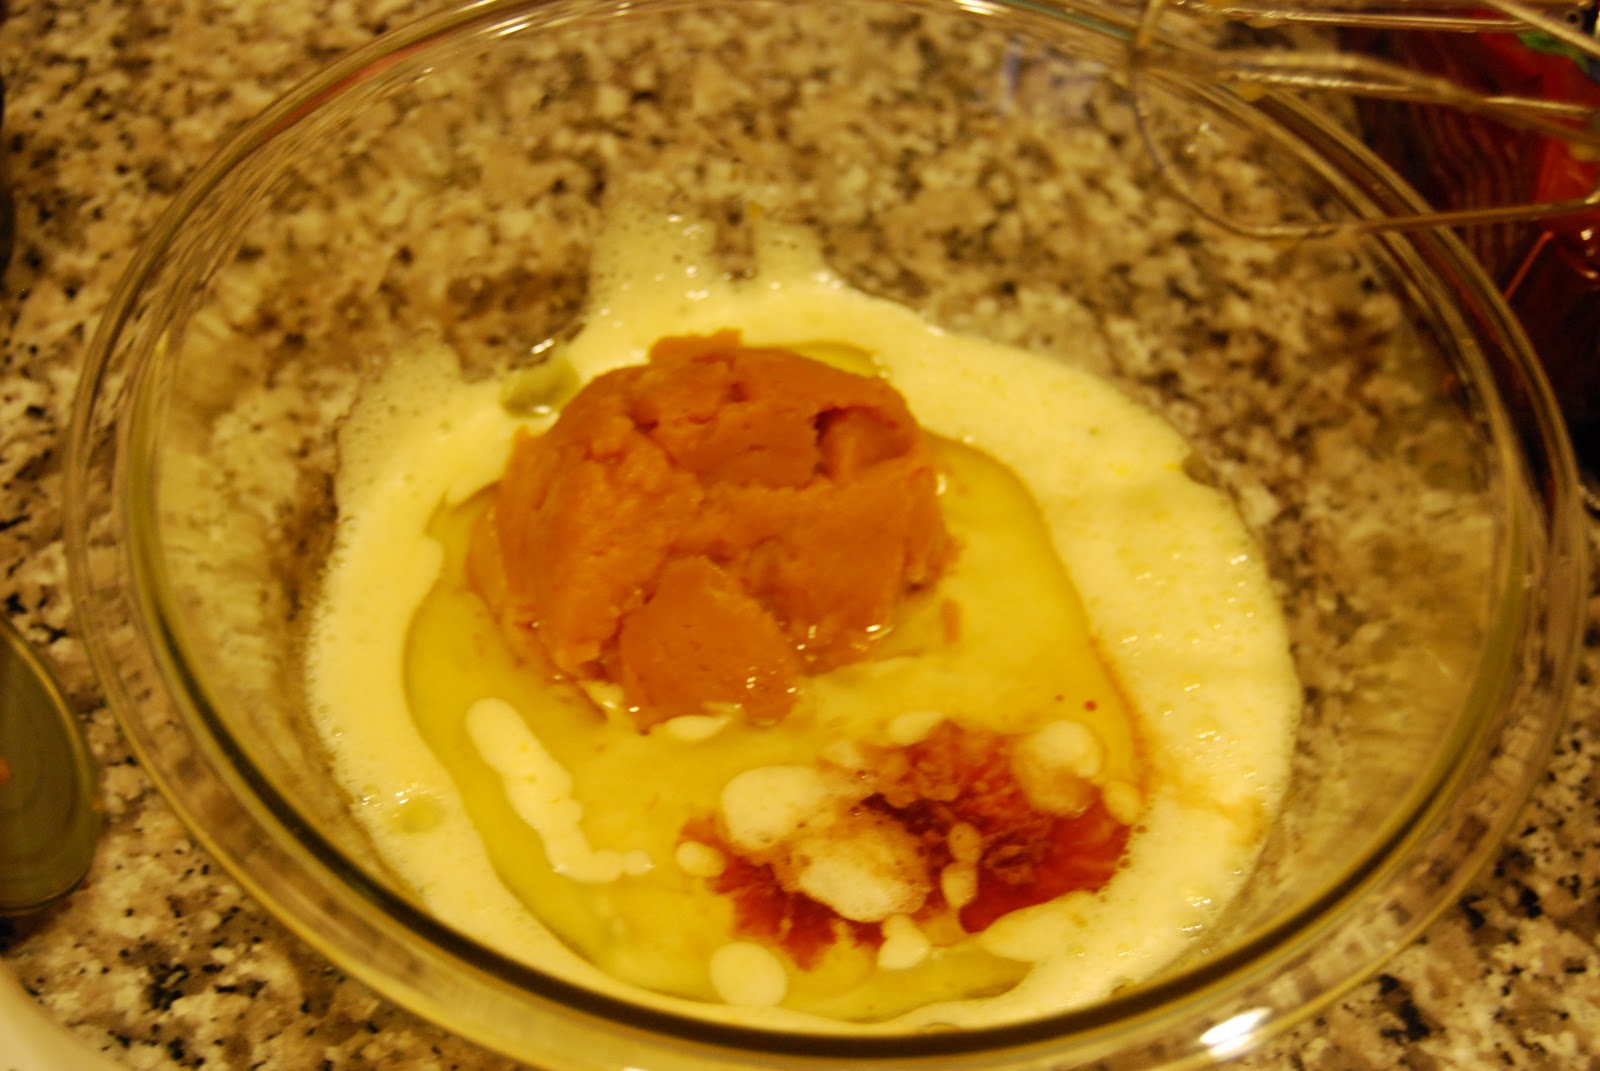
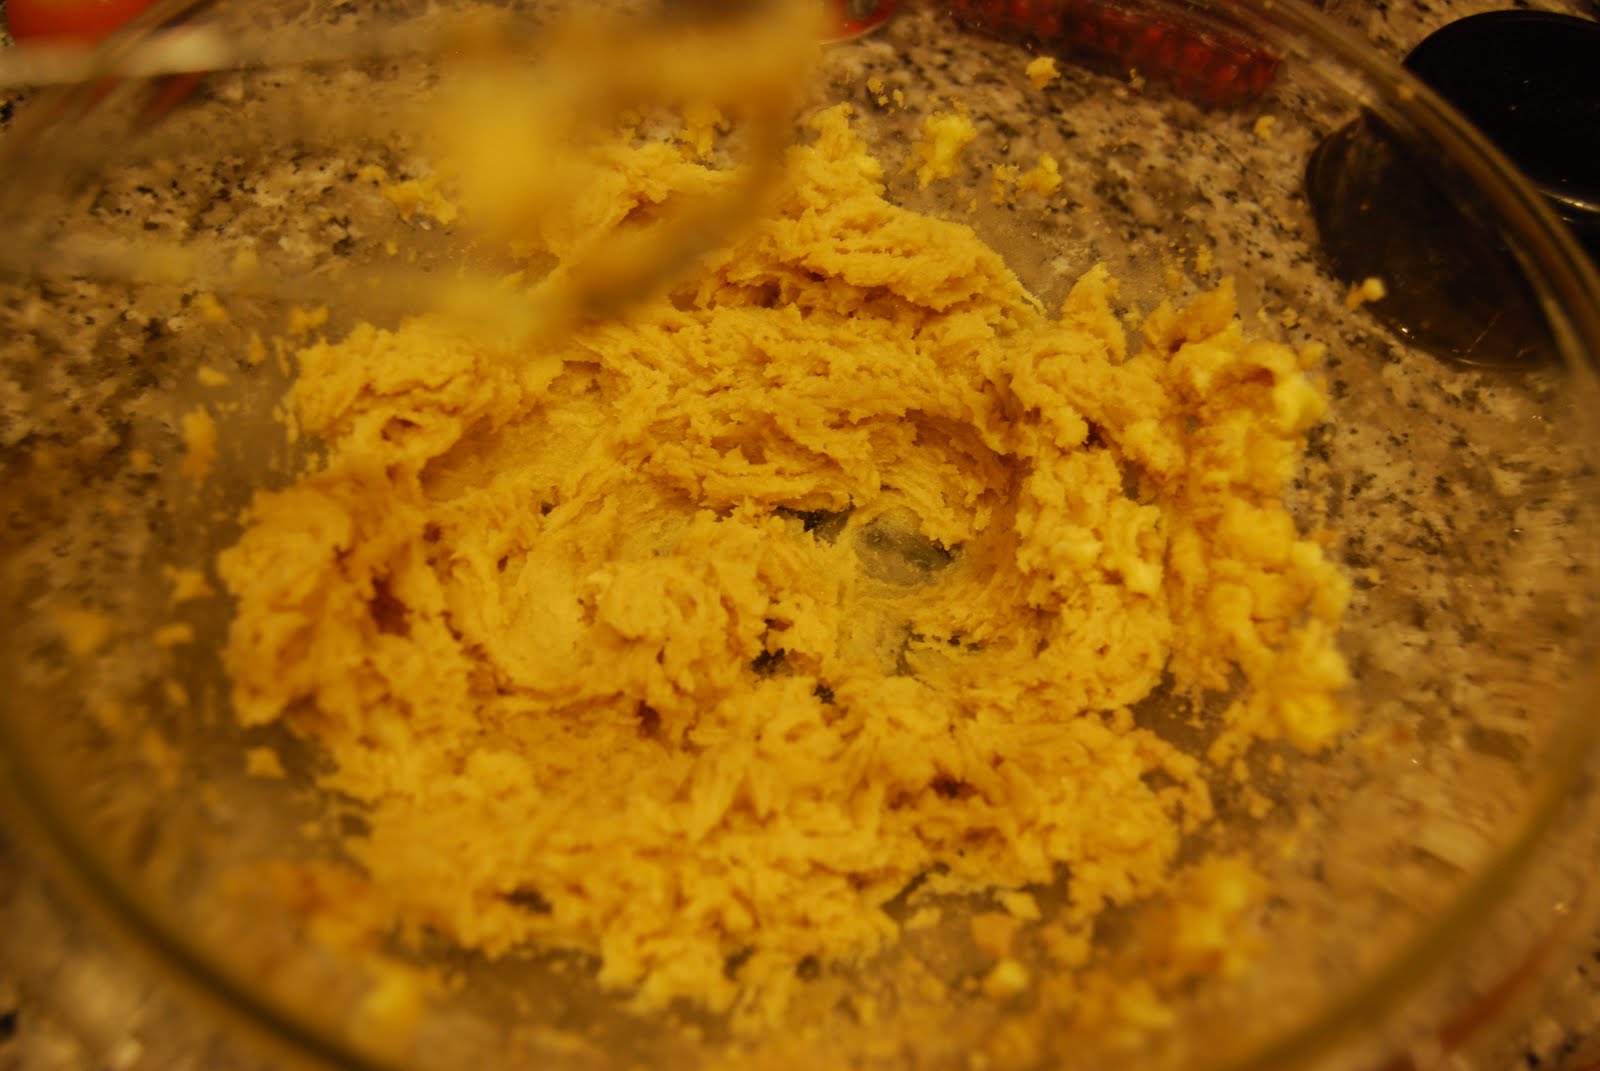
With my mom on the phone and my neck cradling the phone, in one bowl mix the butter, brown sugar and pumpkin.  If you want to follow the rules, “cream” the brown sugar and butter first so that it is fully incorporated and then add the pumpkin, then the egg and the vanilla.  For the purposes of full disclosure this is not what I did, but again, really, no stress it all works out.


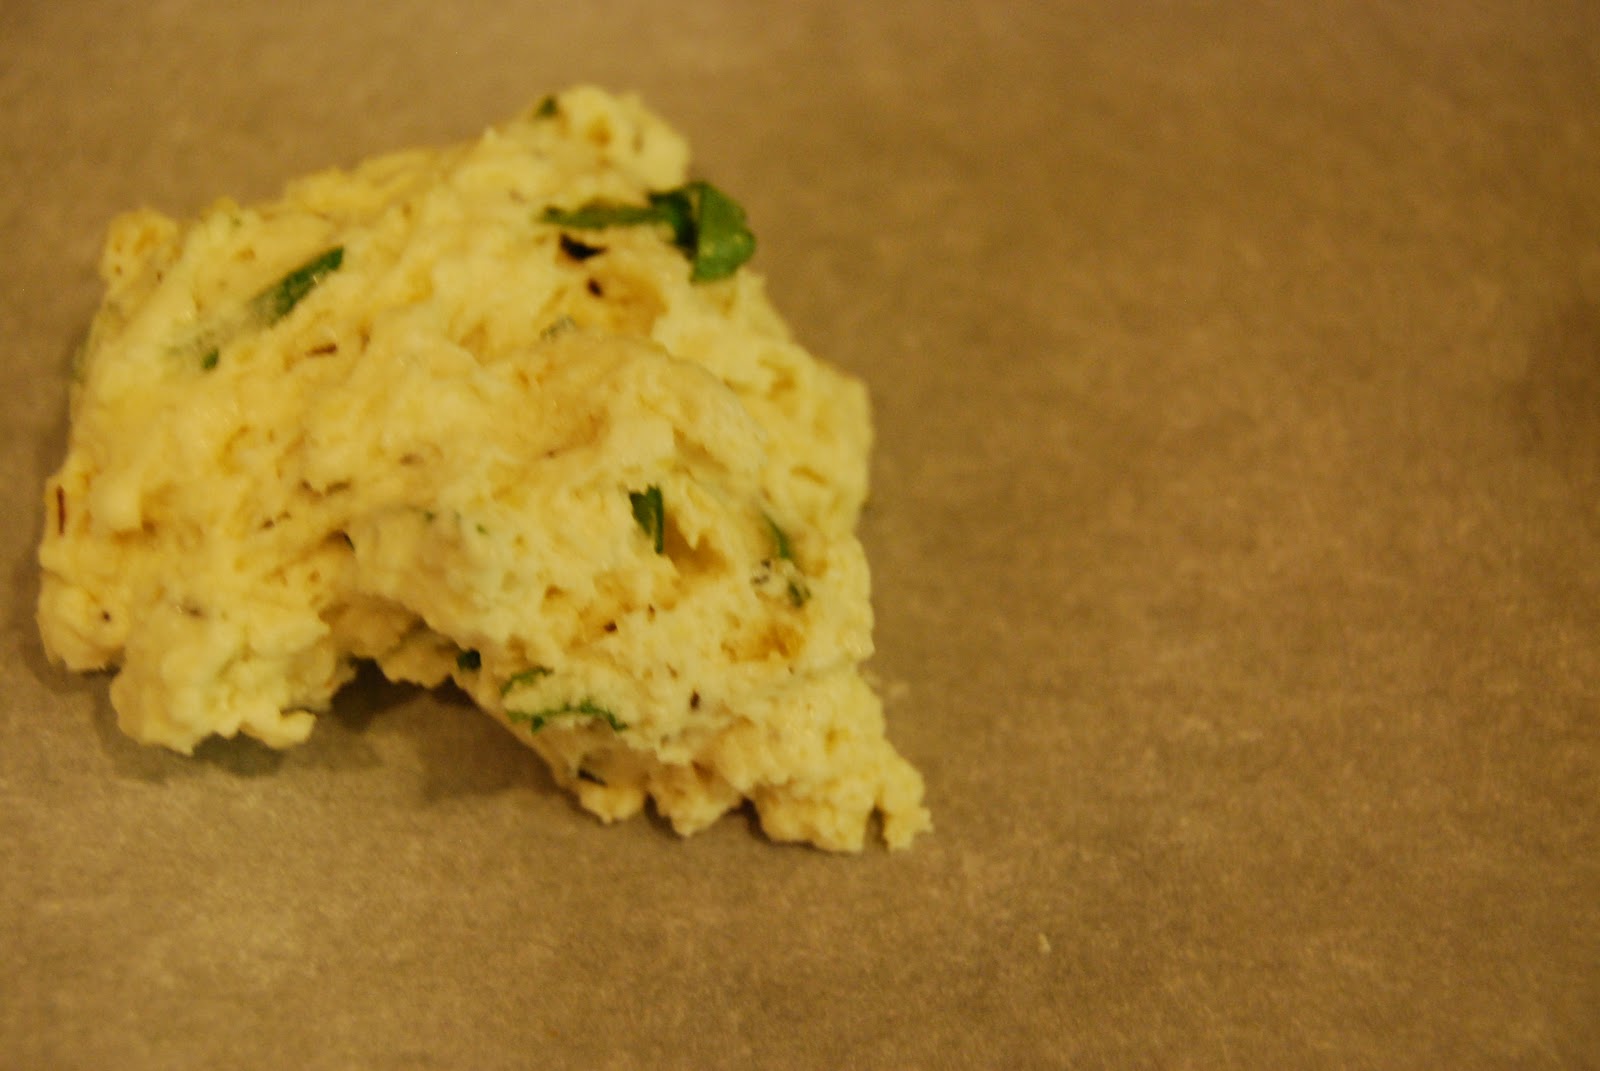
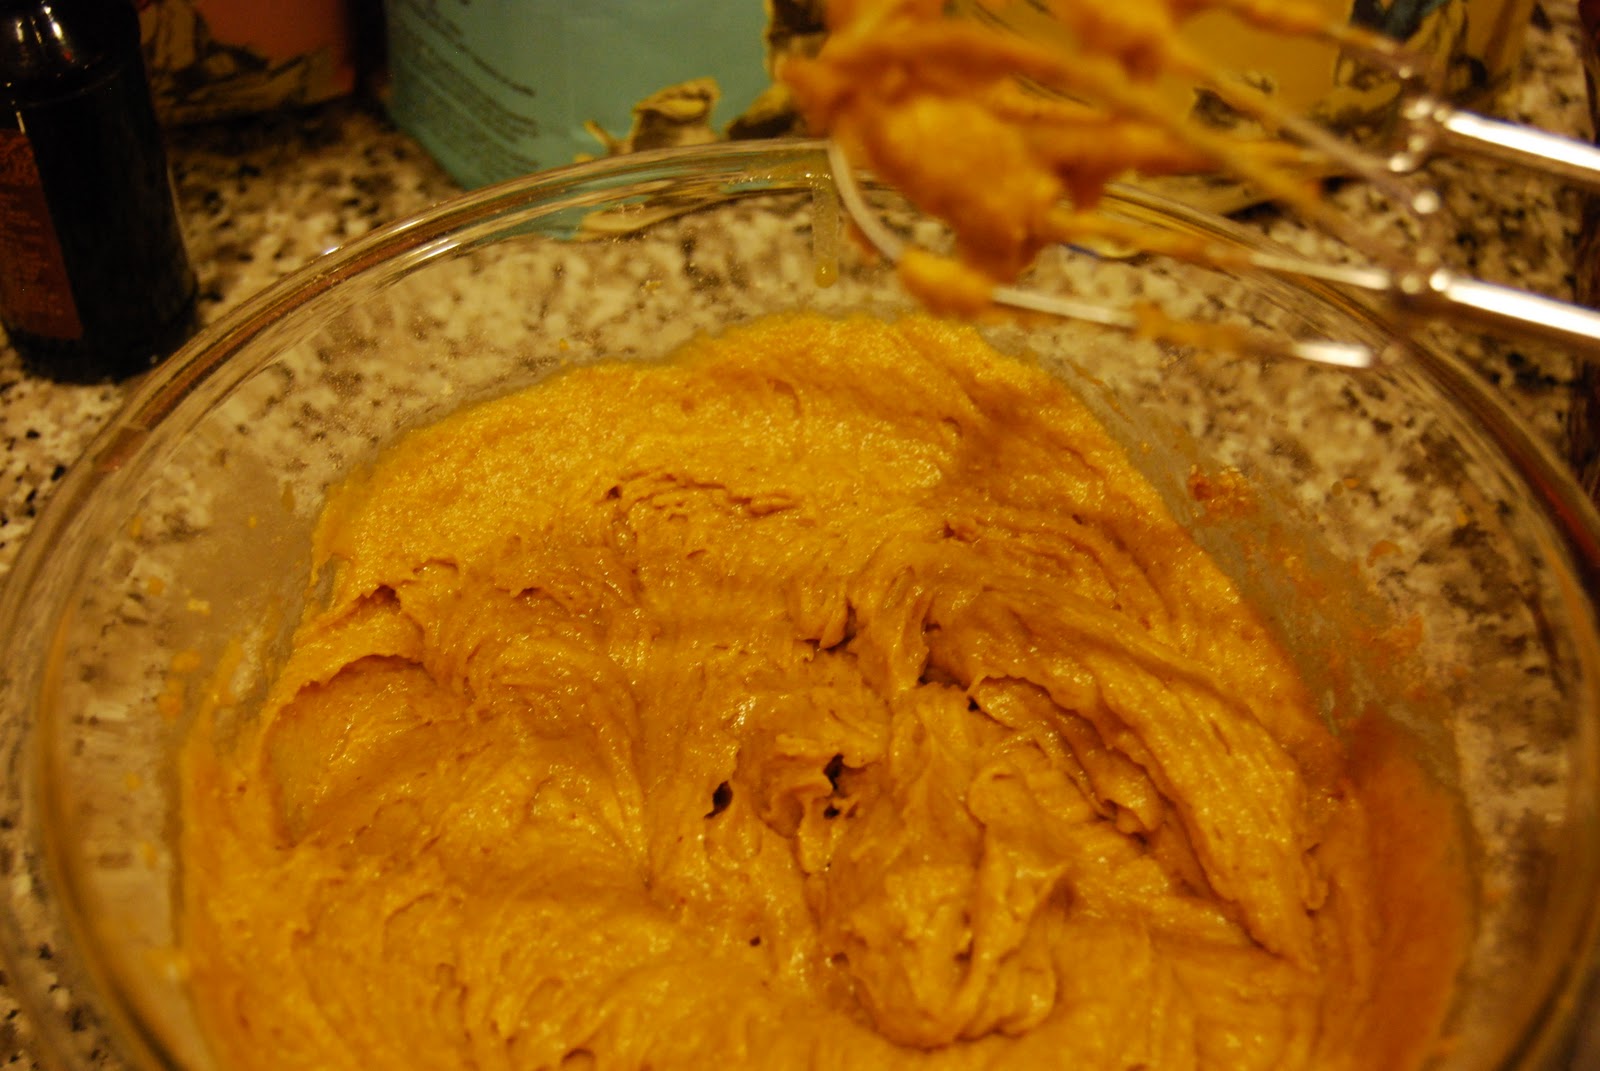
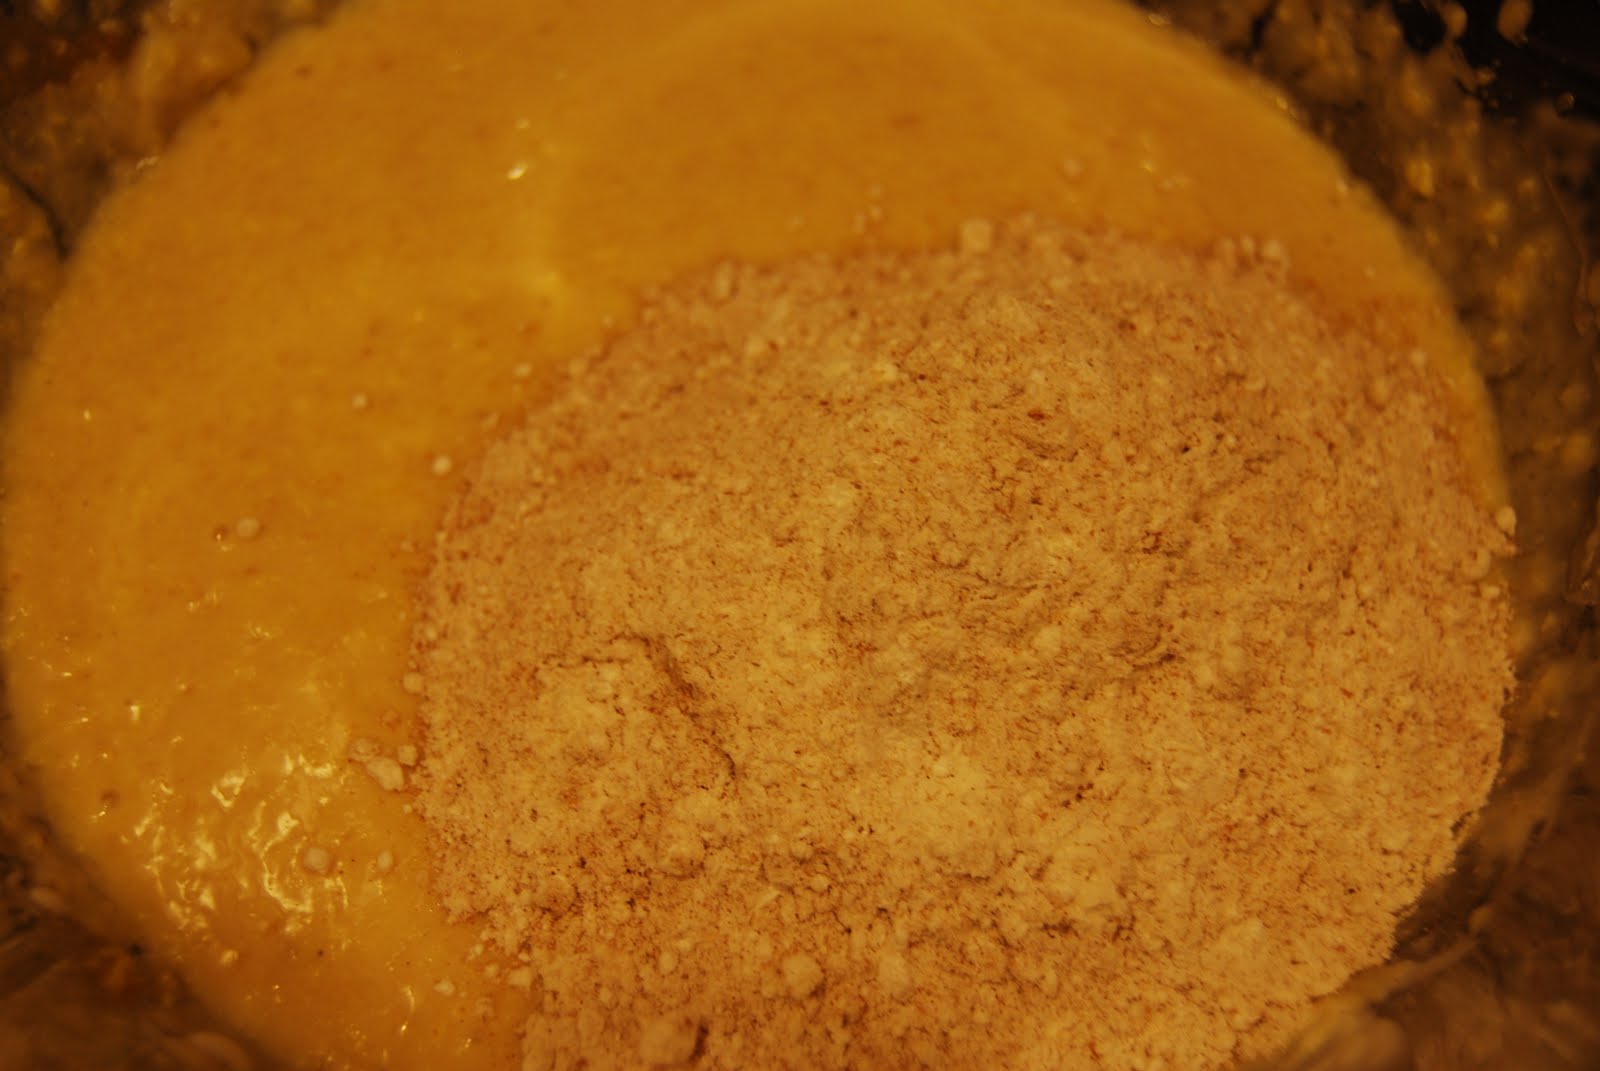
To this mixture add the flour and the cinnamon and nutmeg.  The dough is going to be pretty sturdy and after working it with a large spoon, you’ll find it it most effective to get in there and mix it up with your hands.

Back to mom…
Carly: What is this supposed to look like?  
Mom: Like cookie dough.
Carly:  But, not really like cookie dough, right?  Not like chocolate chip cookie dough (remember we didn’t use all of that butter).
….
Mom:  Put the mixer down and do it with your hands – you’ll get it right.

She was right!  Okay, so with this dough, press it into a buttered 13 x 9 baking dish (brownie pan/lasagna pan).  This goes into the oven at 350 degrees for 20 minutes.

While this is baking head over to the stove top with a small saucepan and a bag of chocolate chips.  Remove 3-5 chocolate chips for taste testing.  Delicious.
On a low heat begin to stir the chocolate chips, and add the butter.  If you have a silicone spatula, use it.  It is easy to use and nothing sticks to it.  When the butter and the chocolate are incorporated, add the corn syrup a tablespoon at a time.  The corn syrup gives it a glossy finish.
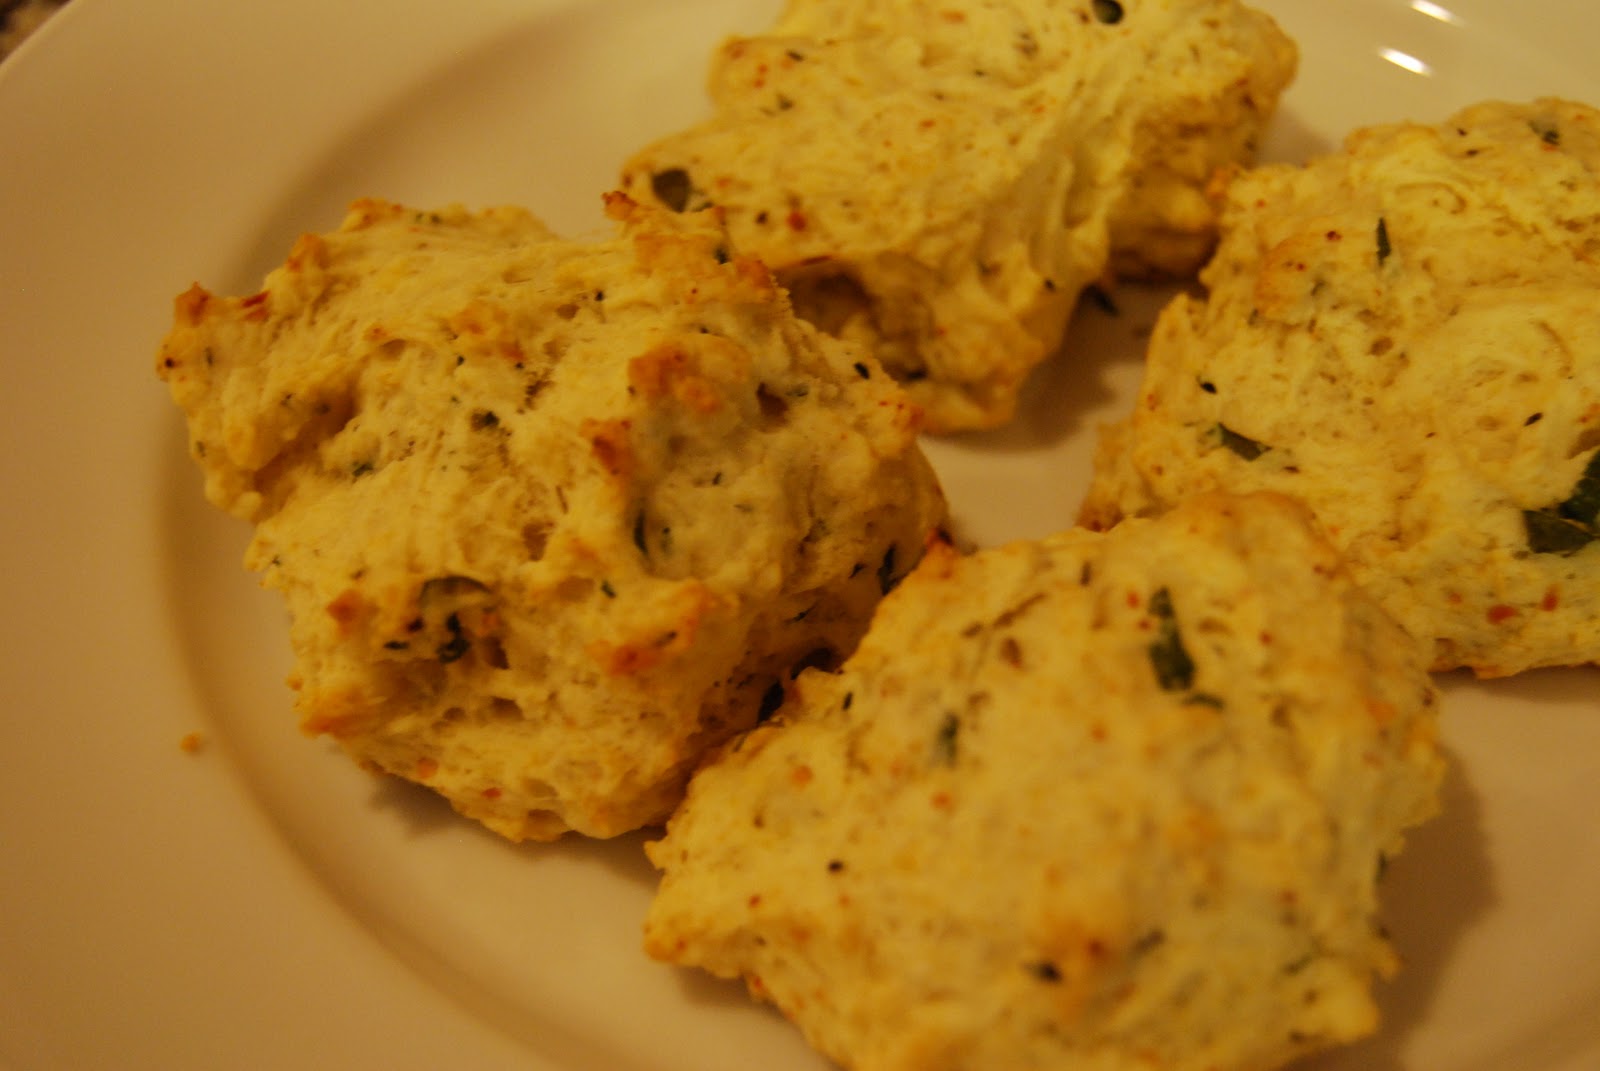
After the cookie bottom is out of the oven, let it cool for 10 minutes and then with that silicone spatula scoop and spread the chocolate mixture.  Here’s the thing, because you spread the dough with your fingers it might have been uneven, and you might see finger indentations.  And then, because you spread the chocolate with a funny spatula it might also be a little wavy/weird.  Not to worry.
Open the can of nuts you have lying around, or maybe the can that you made a special trip to a grocery store for and spread them all across the chocolate. The bumps and weird waves are completely covered with salty deliciousness.  Because, sometime you feel like a nut, and chocolate, and pumpkin, and cookies!!!
My mom says to refrigerate them over night, so you probably should.  I didn’t – sorry mom.
Via text at 10:59 pm
Mom: How did they turn out?
Carly: Pretty good.  Not as good as yours, but I liked it.  
Mom: Good, I am sure they will be well received.  Leave them in the fridge.
Carly: Can they be covered on the counter overnight?
Mom: It says to refrigerate, but if its cold it should be ok
Carly: The pan was still warm so I was afraid to put it in the fridge.

Next day…
Carly: The bars are getting rave reviews, as the best ever
Refrigerate or not, cut them into cute little squares and share with friends.  I am loving this for Thanksgiving, it’s a great way to use pumpkin in something that is not a pie – but just as fun, and way easier to make.  

Thanks mom!  Oh, and enjoy!  And this Thanksgiving make sure you take a minute to thank someone that’s always helping you out!

Don’t Forget the Centerpiece


When entertaining for the holidays, or really any time of the year, your table is never fully dressed without a centerpiece.  The Fall and Winter seasons provide plenty of inspiration for table decor that is special but also simple. 

I first turn to the master of all “good things”, Ms. Martha Stewart, for inspiration:

For a simple everyday table setting how sweet is table with a collection of small sized baskets with seasonal fruits?  Let the fruit double as part of your dessert and you have a two for one special.
via Martha Stewart
 In a continuation of the fruit theme, I love the stately nature of the pillar candles and baskets filled with plump berries and grapes.  The colors sing fall while not being generic or too obviously themed.
via Martha Stewart
 For a crafty decor idea there is nothing easier than this for the mantle: take candle holders/vases that you already own and wrap with pretty paper and secure with a double stick tape.  An illuminated candle inside gives this idea an ever brighter glow.
via Martha Stewart
 I love, love, love this centerpiece.  It is a true centerpiece and worthy of a special dinner or even a fall wedding.  A bundle of wheat twisted and tied with a beautiful silk ribbon compliments the warmth and heart of the season.
via Martha Stewart
Here are some more great centerpiece ideas that I could not resist:
From pottery barn, this is a simple hurricane candle holder wrapped with dried maze and tied with twine.  It probably take no more than minutes to assemble but makes a very pretty visual impact.
Via Pottery Barn

Or you can always order a vibrant, beautiful bouquet of flowers for your table and for around your home:
via FTD
via 1800Flowers
Whatever you do keep it easy, make it reflect you and your home, and make it special with a little extra sparkle.

Happy Friday and have a beautiful weekend!

Instant Biscuits


Somehow this weekend I became the kind of person who makes biscuits, and my house became the kind of house that barely has a meal without one…  How did this happen?  I am not really sure, but I blame it on the suddenly seasonal weather (cold),   the abundance of soup I had on hand, and the need for something extra comforting as it became clear that the abnormally warm weather wouldn’t be lasting all fall.


Instant Biscuits, adapted from MomsRetro
1 Cup of all purpose flour
2 Tsps Baking Powder
1/2 Tsp Kosher Salt
3 TBSPs  Oil/Shortening
1/3 Cup of Water


Additional Flavors:
Fresh Basil, Oregano, Parsley, Garlic Powder, Fresh grated Parmigiana-Reggiano

Set oven to 350 degrees

Before we get started on the how, I have to get into the why.  Homemade biscuits has been on my to-do list for a while, but I never got around to it because it’s one of those things that when you want it, you want it and you don’t want to wait for proofing, and who keeps buttermilk on hand?  I certainly do not.  This recipe takes 15 minutes and is made entirely from pantry items.

In a small bowl mix all of the dry ingredients: flour, salt, baking powder. 


Add the seasoning.  I went for Italian seasoning because it paired well with the soup I had on hand, but you could just as easily use any other seasoning.  Also, this was a great opportunity to use the fresh basil that has grown really beautifully all summer, before the leaves freeze!

Pluck off 6-7 leaves of fresh basil and roll them up in your hand, with a scissor cut across the leaves to create skinny ribbons of basil, if we were fancy we might call this chiffonade, but we’re not, so we won’t.

Add the oil and the water and mix gently with a fork. 

The dough is supposed to look pretty sloppy, this isn’t a typical dough that would look nice and smooth.  The roughness of the dough leads to light and flaky biscuits.

With your fingers pull apart clumps of dough about the size of a full tablespoon and place on a cookie sheet with parchment paper.


Bake for 10 – 15 minutes.  If you can resist, let them cool enough so your can handle them.  They are very moist and won’t require butter, but that could might only make them better. 

Seriously, this is just about as easy as popping open a can of pre-made biscuits, but you won’t chip a nail, you won’t have weird flakes of paper/tin attached the dough, and they will be that much more delicious and rewarding.  Enjoy – and share with 6-8 people (because that is how many biscuits it will make, or enjoy them all by yourself!)

Roasted Potatoes, Poupourri You Can Eat


To be fair this is not so much of a “recipe” as it is a suggestion.  

I know that this weekend is dedicated to running around for last minute costumes, carving pumpkins, excessive makeup, buying candy, consuming lots more candy, and indulging on some other celebratory vices.  And that is all good.  But, the weekend is long, and eventually you’ll want something that is healthy, and easy.  This is so easy that while you’re setting your hair in curlers and finishing the details of your meat dress this can cook.

Roasted Potatoes is the most homey non-recipe recipe there is.  I like to mix a large variety of potatoes (white, red, purple, sweet, yellow) and chop them all up into chunks that are about 1/4 – 1/3 of an inch thick.

Set the oven to 400 degrees and prepare a cookie sheet with parchment paper.  And get chopping. 

Ta da!  All chopped.  When all the chopped potatoes are in a bowl drizzle on some olive oil, sprinkle on some Kosher salt, crack some black pepper.  
Okay, now here is where you have some creative license.  Are you feeling traditional?  How about some rosemary and thyme.  Want some heat?  Sprinkle on some cayenne.  Want Italian flavors?  Try oregano, parsley, and maybe some  finely grated Parmigiana-Reggiano, or do as we do and go a little crazy with the Old Bay.  There is no right or wrong amount, but you’ll want to see the flecks of flavor on each piece of potato.  This is truly an instance of “flavor to taste”.

Throw in the oven and bake for 30-40 minutes, the longer it’s in there the more browned the edges will become, again this is a personal preference.  Also, I am going to again recommend mixing up the variety of potatoes, they each have a different flavor and texture and so all together they are like a little (healthy) party in your mouth.
Enlarged to show flavor intensity detail!
Happy Halloween, this year instead of a pre-trick or treating peanut butter and jelly sandwich, or pizza (which are all more than fabulous), mix it up with this!

Apple Cinnamon Oatmeal, Better When Homemade


File this simple recipe under the category “Better when made at home”.  Oatmeal is the comfort food of champions when the weather starts to turn, but I will be the first to admit that plain oatmeal is really just PLAIN.  So, I turned to an old favorite, apple cinnamon oatmeal.

Apple Cinnamon Oatmeal
Ingredients:
1 large apple
1 cup of whole, plain oatmeal
2 cups of water
1/4 cup of apple cider
1/4 tbsp of unsalted butter
1 tsp of cinnamon
1 tsp of cinnamon sugar
1/4 tsp of kosher salt

I like gala apples, or braeburn apples, or fiji apples, I like anything with a tartness and some crisp in the bite.  Chop up the apples in to a small chop, but not too small so that they melt away – keeping them a little bit larger will add another dimension to the texture of the oatmeal.
In a small pan add a pat of butter and let it begin to melt.  Add in the chopped apples, and let them cook for about 2 minutes.  Add some cinnamon and sugar to get the juices flowing.  


When the heat really starts to kick in add the apple cider and stir.  The infusion of liquid and sugars will slow the cooking and also create a more caramelized texture.

While the apples are cooking you have a pot of water boiling.  When the 2 cups of water has reached a boil add the 1 cup of dry oatmeal, lower to medium heat and stir.  You’ll want to keep an eye on the oatmeal so you’ll know when it is “done” for your standards.  After about five minutes you should be there but you can take the pot off the heat and see if it’s thick enough.

When ready add a big scoop of the cooked apples, and enjoy.  It’s not quite fireside weather yet in DC, but when it is you can bet what I’ll be eating

Pumpkin Pancakes


On Sunday morning the house was cool, and I slept in a few hours after Mark did.  But, when I did wake up I knew what we would be having for breakfast, pumpkin pancakes. 

The backyard with a cool breeze
Mark had already had cereal, but he was happy to have Second Breakfast. This was so good, and made with real, good ingredients, and easy; fall was received so well that I was told by Mark and my sister that the next time I would need to triple the recipe.

Whole Wheat Oat Pumpkin Pancakes, 
1 cup whole wheat flour
1/4 cup whole dry oatmeal
2 teaspsoons baking powder
1/2 teaspoon cinnamon
1/2 teaspoon salt
1/8 teaspoon nutmeg
1/8 teaspoon pumpkin pie spice

1 cup of skim milk
1/2 cup of unsweetened apple sauce
1/2 cup of pumpkin puree
1.5 tablespoons melted butter
1 egg
In one bowl mix the dry ingredients: spices, seasoning, flour, oats; in a separate bowl  mix the milk, pumpkin apple sauce and in a small pan melt the butter.


Combine all ingredients with a spoon (or spatula as you see I did), you don’t need a mixer.  The easy mixing is the morning workout!  Also, around this time I take the maple syrup and butter out of the refrigerator; there is nothing worse than cold syrup and hard butter on delicious fresh pancakes!


Here’s the thing about pancakes: the first one always looks like blech.  It doesn’t taste like blech, just looks like it.  So if your first one looks a bit crazy, you can taste test it, because it will still taste amazing.


Grab a plate, some deliciously sweet and slightly savory pancakes, a pad of butter and a splash of syrup.  Enjoy each bite of this fall treat; it is the best way to start the day!

First taste of Fall: Dark Chocolate Chunk Pumpkin Cookies


Not too long ago I listed my favorite things about fall, and somehow this got left off the list – very tragic!  I found this recipe last year and made it for my office, and it was a big, big hit.   Pumpkin is a fall mainstay and one that I very much enjoy.  Growing up a favorite smell and surprise was the aroma of a freshly baked pumpkin bread in my mom’s kitchen, which I really should get the recipe for.  

In the meantime, we’ll have some cookies, Dark Chocolate Chunk Pumpkin Cookies

Dark Chocolate Chunk Pumpkin Cookies
Ingredients, adapted from Big Fat Cookies by Elinor Klivans
1 cup whole wheat flour
1 cup white flour
1 ½ tsp baking powder
1tsp baking soda
½ tsp salt
1 tsp ground cinnamon
¼ tsp of nutmeg
¼ tsp of pumpkin pie spice
2 eggs
1 cup of sugar
½ cup of canola oil
1 cup of pure pumpkin, pureed
1 tsp of vanilla
1 cup of dark chocolate chips (or not, totally up to you)
Set Oven to 325 degrees

In one bowl lightly beat the sugar and eggs for a light golden color and slightly frothy texture.  Add to the eggs and sugar the oil, vanilla and pumpkin puree. 

Add to the wet ingredients the white flour and whole wheat flour, baking soda and powder and all of your spices and seasonings.  It will smell like fall, right there in the bowl.  Remember the uncooked eggs?  Don’t try the batter yet.


Did you notice that there is more baking powder that is normally required for most cookie recipes?  This makes the batter extra airy and fluffy.  You’ll notice this difference in texture as soon as you mix it up.


Orange, pumpkin scented, and delicious…  What is missing?  Chocolate!  Pumpkin is a must for fall, but in our house chocolate chips are a year round staple.  I make no apologies for this confession, besides it is dark chocolate – that has to count as being on the healthy side of the aisle.  I suppose if chocolate isn’t your thing, which is shocking in and of itself, you could swap in nuts, or a blend of raisins, or dates?  

I use a large spoon to scoop these out and bake them in a 325 degree oven for 15 minutes.  As I mentioned, these cookies bake up extra fluffy and high as opposed to baking and spreading on the pan, so no need to worry about crowding the pan. 
When the cookies are out of the oven, these are the critical next steps: find a sweater (to my Florida readers, maybe a light cardigan?), find a cool breeze, a cup of cider/tea/coffee/chai and share with someone you love.  Cookies and cake are delicious, but when you eat them with someone you love, wow, the flavor is x 1000.

Happy Fall!

Everybody’s Favorite, with a Holiday Twist


And, I’m back!  Sorry for the absence of postings last week, Mark and I were India – more on that soon, with a travel journal and lots of pictures.  In the meantime, let’s get back into the swing of things with an easy, and perfectly delicious recipe.

Like apples and honey, pomegranate seeds are also a symbolic treat for the Jewish High Holidays of Rosh Hashanah and Yom Kippur.  Tradition dictates that you try a new/exotic fruit, which for many a pomegranate qualifies, and also the abundance of tiny pomegranate seeds is symbolically linked to an abundance of goodness in the New Year.  
Image via Vos Iz Neias?
 While working on the whole wheat apple muffins, I thought this would be a fun way to incorporate some extra goodness into the holidays.

Pomegranate Cookies, adapted from Nestle Tollhouse

Ingredients 
1 and 1/8 cups all-purpose flour
1/2 teaspoon baking soda
1/2 teaspoon salt
1 stick butter, softened
3/8 cup granulated sugar
3/8 cup packed brown sugar
1/2 teaspoon vanilla extract
1 large egg
1/2 cup of fresh Pomegranate Seeds
1/2 cup of Chocolate Covered Pomegranate Seeds
Set the oven to 350 degrees, and bake for about 8 minutes or until browned.

Just like you were making regular chocolate chip cookies, cream the butter and sugars, add the egg and vanilla.  Then add the dry ingredients of flour, baking soda and salt.  


Then add the fresh pomegranate seeds.  You could also you dried seeds, but I found the fresh ones kept the cookies unbelievably moist.  You could stop with the fresh seeds for a healthy, sweet treat, but come on, how could I resist not adding in dark chocolate covered seeds as well?  Dark chocolate is rich with antioxidants, so that counts too!

I found the fresh seeds and the chocolate covered seeds at Trader Joe’s, but if you’re not so lucky to have a Trader Joe’s nearby, you could just use regular chocolate chips and remove the seeds yourself.  To avoid a mess you can open up the pomegranate and pull out the seeds with your hands and the fruit submerged in a bowl of water.

For these cookies I used a teaspoon sized scoop.  The cookies came out to be size of an Entenmann’s cookie, which is pretty much the perfect 2-bite size. 

Eat and enjoy, and share with a friend.  Wishing you all great things for fall and the start of the New Year!

Sweetness for the New Year


Growing up there were certain food pairings that always went together: peanut butter and jelly, Oreo cookies and milk, apples and honey.  As the Jewish High Holiday season approaches, my mind and my appetite starts to shift away from blueberries and peaches and to autumn’s bounty of apples.  

On Rosh Hashanah, the Jewish New Year, it is traditional to dip apples into honey for it signifies the wish for sweetness in the coming year – but really any reason is a good reason to mix apples with sweetness.  The holiday season is always filled with multiple meals, treats and often overindulging, this healthier take on a traditional apple cake will set the year off on a healthier and sweet note, and that’s what I always wish for good health and sweetness.  
Whole Wheat Apple Muffins, adapted from Smitten Kitchen
Ingredients: 
1 cup whole wheat flour
1/2 cup all-purpose flour
1/2 cup cake flour
1 teaspoon baking powder
1 teaspoon baking soda
1/4 teaspoon salt
1 tablespoon cinnamon
1/2 stick unsalted butter, at room temperature
1/2 cup of apple sauce
1/3 cup granulated sugar
2 tbsps dark brown sugar, packed
1 large egg
1 cup non-fat greek yogurt
2 large apples, coarsely chopped
Preheat the oven to 450°F.
I have to start off by saying that I played with the ingredients for this recipe to create something lighter, and more sponge cake like than a traditional dense muffin – although I do love a good muffin.  

Let’s get started, all of the dry ingredients are in one bowl.  Because I subbed out half of the butter, I halved the amount of all-purpose flour and added half a cup of cake flour to help keep the fluffiness.  I also used less sugar than the original recipe called for because of the natural and added sugars in apple sauce.  As a side note, we just got fresh cinnamon, and the aroma is amazing.

In a separate bowl mix the butter, apple sauce, and sugars.  When the butter is broken up enough – it won’t look like normal creamed butter and sugar because the liquid content of the apple sauce, don’t worry.  Now blend in the egg.  It still is not going to be pretty, don’t worry.  Now add in the yogurt.  I use non-fat, sugar free Greek yogurt, because I don’t want to add extra sugars that are hidden in most yogurts.


After you blend the yogurt it will resemble what you probably expected the mixture to look like all along – phew!  Slowly add the dry ingredients to to the wet mixture.


Time to get to the apples.  I am partial to granny smith apples.  I use them for my apple pies or just for snack.  I love their tart flavor and crisp bite.  I am sure you could use your favorite variety.  Make sure to eat some apples a long the way, that’s what I did.


With a large spoon mix in the apples.  I have to warn you at this point the batter is sticky, and not at all like a traditional cake dough.  It more closely resembles a cookie dough.  Don’t worry about it.  Seriously, apples and sugar and yogurt and flour is not something to worry about.


Plop large spoonfuls of the batter into muffin cups or if you run out of papers as I did eventually just make small balls on a cookie tray.  For extra sweetness you can sprinkle a bit of brown sugar on top of the muffins.


Pop these into a 450 degree oven for 10 minutes, and then lower the oven temperature to 400 degree for another 5 minutes.  That is it.  It is a fast, fast baking recipe.  Kind of perfect for the holiday season when you are cooking/basting/baking all day and don’t have time to slave over dessert – and probably even better to save for yourself for a treat the next day.

Wishing you good baked goods, health and happiness.