Category Archives: Baking

Berry Good Breakfast Muffins


True story, inspired by “If You Give a Moose a Muffin”, if you’re coming to my house, I am going to make sure that there is coffee.  And if there is coffee you’ll probably want something to eat. And if you’re going to eat something it might as well be a muffin.  And if people are going to be eating muffins, I am going to be baking them.

That is the story behind these Berry Good Breakfast Muffins, we had people coming over at 7am (*I know!  That is crazy early!) and I thought 7am visits deserve muffins.  But, these muffins shouldn’t be cloyingly sweet, or filled with butter and chocolate.  They should be a healthy breakfast is a small paper cup.
Berry Good Breakfast Muffins Ingredients
adapted from Joy the Baker’s Raspberry and Jam Muffins
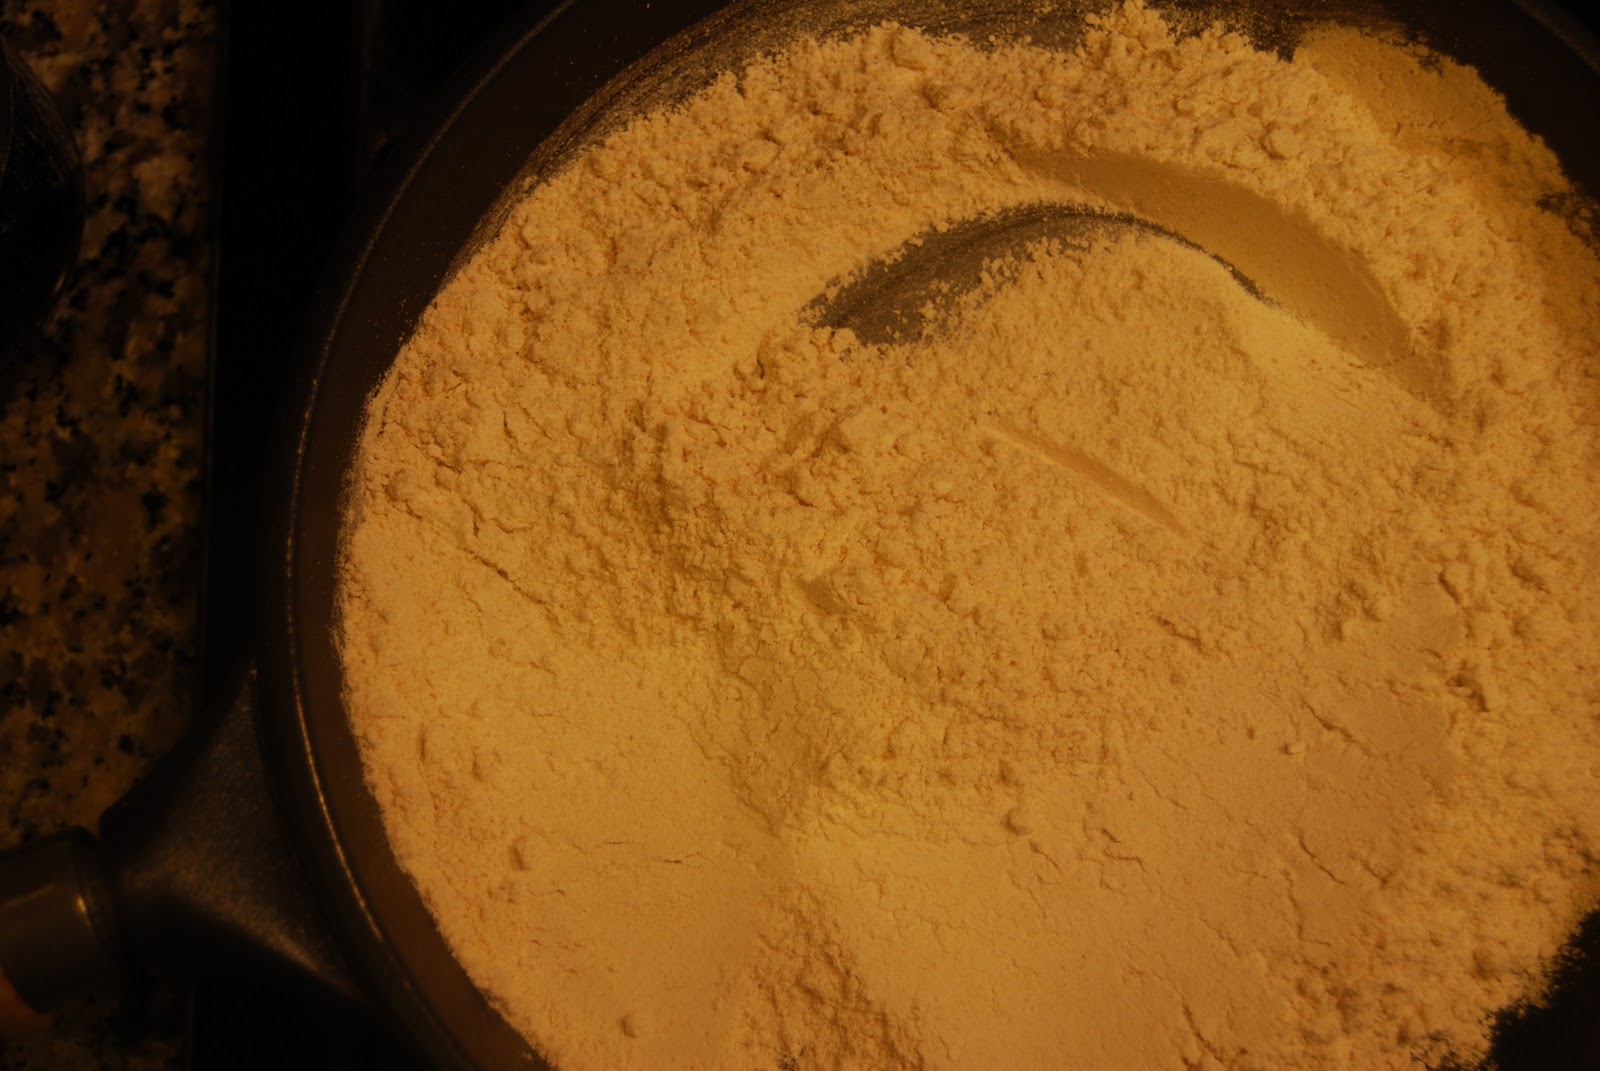
1 1/4 cups whole wheat flour
1 1/4 cups dry oatmeal
1 tsp baking powder
1/4 tsp salt
1/2 tsp cinnamon

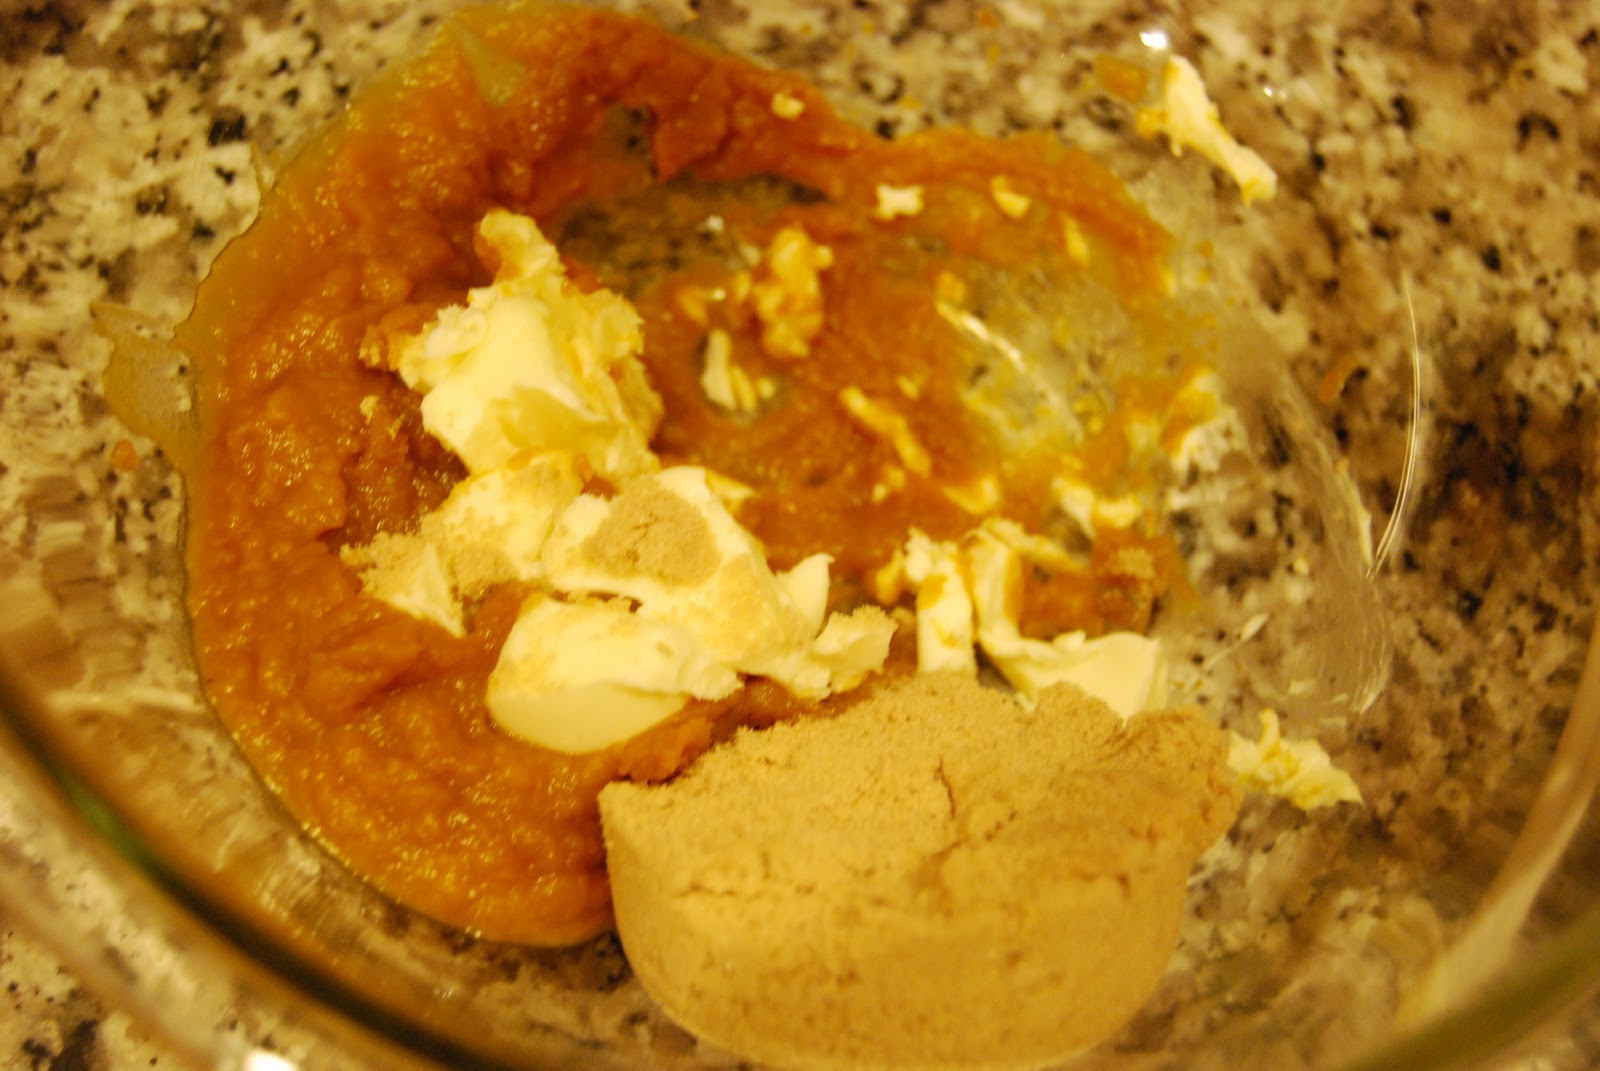
1 cup unsweetened apple sauce
1/2 cup nonfat Greek Yogurt
1/2 cup brown sugar
1 egg

2 tablespoons raspberry jam (I use no sugar added)
1 cup chopped blackberries

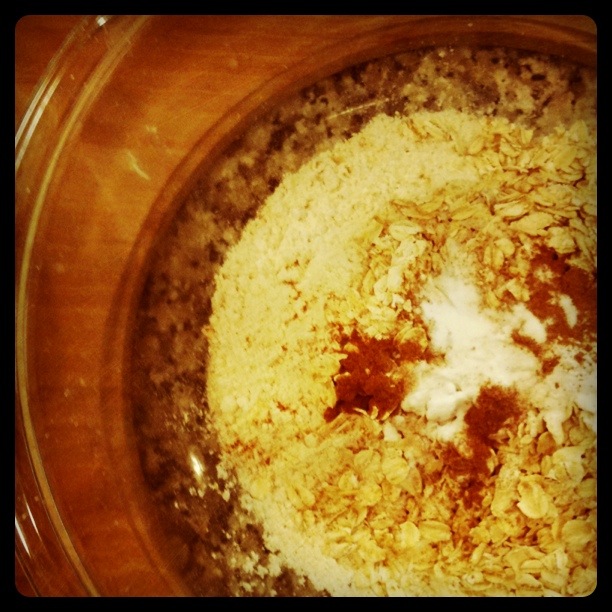
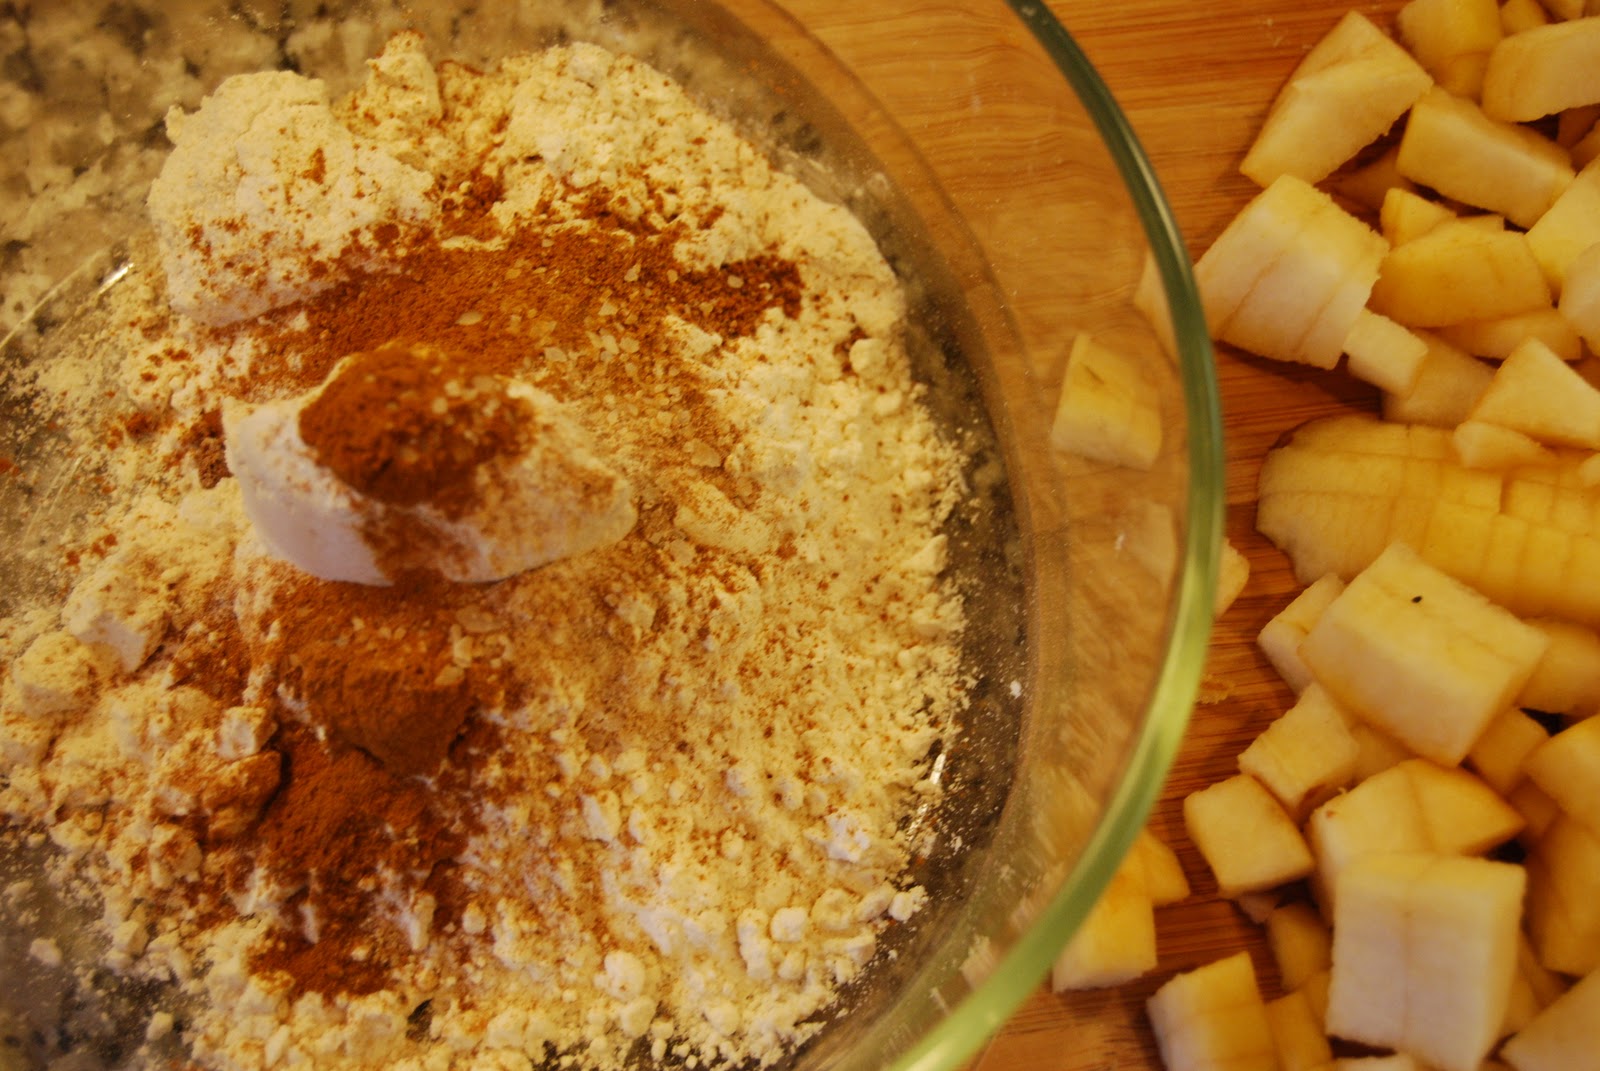
In a large bowl add all of the dry ingredients, flour, oats, baking powder, baking soda, salt and cinnamon and with fork blend together.
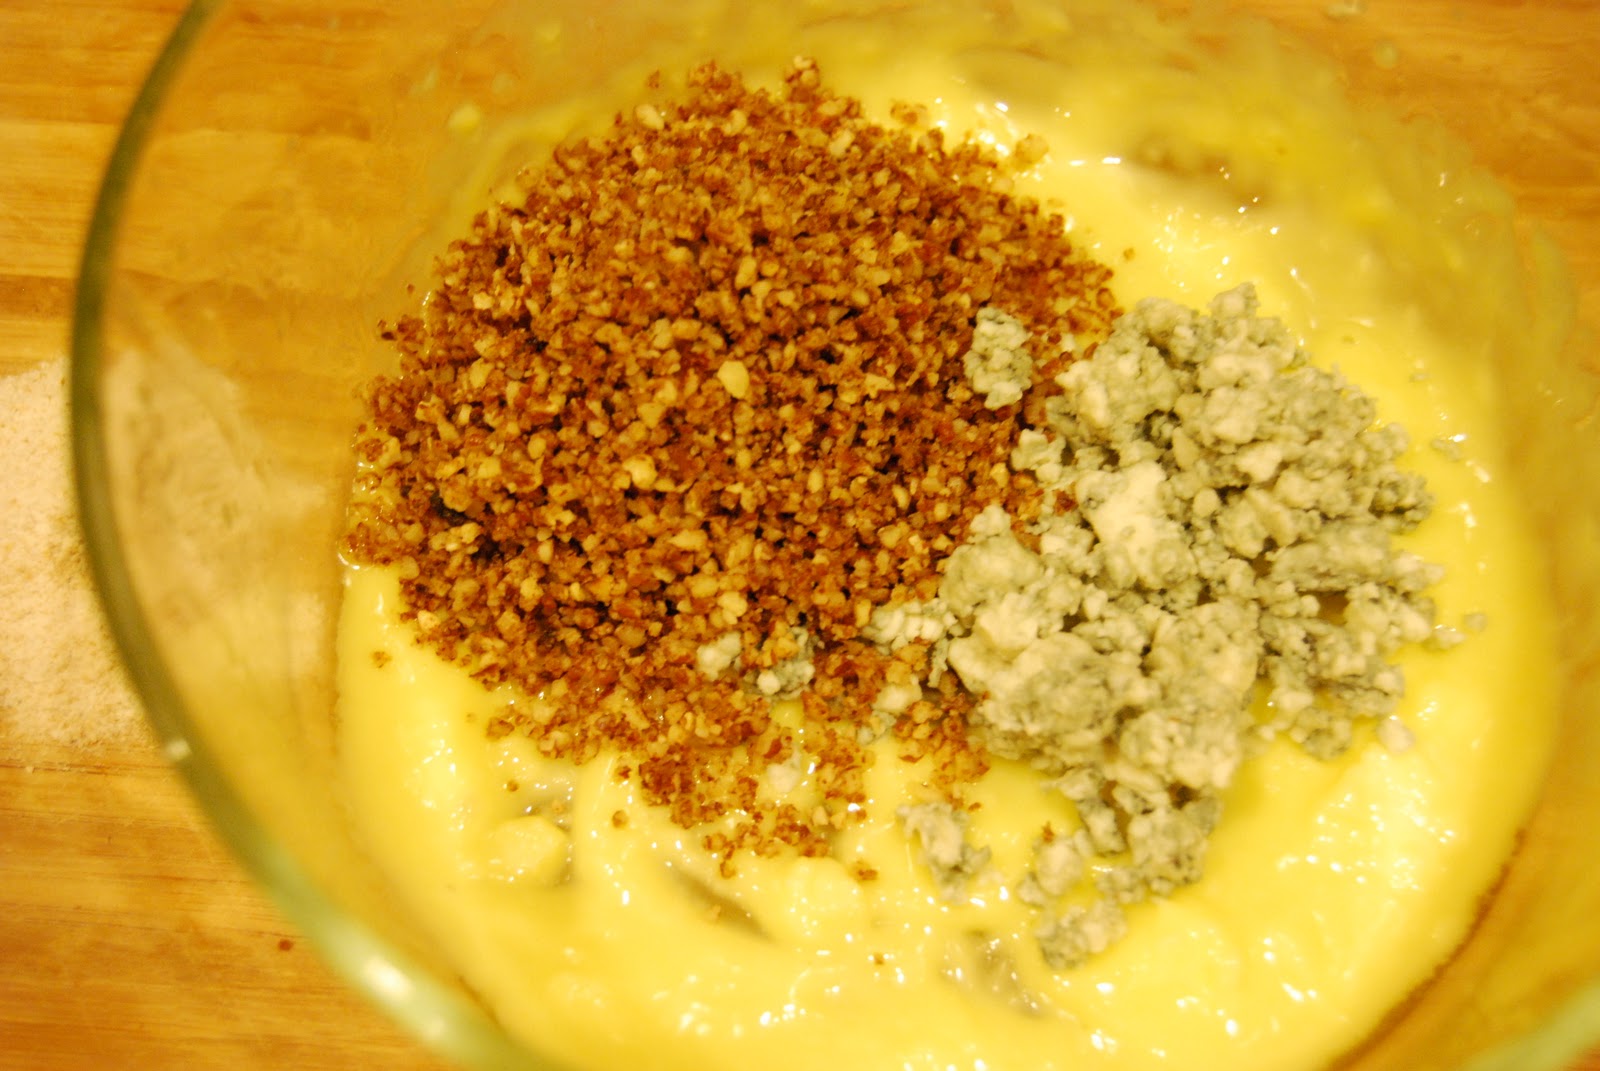
In a separate bowl add all of the wet ingredients, egg, yogurt, apple sauce and sugar.  With that same trusty fork blend these ingredients.  There is something to be said about a recipe that doesn’t require, or isn’t made any easier by using an electric blender.
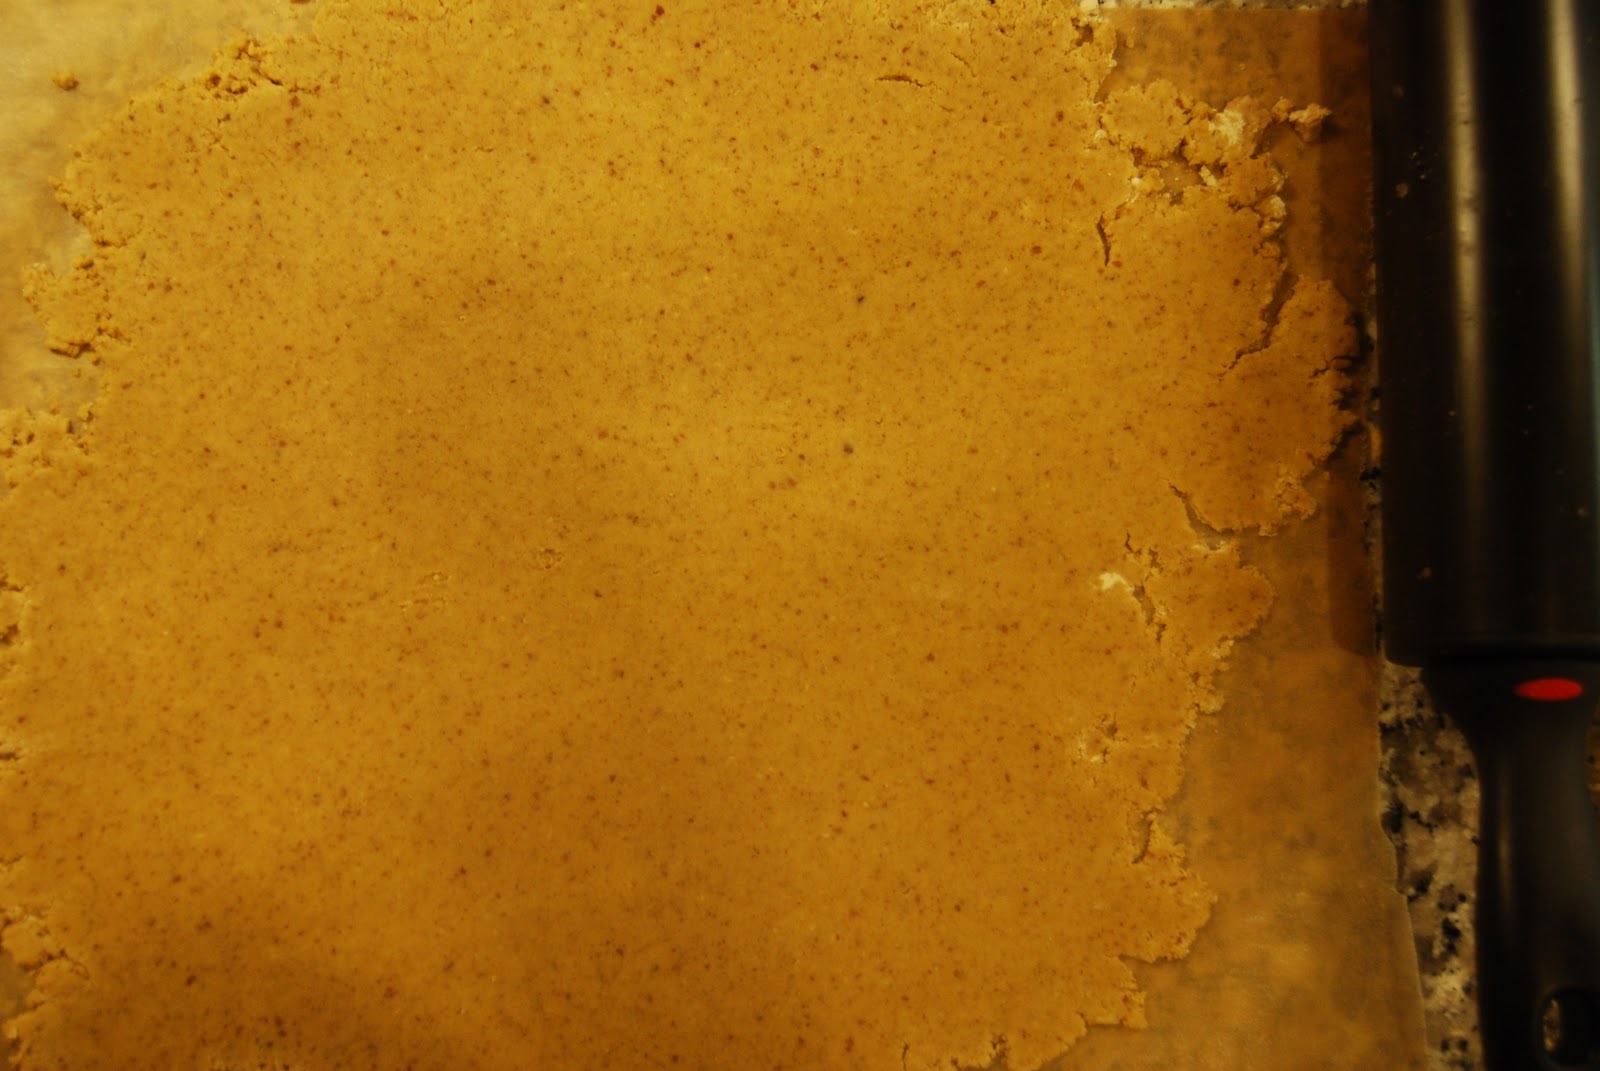
When the wet ingredients are blended all the pieces will be fully incorporated and smooth.  Slowly add the wet to the dry and incorporate together and whisk together so everything is one big batter.

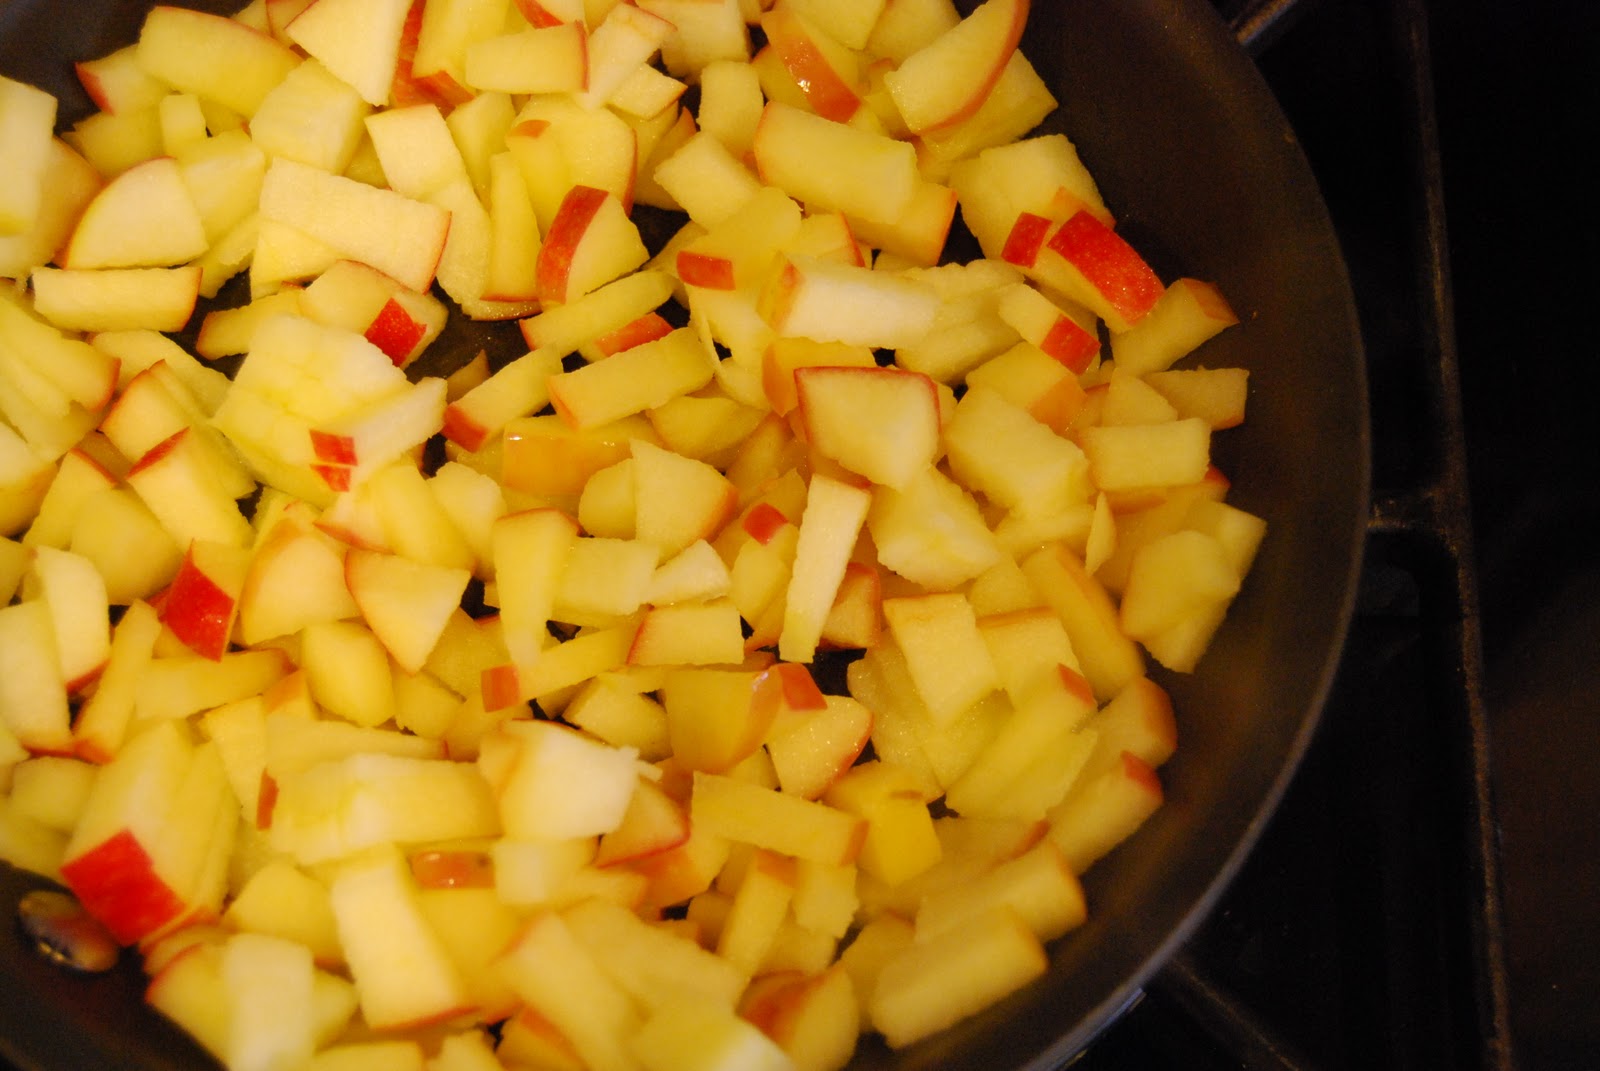
I used blackberries because that is what I had on hand.  I chopped them up so that the juice would flow throughout each bit and because blackberries are bigger and have a stronger flavor than blueberries (another delicious option).  Really any fruit works here.

With each scoop of jam I broke it apart into smaller chunks within the batter and very gently folded it in without turning the batter a pretty shade of pinkish purple. 

Set these little breakfast bites into a 375 degree oven for 16 minutes.  The batter makes 18 muffins, so you might want to invite people over at 7am to share these with and enjoy!

(Texas) Pecan Shortbread Cookies


I watch the Bachelor.  
I watched when Trista met Ryan, the formerly chubby comedian, Jen, the football player, the actor’s brother, the British guy, Brad, Deanna, Jason – paused after Jason because it was so gross – Ali, and now back to Brad.  
I watch with my husband and my sister.  It has become something of a Monday tradition; three otherwise normal people completely engrossed in some producers’ idea of fantasy dates, and hanging onto every clue giving goo-goo eyed look, and promise of “I’m here for the right reasons”.
Mark likes to call it from the very first episode and on more than one season he has been right.  Julie and I watch for the subtleties (if you can call them that) in each date.

Tonight is the finale, and tonight Brad will follow his heart back to Texas with one girl as happy as can be, and another girl heartbroken – or at least reality tv broken.

Texas Pecan Shortbread Cookies
*Did you know that the Pecan Tree is the state tree of Texas?
1 stick of butter 
1 cup whole wheat flour
1 cup pecans (ground up in a food processor after 45 seconds)
3/8 cup powdered sugar
1 tsp vanilla
1 tsp cinammon
1/4 tsp salt
1/2 cup chocolate chips


First I poured the flour into a pan and sort of toasted it a la Dorie Greenspan’s Roasted Flour Shortbread cookies.  Whole wheat flour tends to have a nutty flavor and fuller texture than traditional flour but the 5-8 minutes of “toasting” on medium heat seemed to really highlight that flavor.
With the flour off the heat add the the salt, cinnamon and processed pecans.  Pecans add even more flavor, they’re a good source of antioxidants and are low in cholesterol.  Hey, when you’re making cookies you look for the goodness anywhere you can.

In a medium size bowl cream the butter, powdered sugar and vanilla.  When the butter is sweetly yellow and fully incorporated and smooth add the flour mixture. 

When the flour and butter are fully blended form the dough into a ball and wrap with plastic and refrigerate for about an hour.  Truly, I don’t think an hour is necessary – it was late on Sunday night so 40 minutes worked just fine.

With the dough out of the refrigerator is going to be firm and perfect for cookie cutters.  Here is a tip, layer the dough between two sheets of parchment paper and first use your hands to massage it flat and then use a roller to make it thin (about 1/4″) and uniform.  The heat of your hands will warm the dough a bit, the roller on the dough, when it is right from the fridge, will crack it up too much.

I chose hearts, you know, Bachelor finale and all.  Set the oven to 300 degrees and bake for about 18 minutes or until the edges start to turn golden brown.

Allow to cool.  Then you can dip into chocolate, drizzle with chocolate or eat plain. 

I have my favorite in tonight’s finale, but I’ll tell you what these cookies taste a lot better than a rose and come with a lot less heart ache.  Enjoy the show and the cookies (they can both be a guilty pleasure!)

Potato Crust Mushroom and Swiss Quiche


Sometimes it is a Monday night and you realize you have like 12 mushrooms in your refrigerator and two random russet potatoes – both of which were purchased at some point with another recipe in mind.  But now you don’t care about those recipes.

So what to do?  Potato Crust Mushroom and Swiss Quiche probably does the trick.  I am a quiche fan – it is easy, filling, and completely customizable.

Potato Crust Mushroom and Swiss Quiche Ingredients
5 eggs
2 egg whites
3/4 cup skim milk
2 large russet potatoes
1 onion
10 – 12 mushrooms
10 stalks skinny asparagus 
6 slices Swiss cheese, or shredded Swiss
1 tbsp of grated parmigiana cheese
Olive oil
Salt and Pepper to Taste

 I know there are quiche enthusiasts who will say a good quiche has to be with a proper pie crust, and usually that is true.  However, in the pursuit of healthy living and delicious eating, this is a fast and quite good alternative.

Slice the potatoes crosswise into 1/4″ coins. In a colander drizzle a bit of extra virgin olive oil and season with salt and pepper -this is a tip, place the colander over the pan you’ll be baking in to catch the oil. Then neatly layer the potatoes in a to cover the base of the pie pan. I sprinkle a tablespoon of grated parmigiana cheese on to the potatoes and then set in the oven for 25 minutes at 375 degrees.


While the crust is baking chop the onion, mushrooms and asparagus.  In a large nonstick pan saute the onions and when they are softened add the mushrooms and then when the mushrooms are just a moment from being down add the asparagus.

Cooled vegetables with the Swiss cheese on top
While the vegetables and crust cools – this is very important – prepare the egg mixture.  I used 2 egg whites and 5 whole eggs and I think you could adjust that to your liking. Whisk egg, milk and salt and pepper and then add the cooled vegetables and cheese.


Bake in the 375 degree oven for 30 minutes – at this time the egg should have a slight bounce but be firm and an inserted knife should come out clean.  This is beautiful served with a fresh salad or on it’s own because it is filled with delicious and nutritious vegetables – and yes, in our house it is breakfast, lunch or dinner!


Enjoy! 

P.S. Mark and Carly secret: During a bridal shower game I had to guess what Mark’s favorite food was that I made.  Not lasagna, or crab cakes, or cookies, quiche. 

Apple Oatmeal Kugel


Over the long and sometimes warm and sometimes very cold weekend I spent a lot of time behind my stove.  I really like to cook over the weekends and sometimes you (I) cook too much.  I also really don’t like to throw things away that taste great, and well, eating the leftovers to get rid of it all doesn’t really do anyone any good.

So, as necessity is the mother of all inventions, a new recipe was born.  It’s not exactly seasonal (apples really makes me think of the fall) but it is definitely comforting.
Apple Oatmeal Kugel*
Ingredients
2 cups cooked oatmeal
1/2 cup whole wheat flour
1/2 – 2 apples chopped
1/4 cup raisins
1 egg
1 tbsp of brown sugar
1/2 tbsp almond butter (negotiable*)
1 tsp cinnamon
1/2 tsp vanilla
1/4 tsp baking soda
1/4 tsp baking powder
1/4 tsp salt
1/2 tsp turbinado sugar (optional)
Juice from a 1/4 lemon
1/8 cup of slivered almonds

Step 1: Breakfast.  If you’re like me, when you woke up you thought about making something fun with low cholesterol oatmeal, but you have to have breakfast first.  So, you made an abundant amount of oatmeal. By the way cooking oatmeal is always a 2 (water) to 1 (oatmeal) ratio.  In this case I wanted a less watery version, so I went 3 cups of water, 2 cups of oatmeal, Mark and I both had a small bowl of oatmeal with toppings and about 2 cups of cooked oatmeal remained.  Don’t throw out the leftover cooked oatmeal!

Step 2: Oatmeal Toppings.  While the water is boiling and the oatmeal is cooking, chop up your favorite kind of apple (mine is Honey Crisp – they are out of this world good).  Add the apples and raisins to a pan on medium heat with a smidge of butter (like a 1/4 of 1/4 tbsp).  Let the apples and raisins begin to soften and add 1/2 tsp of cinnamon and continue to stir so that the fruit is completely covered.  For your breakfast take 1/8 cup of apples and raisins and reserve the rest for later.
Step 2: Dry Ingredients: After you finish your breakfast return to the pot where the oatmeal has now cooled.  Add the whole wheat flour, salt, baking powder and baking soda.  Combine all of these ingredients.  If the oatmeal is overly sticky – mine was – slowly add 1/8 cup of water at a time until it has a smoother consistency.

Step 3: Wet ingredients.  I included 1/2 tablespoon of almond butter in the oatmeal.  It added a warmer hint of color, but didn’t change the flavor – this is totally up to you to include.  For a nutty flavor I’d recommend at least a tablespoon.  Add the egg and the brown sugar and continue to incorporate.

Step 4: Back to the apples.  The apples and raisin have cooled and should a soft golden color.  Bring the pan back to a medium-low heat and add the vanilla and lemon juice.  Cook the apples until the juice is absorbed.
Step 5: Bring it all together.  Combine the apples and raisins into the oatmeal and then spread the entire mix into a 9×9 baking dish.  If so desired, and I am sure it is desired, sprinkle on additional cinnamon, turbinado (raw) sugar, and some almonds.  Bake for 45-50 minutes at 350 degrees.  
Here is the warning: your kitchen will have the warm, sweet smell of cinnamon, vanilla and apples.  You’ll know how relatively healthy this little snack is and will have a hard time just eating one bite, but that’s okay, because really (not just relatively) this is a pretty healthy way to go.

*So, I am calling this a kugel, because the flavor and consistency most closely reminds me of my Nannys’ (grandmas‘ – they both make it) noodle pudding.  There are no noodles, so noodle pudding is the wrong name, and kugel kind of sounds funny, but it’s pretty much what it is.  The other thing it is, is sweet, but not too sweet, healthy, but not boring, simple but not bland and probably something that will pop up on a holiday table of mine in seasons to come.

Pear Cranberry Muffins


This weekend I finally got back to baking.  After the holidays I didn’t have a lot of baking interest, which is not to say I wasn’t still consuming baked goods by the handful, I was.  In any case, I wanted to foray back into the flour, sugar, butter and eggs with a healthy and seasonal pick.

Pear Cranberry Muffins 
Ingredients
1/4 + 1/8 cup all-purpose flour
1/4 cup whole wheat flour
1 teaspoon baking powder
1/2 teaspoon baking soda
1 tsp cinnamon
1/2 teaspoon nutmeg
1/2 teaspoon of salt
2 tbsp unsalted butter
2 tbsp nonfat Greek yogurt
1/2 teaspoon vanilla
1 egg
1/3 cup sugar
1/3 cup fresh squeezed orange juice
zest of one orange
1 cup chopped Bosc Pear
1/4 cup chopped fresh cranberries
1/4 cup chopped walnuts
Set oven to 350 degrees, bake for 25  minutes
This looks like maybe a lot of ingredients, but it is really pretty simple, and very easy, and beyond delicious.  Yes, I received comments like “this is the best muffins you’ve ever made!”.  So, what are you waiting for?

In a small saucepan melt the 2 tbsp of butter, and set aside to cool.  In a small bowl whisk the egg and then add the Greek yogurt and continue to whisk.  At this stage is may start to resemble cottage cheese, do not worry.  Slowly add the cooled, but melted butter and the sugar and continue to whisk.  
Now the egg mixture is a beautiful creamy golden color.  At this time add the fresh squeeze orange juice, the zest and the vanilla, give this a good whisk and set aside.

In a separate bowl mix the flours, baking powder, baking soda and spices.  Set this aside and move onto the chopping of the pears, cranberries and walnuts.
Create a well in the flour bowl and pour in the egg mixture and mix enough to fully incorporate the dry and wet ingredients.   With a spoon mix in the the chopped pears, cranberries and walnuts.
With a large spoon scoop the batter into muffin cups and bake for 25 minutes at 350 degrees.

These muffins are a delight, full of moisture, seasonal fruits and low in calories.  Secret: These beat those packages 100 calories vita-muffins in flavor, and health!

Bleu Cheese and Candied Pecan Savory Cookies


I love cheese, like looooove it.  I love going to a restaurant and getting to order a cheese plate: with beautiful wedges of fragrant cheese, breads, honeys and perhaps some nuts.  The idea of this arrangement of flavors always seems so sophisticated but perhaps a little intimidating to try at home.

I tested this out last night (in two different way), and success!  These Savory Cookies are perfect for when you entertain, as an a pre-meal snack, or as a gift to a hostess packaged in a cute bag.

Ingredients:
1/2 Cup of Whole Wheat Flour
1/2 Stick of Butter (4 Tbsp), softened
1/3 Cup of Candied Pecans, grounded
1/4 Cup of Crumbled Bleu Cheese

Candied Pecans
1 1/4 cup of Pecans
1/2 tbsp of butter, unsalted
1 tbsp of brown sugar
1/2 tsp of cinnamon

In a non stick pan melt butter, add the pecans and sugar and cinnamon and stir with a silicon spatula over low-medium for 5-7 minutes until the pecans are covered with small flecks of caramel goodness.  Set aside to cool

In a food processor grind up the pecans to a small grind, but now a fine powder.  Set aside.
In a medium size bowl blend the softened butter and then add the bleu cheese, ground pecans and flour.  Side note, you could definitely use regular all-purpose flour, but I opted for whole wheat for its nuttier flavor and texture, and the potential for it to be a little more nutritious.
The dough will be crumbly, and look like a bunch of little tan colored peas.  Sprinkle a little extra flour on your work surface and begin to form the dough into a log.  This is completely visually unappealing.  I’m sorry – please, don’t let it dissuade you from making this recipe…
Cut the dough into 1/3″ slices and lay out on a non-stick cookie sheet or silpat and bake for 15 minutes at 350 degrees. (See those flecks of cheese?  They are going to bubble and melt into amazing deliciousness!)
Let these cool for about 10  minutes after baking and serve with your favorite wine and either a drizzle of honey on top or a small dollop of your favorite pear or apricot preserves (that helps add back the sweetness found on your favorite cheese plates).

 These are great, and they keep nicely, and well, if we’re being honest I ate two for breakfast so they’re all around perfect snack to bake and share.

Baked Donuts, a Delight for the Holiday Season


There are two “traditional” Hanukkah foods: latkes (fried potato pancakes) and sufganyot, (donuts, fried dough balls).  This doesn’t really add up to the healthiest food choices.  For our Hanukkah party last weekend I knew I couldn’t skimp out on traditionally made latkes, but donuts…  that I could tweak.  

I scoured the Internet for baked donuts, with ingredients that I had on hand and I lucked out with a recipe from Piece of Cake.  This rules out any recipe that calls for buttermilk powder, shortening, etc.  Which means, you probably have these ingredients too, and because they are baked and not fried you might want to enjoy this less guilty treat after Hanukkah, or Christmas morning.
Baked Donuts Ingredients
For the dough:
1/2 cup + 3 tbsp warm milk, 95 to 105 degrees
1 1/8 teaspoons active dry yeast
1 tbsp melted unsalted butter
1/3 cup sugar
1 egg
2 1/2 cups all purpose flour
1/8 teaspoon nutmeg
1/2 teaspoon kosher salt
Topping:
3 tbsps of unsalted butter
1/3 white sugar
1 tbsp cinnamon

So here is the thing, this recipe can look pretty intimidating.  It has yeast, it has a specific measurement for milk, yikes.  But here is the truth.  I made this recipe without a rolling pin, while preparing and serving a Hanukkah meal for 8 and with three adorable kids running around, in other words – these pictures, not so hot – but the donuts, out of this world.

Pour the yeast in the base of your Kitchenaid Mixer, or a large bowl, and then add 3 tbsps of the warm milk.  I used a thermometer to get this just right, and its important – in this case baking is more like delicious chemistry, than playtime.

 
While the warm milk and the yeast are dancing and expanding and doing their magic, you are melting some butter and combining it with the rest of the milk and the sugar.  Allow the yeast and milk to get to know each other for about five minutes, no less but, more is okay.  Then add the butter/sugar/milk combination to the mixer.
Now, in a separate bowl, combine the flour, salt and nutmeg and slowly pour the dry ingredients into the mixer all while mixing with the paddle on a low speed (I used 2).  Add one egg and let that continue to incorporate.  When the flour is fully mixed in, should take 3 minutes or so, remove the paddle mixer and attach the dough hook.


Let that hook do its work for a few minutes and pull the dough from the bowl and put some of your own muscle into it.  Sprinkle some flour on your workspace and knead the dough into a soft, smooth ball.  Place the ball into an oiled bowl and wrap the bowl with plastic and tuck it away into a warm space for at least an hour.
I did this at 11am, when family arrived at noon.  After about an hour roll the dough out to about 1/2″ thick and cut your donuts.  You do NOT need fancy tools.  I used a juice glass for the big rounds and a shot glass for the holes.  Once the donuts are all cut, cover with a clean kitchen towel and tuck the pan away for another 45 minutes.

After 45 minutes your donuts are soft, puffy and are ready to bake place them in a 375 degree oven for 8 – 10 minutes.  They should have a very soft golden glow, mine were very soft gold, but that just added to their super soft chewiness.


While the donuts are baking, melt three tablespoons of butter.  When fully baked dip each donut (top and bottom) into the butter mixture and then into the sugar and cinnamon mixture.

Yes, your fingers will get messy, and yes you will have used a lot of utensils and bowls, but you know what will also happen?  The twelve awesome donuts that you made will disappear, and your niece will return again and again to the table seeking out one more bite.  I think they even beat Dunkin’.

Pumpkin Chocolate Nut Squares


This is an adaptation of a recipe my mom has been making for as long as I can remember.  Here is how the adaptation occurred.  I was waiting on my mom for the recipe, and knowing I would need butter I left a stick (1/2 cup) out on the counter to soften.

On the phone with my mom she is reading off the recipe at which time I realize I do not have the necessary two sticks of softened butter, and I was short on brown sugar…  So, this is what happened…

Mom:  The recipe has 1 cup of butter
Carly: One cup… (sigh) I don’t have a cup of butter,  I’ll use pumpkin
Mom:  No, Carly, you can just follow the recipe
Carly: Mom, I think it will be fine.  I have some pumpkin lying around – it’ll be great.

Pumpkin Chocolate Nut Squares
Ingredients
2 Cups of all-purpose flour
1/2 tsp of cinnamon
1/4 tsp of nutmeg

1 stick of butter (unsalted)
1 cup of pumpkin
1/2 cup of brown sugar
1 egg
1 1/2 tsp of vanilla

Frosting:
12 oz. of semi-sweet chocolate chips
2 tbsp butter
3 tbsp light corn syrup

With my mom on the phone and my neck cradling the phone, in one bowl mix the butter, brown sugar and pumpkin.  If you want to follow the rules, “cream” the brown sugar and butter first so that it is fully incorporated and then add the pumpkin, then the egg and the vanilla.  For the purposes of full disclosure this is not what I did, but again, really, no stress it all works out.


To this mixture add the flour and the cinnamon and nutmeg.  The dough is going to be pretty sturdy and after working it with a large spoon, you’ll find it it most effective to get in there and mix it up with your hands.

Back to mom…
Carly: What is this supposed to look like?  
Mom: Like cookie dough.
Carly:  But, not really like cookie dough, right?  Not like chocolate chip cookie dough (remember we didn’t use all of that butter).
….
Mom:  Put the mixer down and do it with your hands – you’ll get it right.

She was right!  Okay, so with this dough, press it into a buttered 13 x 9 baking dish (brownie pan/lasagna pan).  This goes into the oven at 350 degrees for 20 minutes.

While this is baking head over to the stove top with a small saucepan and a bag of chocolate chips.  Remove 3-5 chocolate chips for taste testing.  Delicious.
On a low heat begin to stir the chocolate chips, and add the butter.  If you have a silicone spatula, use it.  It is easy to use and nothing sticks to it.  When the butter and the chocolate are incorporated, add the corn syrup a tablespoon at a time.  The corn syrup gives it a glossy finish.
After the cookie bottom is out of the oven, let it cool for 10 minutes and then with that silicone spatula scoop and spread the chocolate mixture.  Here’s the thing, because you spread the dough with your fingers it might have been uneven, and you might see finger indentations.  And then, because you spread the chocolate with a funny spatula it might also be a little wavy/weird.  Not to worry.
Open the can of nuts you have lying around, or maybe the can that you made a special trip to a grocery store for and spread them all across the chocolate. The bumps and weird waves are completely covered with salty deliciousness.  Because, sometime you feel like a nut, and chocolate, and pumpkin, and cookies!!!
My mom says to refrigerate them over night, so you probably should.  I didn’t – sorry mom.
Via text at 10:59 pm
Mom: How did they turn out?
Carly: Pretty good.  Not as good as yours, but I liked it.  
Mom: Good, I am sure they will be well received.  Leave them in the fridge.
Carly: Can they be covered on the counter overnight?
Mom: It says to refrigerate, but if its cold it should be ok
Carly: The pan was still warm so I was afraid to put it in the fridge.

Next day…
Carly: The bars are getting rave reviews, as the best ever
Refrigerate or not, cut them into cute little squares and share with friends.  I am loving this for Thanksgiving, it’s a great way to use pumpkin in something that is not a pie – but just as fun, and way easier to make.  

Thanks mom!  Oh, and enjoy!  And this Thanksgiving make sure you take a minute to thank someone that’s always helping you out!

Baked Eggplant Parmigiana


Eggplant Parmigiana is an all time favorite comfort food of mine, and a great vegetarian substitute for chicken parmigian and more filling than a similarly stacked lasagna.  The only downfall is that traditionally the eggplant has to be fried in oil before it is layered with delicious sauce and cheese.  Not so fast, it can also be baked which is healthier, takes up less “active” cooking time and doesn’t leave your kitchen smelling like a fry house.

Eggplant Parmigiana Ingredients
1 Medium Italian Eggplant
2 Eggs
1/2 cup of All Purpose/Whole Wheat flour
1/3 cup of Italian style bread crumbs
1/3 cup of Panko bread crumbs
1/2 cup of Skim Milk Ricotta Cheese
1/4 cup grated Parmigiana
Salt and pepper to taste
Parsley/Italian seasoning
Set the oven to 350 degrees
Serves 6, or 4 very hungry eaters!
I cut the eggplant into coins about 1/4 of an inch thick and give them a light sprinkle of kosher salt.  Eggplant is full of water and the light sprinkle of salt helps them to release a bit of the moisture and and brings out the flavor.

At your work station set up a small bowl with two eggs, beaten, and a shallow dish with with the mixture of bread crumbs, grated cheese and few cracked of fresh ground pepper. 


Dip each coin of eggplant into the egg and then into the bread crumbs coating each slice on both sides.


With all of the prepared eggplant slice on a parchment covered baking sheet; bake in the 350 degree oven for 30 minutes.  After baking the eggplant will be softened, the edges browned and the bread crumbs crisp and golden.

While the eggplant is baking in a small bowl mix the ricotta cheese, some pepper, parsley, and Italian seasoning.  Now here is where the fun happens.  Grab a baking dish and your favorite sauce – if it came out of a jar, it’s no big deal, I’m not telling anyone.  Spoon a thin layer of sauce on the base of the dish, add your first layer eggplant coins, another layer of sauce, and thin layer of ricotta cheese.  Repeat until you run out of eggplant.

On the top layer of eggplant add another layer of sauce, one more round of ricotta and some grated parmigiana. 

Look at those layers!  Where is the fork?

If you are preparing this on a Sunday for a Monday night dinner you can wrap this is tin-foil and keep in the refrigerator for a day.  If you’re looking for a more instant satisfaction this can bake in the oven at 350 for 15 – 20 minutes, or until the cheese is melted on the top and the sauce is looking a little bubbly.


When you’re ready to serve I like to portion out the stacks and serve with a fresh salad.  As they say in Italy, Buon Appetito!

Instant Biscuits


Somehow this weekend I became the kind of person who makes biscuits, and my house became the kind of house that barely has a meal without one…  How did this happen?  I am not really sure, but I blame it on the suddenly seasonal weather (cold),   the abundance of soup I had on hand, and the need for something extra comforting as it became clear that the abnormally warm weather wouldn’t be lasting all fall.


Instant Biscuits, adapted from MomsRetro
1 Cup of all purpose flour
2 Tsps Baking Powder
1/2 Tsp Kosher Salt
3 TBSPs  Oil/Shortening
1/3 Cup of Water


Additional Flavors:
Fresh Basil, Oregano, Parsley, Garlic Powder, Fresh grated Parmigiana-Reggiano

Set oven to 350 degrees

Before we get started on the how, I have to get into the why.  Homemade biscuits has been on my to-do list for a while, but I never got around to it because it’s one of those things that when you want it, you want it and you don’t want to wait for proofing, and who keeps buttermilk on hand?  I certainly do not.  This recipe takes 15 minutes and is made entirely from pantry items.

In a small bowl mix all of the dry ingredients: flour, salt, baking powder. 


Add the seasoning.  I went for Italian seasoning because it paired well with the soup I had on hand, but you could just as easily use any other seasoning.  Also, this was a great opportunity to use the fresh basil that has grown really beautifully all summer, before the leaves freeze!

Pluck off 6-7 leaves of fresh basil and roll them up in your hand, with a scissor cut across the leaves to create skinny ribbons of basil, if we were fancy we might call this chiffonade, but we’re not, so we won’t.

Add the oil and the water and mix gently with a fork. 

The dough is supposed to look pretty sloppy, this isn’t a typical dough that would look nice and smooth.  The roughness of the dough leads to light and flaky biscuits.

With your fingers pull apart clumps of dough about the size of a full tablespoon and place on a cookie sheet with parchment paper.


Bake for 10 – 15 minutes.  If you can resist, let them cool enough so your can handle them.  They are very moist and won’t require butter, but that could might only make them better. 

Seriously, this is just about as easy as popping open a can of pre-made biscuits, but you won’t chip a nail, you won’t have weird flakes of paper/tin attached the dough, and they will be that much more delicious and rewarding.  Enjoy – and share with 6-8 people (because that is how many biscuits it will make, or enjoy them all by yourself!)