Category Archives: Her Kitchen

(Texas) Pecan Shortbread Cookies


I watch the Bachelor.  
I watched when Trista met Ryan, the formerly chubby comedian, Jen, the football player, the actor’s brother, the British guy, Brad, Deanna, Jason – paused after Jason because it was so gross – Ali, and now back to Brad.  
I watch with my husband and my sister.  It has become something of a Monday tradition; three otherwise normal people completely engrossed in some producers’ idea of fantasy dates, and hanging onto every clue giving goo-goo eyed look, and promise of “I’m here for the right reasons”.
Mark likes to call it from the very first episode and on more than one season he has been right.  Julie and I watch for the subtleties (if you can call them that) in each date.

Tonight is the finale, and tonight Brad will follow his heart back to Texas with one girl as happy as can be, and another girl heartbroken – or at least reality tv broken.

Texas Pecan Shortbread Cookies
*Did you know that the Pecan Tree is the state tree of Texas?
1 stick of butter 
1 cup whole wheat flour
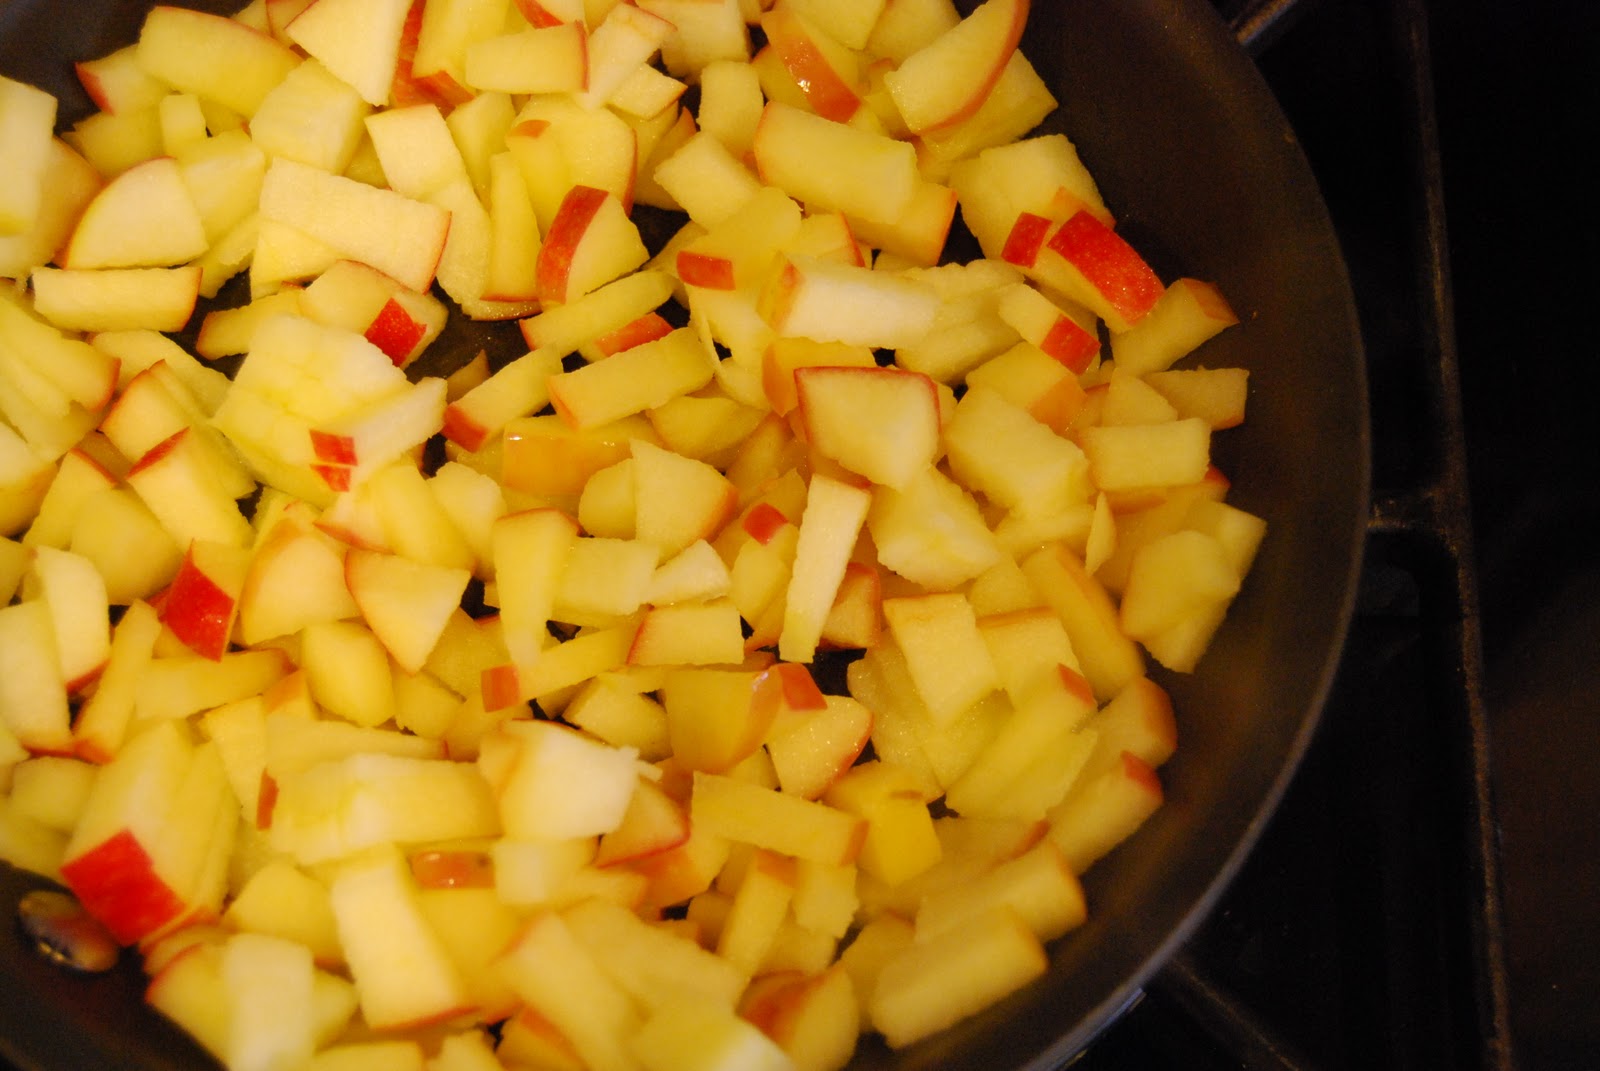
1 cup pecans (ground up in a food processor after 45 seconds)
3/8 cup powdered sugar
1 tsp vanilla
1 tsp cinammon
1/4 tsp salt
1/2 cup chocolate chips


First I poured the flour into a pan and sort of toasted it a la Dorie Greenspan’s Roasted Flour Shortbread cookies.  Whole wheat flour tends to have a nutty flavor and fuller texture than traditional flour but the 5-8 minutes of “toasting” on medium heat seemed to really highlight that flavor.
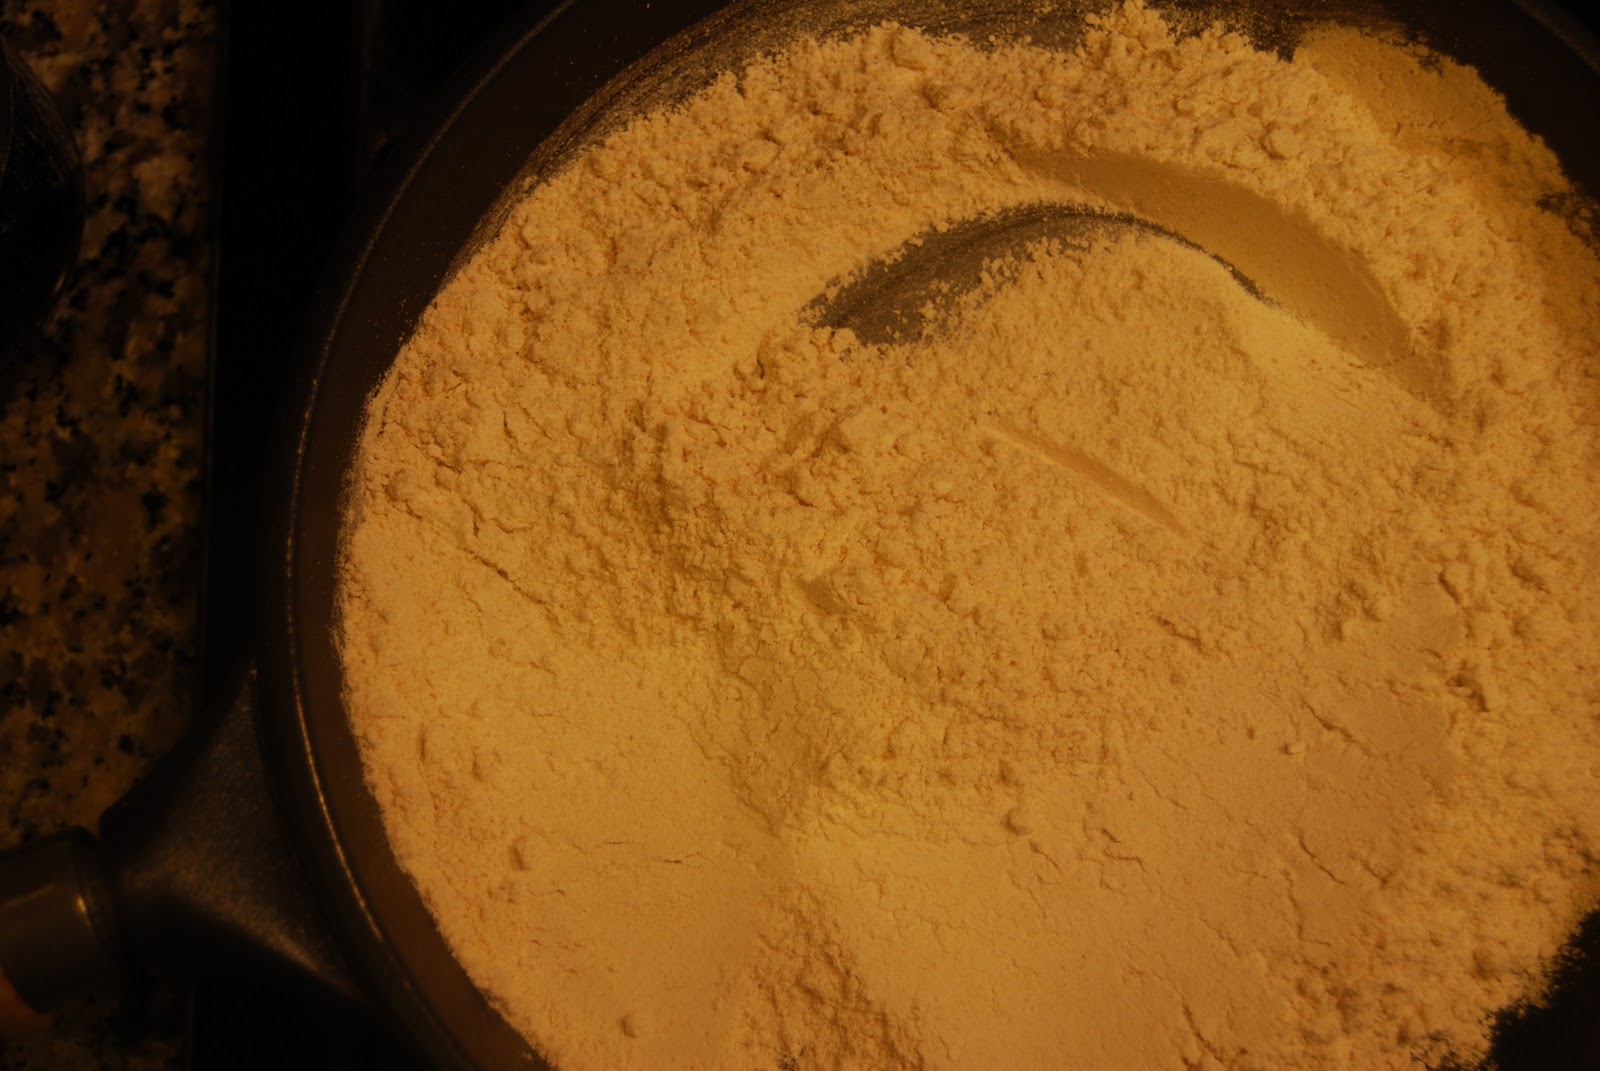
With the flour off the heat add the the salt, cinnamon and processed pecans.  Pecans add even more flavor, they’re a good source of antioxidants and are low in cholesterol.  Hey, when you’re making cookies you look for the goodness anywhere you can.

In a medium size bowl cream the butter, powdered sugar and vanilla.  When the butter is sweetly yellow and fully incorporated and smooth add the flour mixture. 

When the flour and butter are fully blended form the dough into a ball and wrap with plastic and refrigerate for about an hour.  Truly, I don’t think an hour is necessary – it was late on Sunday night so 40 minutes worked just fine.

With the dough out of the refrigerator is going to be firm and perfect for cookie cutters.  Here is a tip, layer the dough between two sheets of parchment paper and first use your hands to massage it flat and then use a roller to make it thin (about 1/4″) and uniform.  The heat of your hands will warm the dough a bit, the roller on the dough, when it is right from the fridge, will crack it up too much.

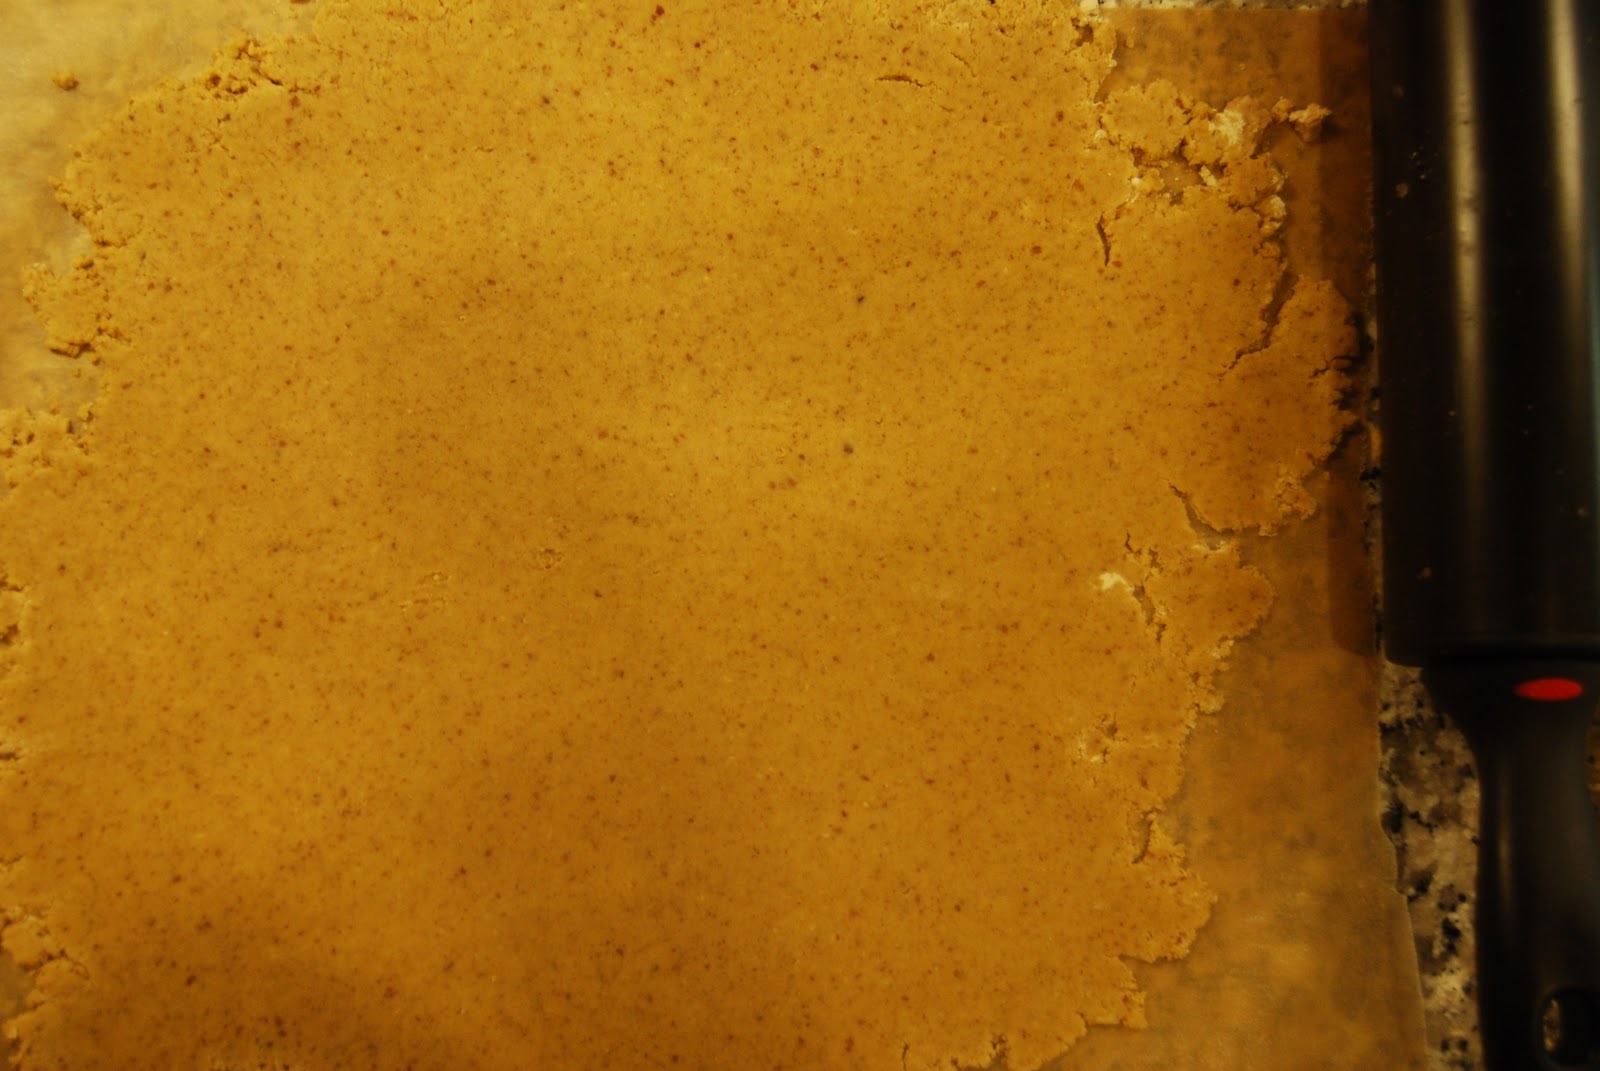
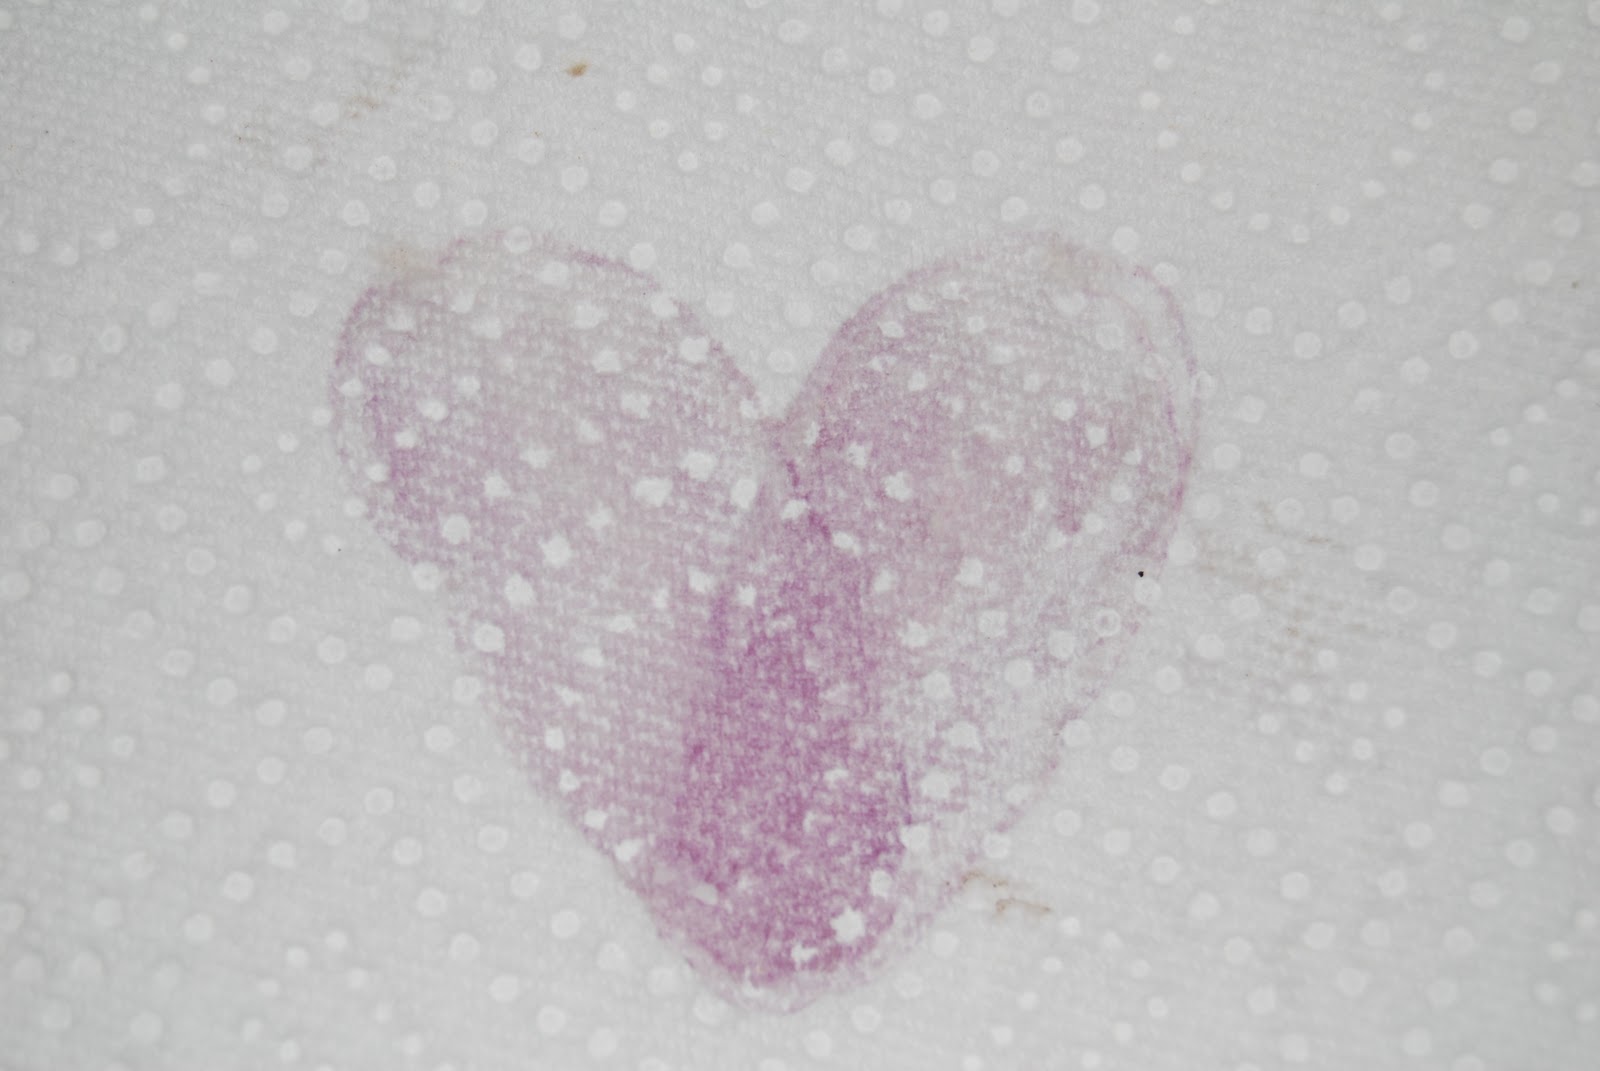
I chose hearts, you know, Bachelor finale and all.  Set the oven to 300 degrees and bake for about 18 minutes or until the edges start to turn golden brown.

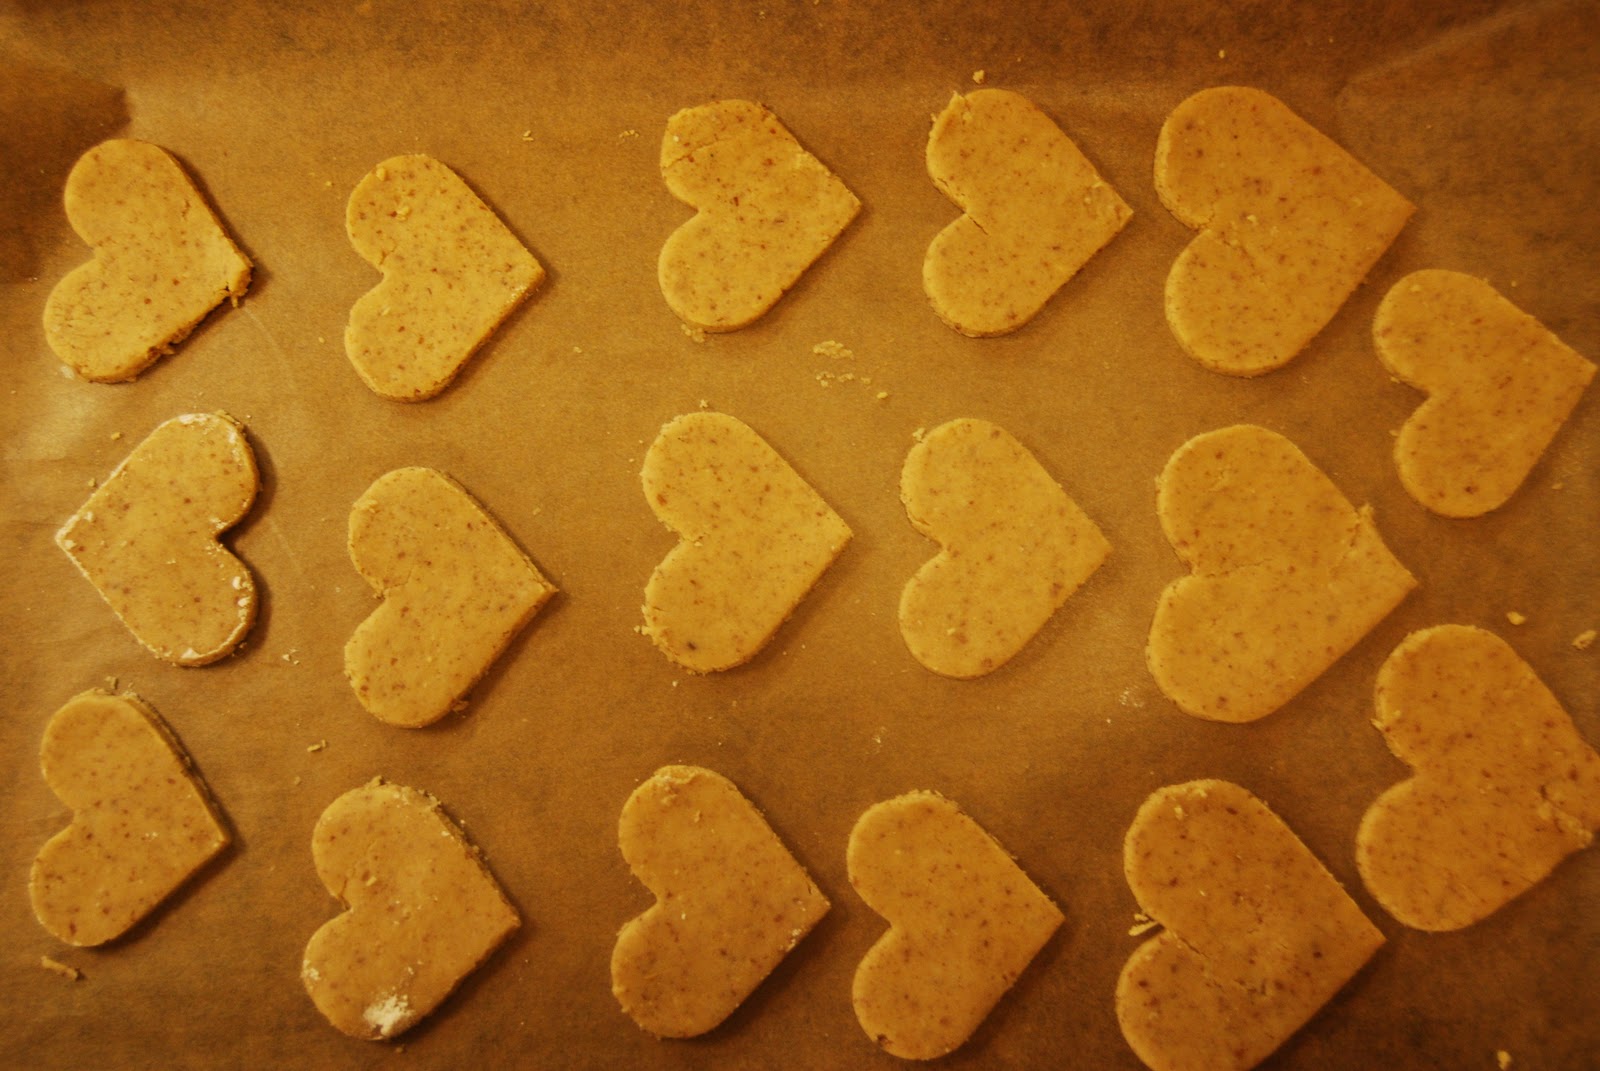
Allow to cool.  Then you can dip into chocolate, drizzle with chocolate or eat plain. 

I have my favorite in tonight’s finale, but I’ll tell you what these cookies taste a lot better than a rose and come with a lot less heart ache.  Enjoy the show and the cookies (they can both be a guilty pleasure!)

Rainy Day Cravings: PB + J AAF


Welcome to Day 2 of rain in Washington, DC.  Here is the thing, when it is raining I feel like blech.  I don’t want to run, I don’t want to think about how my hair is growing (wider/frizzier) by the moment, and I don’t want to get wet (and in DC, cold).  All I want to do is read, watch, eat.  

Some might say this is the perfect weather for grilled cheese and soup.  Even that sounds too time consuming…  I want salty, crunchy, nutty peanut butter and sweet, fruity jelly.  

Here are some hometown favorites:
 
Please note, if you are ever making a PB + J sandwich, treat yourself right and do the trick my dad taught me: Toast some fresh Challah,  egg bread/brioche, and then slather both pieces with peanut butter and then both pieces with jelly.  The warm bread ups the flavor and out of this world comfort of this food and pairs amazingly with a cold glass of milk.

Bite courtesy of yours truly
How about this for breakfast?

 Pillsbury Waffle Sandwiches are nothing short of brilliant.  We do this a lot for breakfast or a mid afternoon/night time snack.

Lunchtime!
This clever design comes from  Serious Eats and NY’s Peanut Butter Co – a restaurant that serves up so many PB & J sandwiches that they created one for every day of the year.  Photos of the clever creations are now on display at the Nutropolitan Museum of Art!
High Class PB & J?
This clever idea come from Bon Appetit’s new blog the Kookery.  The clever concept was for choosy mom’s with ever choosier kids.  Frankly, I think this works for 26 year old kids too..

Decadent PB & J
These Peanut Butter and Jelly Cups might be the most brilliant thing ever.  The deliciousness of a Reese’s Peanut Butter Cup and a peanut butter and jelly sandwich?  Heavenly…

What do you crave for comfort foods?  How do you like your peanut butter and jelly time?

Potato Crust Mushroom and Swiss Quiche


Sometimes it is a Monday night and you realize you have like 12 mushrooms in your refrigerator and two random russet potatoes – both of which were purchased at some point with another recipe in mind.  But now you don’t care about those recipes.

So what to do?  Potato Crust Mushroom and Swiss Quiche probably does the trick.  I am a quiche fan – it is easy, filling, and completely customizable.

Potato Crust Mushroom and Swiss Quiche Ingredients
5 eggs
2 egg whites
3/4 cup skim milk
2 large russet potatoes
1 onion
10 – 12 mushrooms
10 stalks skinny asparagus 
6 slices Swiss cheese, or shredded Swiss
1 tbsp of grated parmigiana cheese
Olive oil
Salt and Pepper to Taste

 I know there are quiche enthusiasts who will say a good quiche has to be with a proper pie crust, and usually that is true.  However, in the pursuit of healthy living and delicious eating, this is a fast and quite good alternative.

Slice the potatoes crosswise into 1/4″ coins. In a colander drizzle a bit of extra virgin olive oil and season with salt and pepper -this is a tip, place the colander over the pan you’ll be baking in to catch the oil. Then neatly layer the potatoes in a to cover the base of the pie pan. I sprinkle a tablespoon of grated parmigiana cheese on to the potatoes and then set in the oven for 25 minutes at 375 degrees.


While the crust is baking chop the onion, mushrooms and asparagus.  In a large nonstick pan saute the onions and when they are softened add the mushrooms and then when the mushrooms are just a moment from being down add the asparagus.

Cooled vegetables with the Swiss cheese on top
While the vegetables and crust cools – this is very important – prepare the egg mixture.  I used 2 egg whites and 5 whole eggs and I think you could adjust that to your liking. Whisk egg, milk and salt and pepper and then add the cooled vegetables and cheese.


Bake in the 375 degree oven for 30 minutes – at this time the egg should have a slight bounce but be firm and an inserted knife should come out clean.  This is beautiful served with a fresh salad or on it’s own because it is filled with delicious and nutritious vegetables – and yes, in our house it is breakfast, lunch or dinner!


Enjoy! 

P.S. Mark and Carly secret: During a bridal shower game I had to guess what Mark’s favorite food was that I made.  Not lasagna, or crab cakes, or cookies, quiche. 

What I Ate This Week


No, no, fear not, this is not like in the tabloids where celebrities share that they ate a (brown) rice cake and half a grapefruit.  I am sharing what we ate for dinner because this week we went gluten free.  

Why gluten free?  That is a good question… In part because there are some murmurs that a gluten free diet can be beneficial to your health and also because by changing up the diet for one week forced me to be more conscientious about what I was eating, and how.
Here is what I ate and also some tips to survive…

Monday: Roasted Carrots + Potatoes and Lean Beef (from Mark’s mom)  It is always great to be able to start the week with some pre-prepared meals and roasted carrots and potatoes are a low-prep item that allows you to take care of other things while they bake.
Tuesday: Ham + Eggs Omelet and Asparagus.  An omelet with a slice of ham folded inside adds a lot of flavor and extra protein when I was making a dinner for one.  Quickly blanched asparagus is a healthy and fast way to get some greens.

Wednesday: Quinoa + Collard Greens with Balsamic Grilled Chicken.  This is a favorite new way to prepare chicken: skinless breasts, pounded thin and then covered first with a tablespoon of balsamic vinegar and then 1/2 tablespoon of extra virgin olive oil.  Cooked for 5-6 minutes on each side in a large pan. 

Thursday: Curried Coconut Carrot Soup with Mary’s Gone Crackers Herb Crackers + Quinoa with Artichoke and SpinachQuinoa is the fastest way to get that starchy, filling feeling on a gluten free diet and that is why late on a Thursday night I made this again, instead of risotto as originally planned.  This soup was a huge, HUGE hit.  Recipe is below.
Adapated from Chow.com
Ingredients: 1 onion, 1 cup of chopped celery (about 4-5 stalks), 1 box of chicken or vegetable stock (4 cups), 1 can of light coconut milk, 1 cup water, 10 large carrots (peeled and chopped), 2 tsps of curry powder, 1/4 tsp tumeric, 1/4 tsp nutmeg, 1/4 cumin, 1/2 tsp cinnamon.  
Drizzle a bit of olive oil.  Saute onions, celery until softened.  
Add the chicken stock and coconut milk and water.  
Add the carrots, boil covered until carrots are softened.
Blend.  Serve.  So simple – beyond, beyond, beyond good!

Image from Chow.com
Friday: Baked Salmon + Polenta + Grilled Eggplant  – Success is pending, but this is an old faithful recipe, so I am pretty confident.

What I learned: not being able to grab a piece a bread while I cook, or a handful of cereal, (or cookies!) made me slow down to think about what I was eating, how I was cooking and what I really wanted.  I worried it would be difficult, but it was fun and a worthwhile mental exercise and cooking challenge.
Ultimately there was nothing that I made that was outside of my repertoire but there was also no hitting the easy button with a box of pasta, or pizza.  Did I miss cookies?  Yes, sometimes, but I also loved the fresh oranges, apple slices, grapes and dates that very healthily filled that void.
This was a great challenge and I would be open to trying more food challenges in the future.
Are there any foods that you could not give up?

Paint by Potato


I like to make roasted potatoes, they are super easy for dinner, preserve well for lunch and with just a bit of olive oil and salt and pepper full of flavor and nutrients.  My favorite potatoes are ones that I first enjoyed in Hawaii of all places, purple potatoes.  They have a dull purplish outer skin and a bright and vibrant violet center. 

They also double as a great source of nature-made paint. 

Look for these in your produce section on the next grocery run.  Food should taste and look good.

Apple Oatmeal Kugel


Over the long and sometimes warm and sometimes very cold weekend I spent a lot of time behind my stove.  I really like to cook over the weekends and sometimes you (I) cook too much.  I also really don’t like to throw things away that taste great, and well, eating the leftovers to get rid of it all doesn’t really do anyone any good.

So, as necessity is the mother of all inventions, a new recipe was born.  It’s not exactly seasonal (apples really makes me think of the fall) but it is definitely comforting.
Apple Oatmeal Kugel*
Ingredients
2 cups cooked oatmeal
1/2 cup whole wheat flour
1/2 – 2 apples chopped
1/4 cup raisins
1 egg
1 tbsp of brown sugar
1/2 tbsp almond butter (negotiable*)
1 tsp cinnamon
1/2 tsp vanilla
1/4 tsp baking soda
1/4 tsp baking powder
1/4 tsp salt
1/2 tsp turbinado sugar (optional)
Juice from a 1/4 lemon
1/8 cup of slivered almonds

Step 1: Breakfast.  If you’re like me, when you woke up you thought about making something fun with low cholesterol oatmeal, but you have to have breakfast first.  So, you made an abundant amount of oatmeal. By the way cooking oatmeal is always a 2 (water) to 1 (oatmeal) ratio.  In this case I wanted a less watery version, so I went 3 cups of water, 2 cups of oatmeal, Mark and I both had a small bowl of oatmeal with toppings and about 2 cups of cooked oatmeal remained.  Don’t throw out the leftover cooked oatmeal!

Step 2: Oatmeal Toppings.  While the water is boiling and the oatmeal is cooking, chop up your favorite kind of apple (mine is Honey Crisp – they are out of this world good).  Add the apples and raisins to a pan on medium heat with a smidge of butter (like a 1/4 of 1/4 tbsp).  Let the apples and raisins begin to soften and add 1/2 tsp of cinnamon and continue to stir so that the fruit is completely covered.  For your breakfast take 1/8 cup of apples and raisins and reserve the rest for later.
Step 2: Dry Ingredients: After you finish your breakfast return to the pot where the oatmeal has now cooled.  Add the whole wheat flour, salt, baking powder and baking soda.  Combine all of these ingredients.  If the oatmeal is overly sticky – mine was – slowly add 1/8 cup of water at a time until it has a smoother consistency.

Step 3: Wet ingredients.  I included 1/2 tablespoon of almond butter in the oatmeal.  It added a warmer hint of color, but didn’t change the flavor – this is totally up to you to include.  For a nutty flavor I’d recommend at least a tablespoon.  Add the egg and the brown sugar and continue to incorporate.

Step 4: Back to the apples.  The apples and raisin have cooled and should a soft golden color.  Bring the pan back to a medium-low heat and add the vanilla and lemon juice.  Cook the apples until the juice is absorbed.
Step 5: Bring it all together.  Combine the apples and raisins into the oatmeal and then spread the entire mix into a 9×9 baking dish.  If so desired, and I am sure it is desired, sprinkle on additional cinnamon, turbinado (raw) sugar, and some almonds.  Bake for 45-50 minutes at 350 degrees.  
Here is the warning: your kitchen will have the warm, sweet smell of cinnamon, vanilla and apples.  You’ll know how relatively healthy this little snack is and will have a hard time just eating one bite, but that’s okay, because really (not just relatively) this is a pretty healthy way to go.

*So, I am calling this a kugel, because the flavor and consistency most closely reminds me of my Nannys’ (grandmas‘ – they both make it) noodle pudding.  There are no noodles, so noodle pudding is the wrong name, and kugel kind of sounds funny, but it’s pretty much what it is.  The other thing it is, is sweet, but not too sweet, healthy, but not boring, simple but not bland and probably something that will pop up on a holiday table of mine in seasons to come.

Grilled Eggplant Pesto Parmigiana


Sometimes I realize that the recipe featured here require a mixer, or an immersion blender, and for as much as I try to simplify recipes by using simple tools, it can become intimidating if your kitchen equipment is pieced together with hand-me-downs and college left overs.

This recipe requires not much more than George Foreman grill, the staple of every college “registry”, and it looks and tastes a bit more sophisticated than college.

Grilled Eggplant Pesto Parmigiana
Ingredients
1 large Italian eggplant
Pesto Sauce (either premade, or homemade – do it!  It is soo easy)
Grated Parmigiana cheese
Marinara sauce
Salt and Pepper

Preheat oven to 400 degrees.  On a cutting board slice the eggplant into 1/2″ coins.  Sprinkle generously with Kosher salt.  Salting the eggplant adds flavor and it also helps the eggplant to “sweat” out some of it’s moisture.

In a small bowl prepare the pesto sauce, come on, I know you went homemade.  Another even lower calorie option that is strong on flavor is crushed basil, garlic and olive oil – I recommend the frozen basil and garlic cubes at Trader Joe’s.
Lay the eggplant coins out on the grill and cook for 3-4 minutes or until golden brown grill marks appear and then rotate for a beautiful cross pattern.   
Lay all of the grilled eggplant slices on a cookie sheet and spread each slice with a 1/2 teaspoon of your spread.  (If you’re  not into pesto, or garlic, or basil, or whatever, a tapenade would be amazing, or just your basic marinara sauce).  Sprinkle with the grated parmigiana cheese and bake for 10 – 15 minutes or until the cheese is a little bit melted.
If you can help it, arrange the grilled eggplant slices on a plate and serve with fresh sauce.  If you can’t help it, try not to burn your fingers as you eat them right from the pan.  We ate them both ways in my house, and they taste just as good with or without the fancy presentation!

This makes for a healthy, affordable, and really satisfying dinner or appetizer for a crowd.  Buon Appetito!

Pre-Game Snacks


I really do love football, but this weekend’s “big game” is not really luring me in.  I am not into the teams, and I’m not into the location being a snowy Dallas…

In any case, I am into making food for the “big game”.  Did you know that only NFL and the network broadcasting the game are allowed to use the term Super Bowl in a marketing context… little known fact!

If I was having a party for the Big Game I would serve up some of these healthy favorites!
Candied Pecans!
Stuffed Mushrooms!
Sweet Potato Chips and Spicy Arugula Pesto
For more inspiration and to honor the teams playing, The Greenbay Packers and The Pittsburgh Steelers, how about these recipes:

Roasted Cauliflower and Lentil Salad


Between all of the baking I really try to make our dinners filled with an abundance of seasonal vegetables and big bold flavors.  Last week it was all about cauliflower.  Roasted, delicious cauliflower.  This very easy recipe was a snap for a weeknight dinner entree, side or weekend lunch.  It was divine – which is saying a lot for a veggie.


Roasted Cauliflower and Lentil Salad
Ingredients
One Head of Cauliflower
1/2 Vidalia Onion
1 cup of cooked lentils
1/4 cup raisins
2 tbsp Extra Virgin Olive Oil
1 tbsp White Wine Vinegar
1 teaspoon Curry Powder
1/2 teaspoon Paprika
Salt and Pepper to taste
Oven at 400 degrees
Instead of cutting the cauliflower into little trees, cut the head into slices across the sphere. 
In a small glass whisk the oil and vinegar and add the curry and paprika, salt and pepper.  The “dressing” now has a burnt orange color and fragrant scent.

I dipped the head of each cauliflower slice into the dressing and laid them all out on a covered cookie sheet.  With the remaining dressing, reserve about 1 tablespoon and drizzle the excess over the cauliflower.  Bake in over for 35 minutes.
With 10 minutes left on the cauliflower timer slice the onion and throw all of the onion slices into the remaining dressing.  In a non-stick pan over medium heat, cook the dressed onions until they are nearly translucent.  Add the pre-cooked lentils (I always use pre-steamed lentils from Trader Joe’s/Whole Foods/Wegman’s) and the raisins and allow the flavors to integrate completely.
When the cauliflower has fully cooked the dressed spots will be sweetly caramelized and the heads will be browned (and extra delicious)!

Add the cauliflower to the pan with the onion, lentils and raisins and let all of those flavors dance together and serve.  That is a delicious bowl of winter.

Roasted Butternut Squash Risotto


Risotto is a favorite dish in our house.  It is fairly easy to make, inexpensive to make a lot of and is a great alternative to pasta for a gluten free diet, and a vegetarian main course.

So risotto is one of those things where you can experiment a little bit with ingredients, as long as you follow the rules with timing.

Roasted Butternut Squash Risotto
Ingredients
1 Butternut Squash, chopped in 1-2″ pieces
1 tbsp olive oil
Salt, Pepper, Paprika to taste

1 onion, chopped finely
3 carrots, chopped finely
3 stalks of celery, chopped finely
4 cups of Vegetable/Chicken Broth
1 1/2 cup of arborio rice
2 tbsp of butter
1/4 cup of white wine
1/2 cup grated Parmigiana
Salt and Pepper to taste

Peel and cut the butternut squash and put all chopped pieces in a colander and drizzle with olive oil and sprinkle of salt, pepper and paprika.  On a covered cookie sheet lay out the pieces of squash and bake in the oven for 35 minutes at 375 degrees.

Once the squash is in the oven, move onto the risotto.  In a separate sauce pan bring the vegetable/chicken stock to a boil.  
In a large sauce pan add 1/2 tbsp of butter to the pan and then add the finely chopped onion, carrots, and celery. Add salt and pepper to taste – just a pinch, because you’ll continue to layer the flavors.

When the vegetables are softened add the rice to the pan on medium/low heat and let it saute until the pieces are translucent.  When the rice is translucent add the first ladle of stock.
Let the rice simmer in the broth, stirring frequently, until it is completely absorbed.  When the broth is absorbed add another ladle and continue the process of adding, stirring, absorbing until all of the stock is used up.   You’ll notice that as the broth is being absorbed the rice with release it’s natural starchiness and become creamy. 

After the last ladle, but before the broth is completely absorbed make a well in the rice and add a cup of the now roasted squash.  Using a potato masher (or a spoon), mash up the cup of squash and combine it with the risotto.  The mashed squash adds beautiful color and rich flavor.
Then add the rest of the squash, the remaining butter (in pieces) and the parmigiana cheese and gently stir all of the ingredients. 

This is a perfect winter weeknight dinner, enjoy the comfort of good food!