Weeknight dinners are always a little bit tricky; I want something healthy, good tasting, fairly quick and comforting. So last night was an opportunity for some easy, hearty and full of vegetables sauce.
Roasted Vegetable Sauce
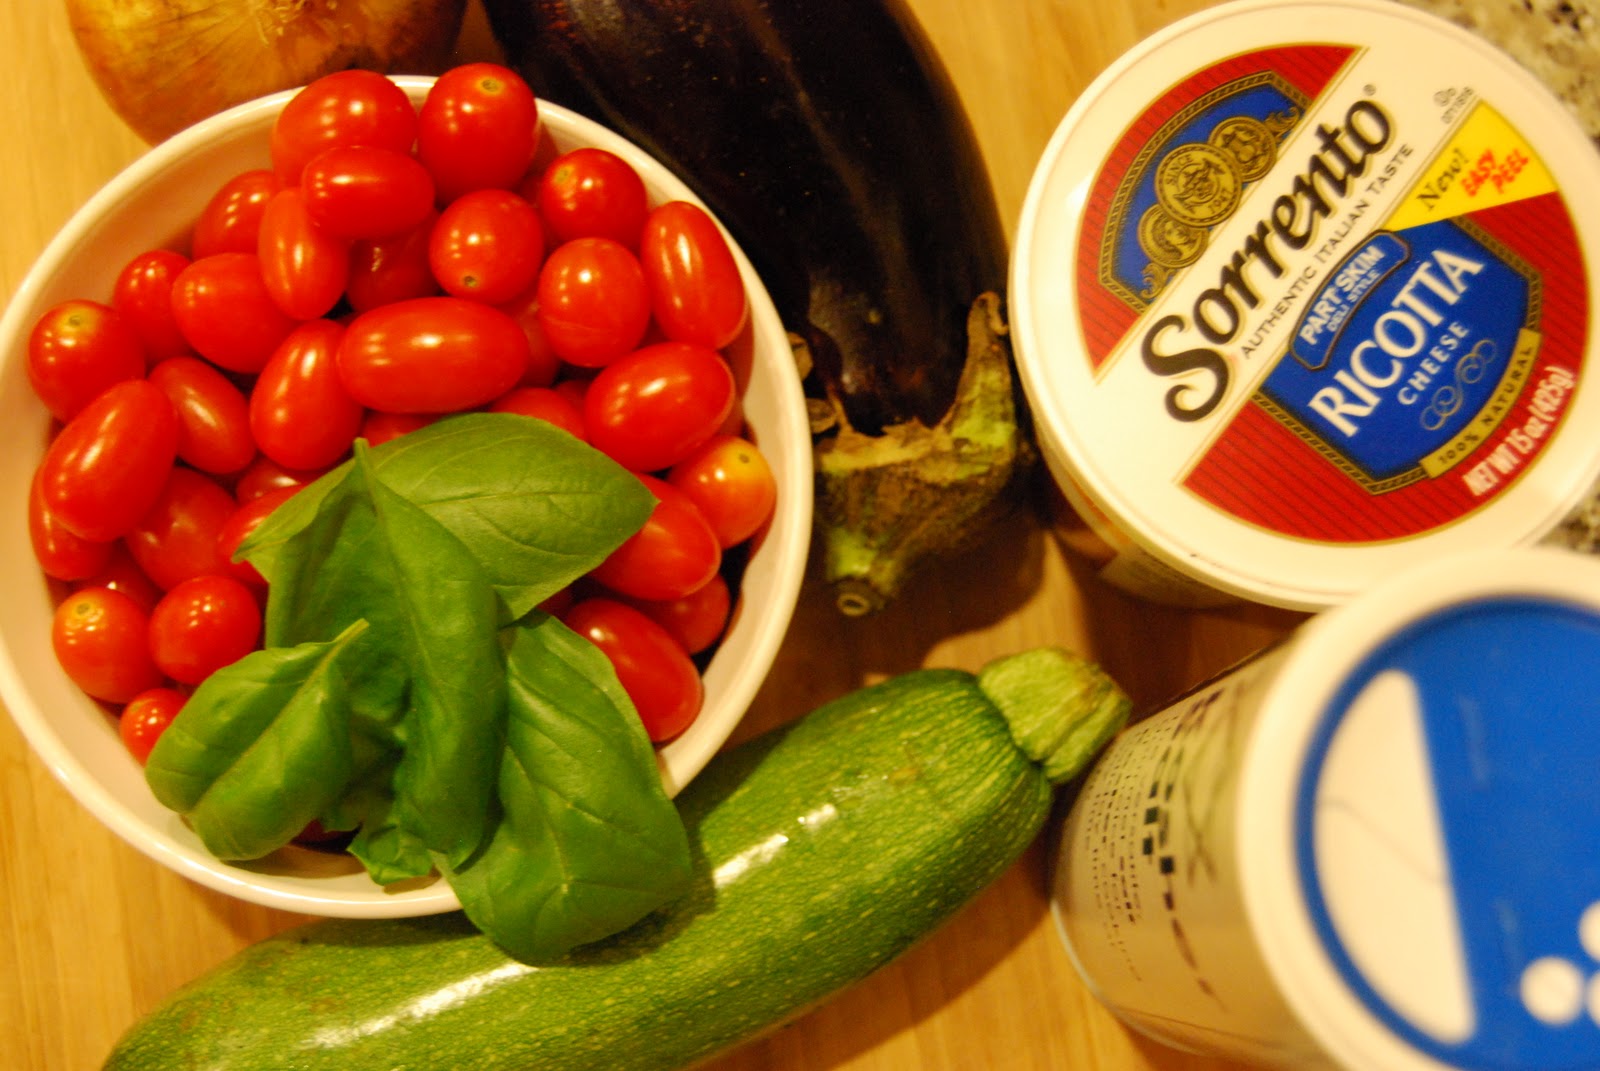
Ingredients:
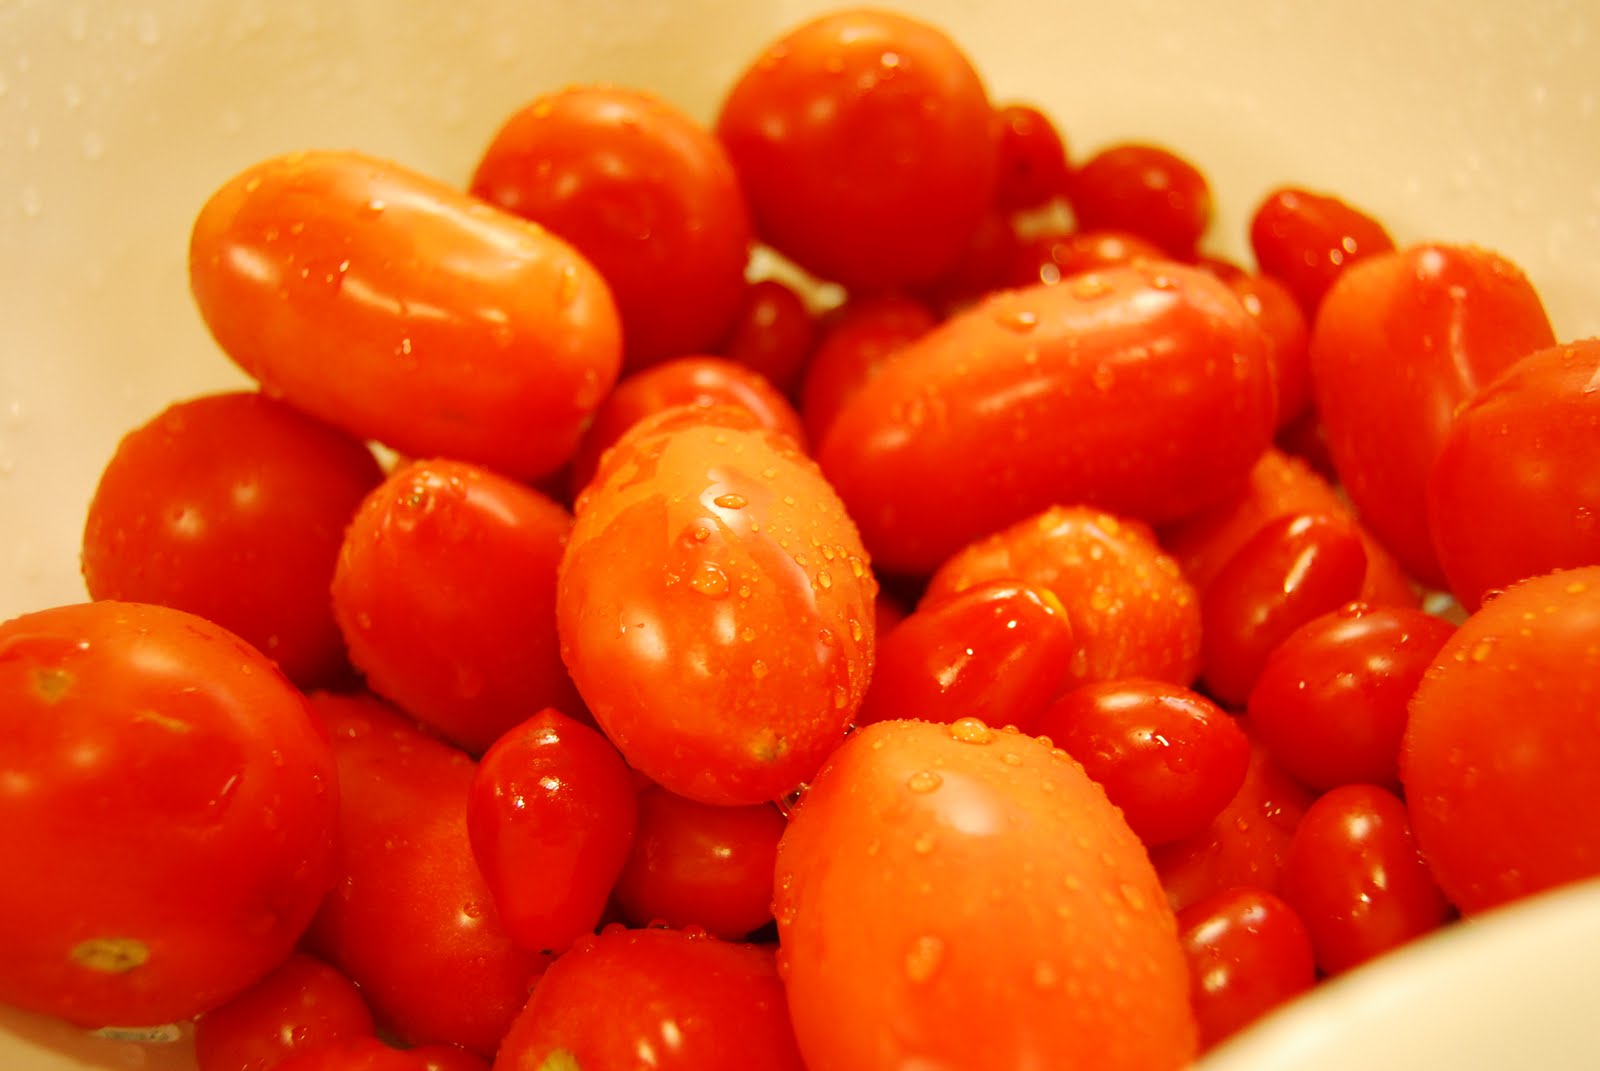
2 cups Chopped Cherry Tomatoes
2 medium Zucchini
1 medium Eggplant
Salt and Pepper
Dash of Olive Oil
Splash of Balsamic Vinegar
Garlic
Basil
Pepperoncino
1 tbsp Skim Ricotta Cheee
**I really like zucchini and eggplant and so we nearly always have some variety on hand. If you are not a fan of one you could always do without or swap in a different vegetable. If you don’t like either you’ll just be eating tomatoes and cheese, which come to think of it isn’t so bad either.
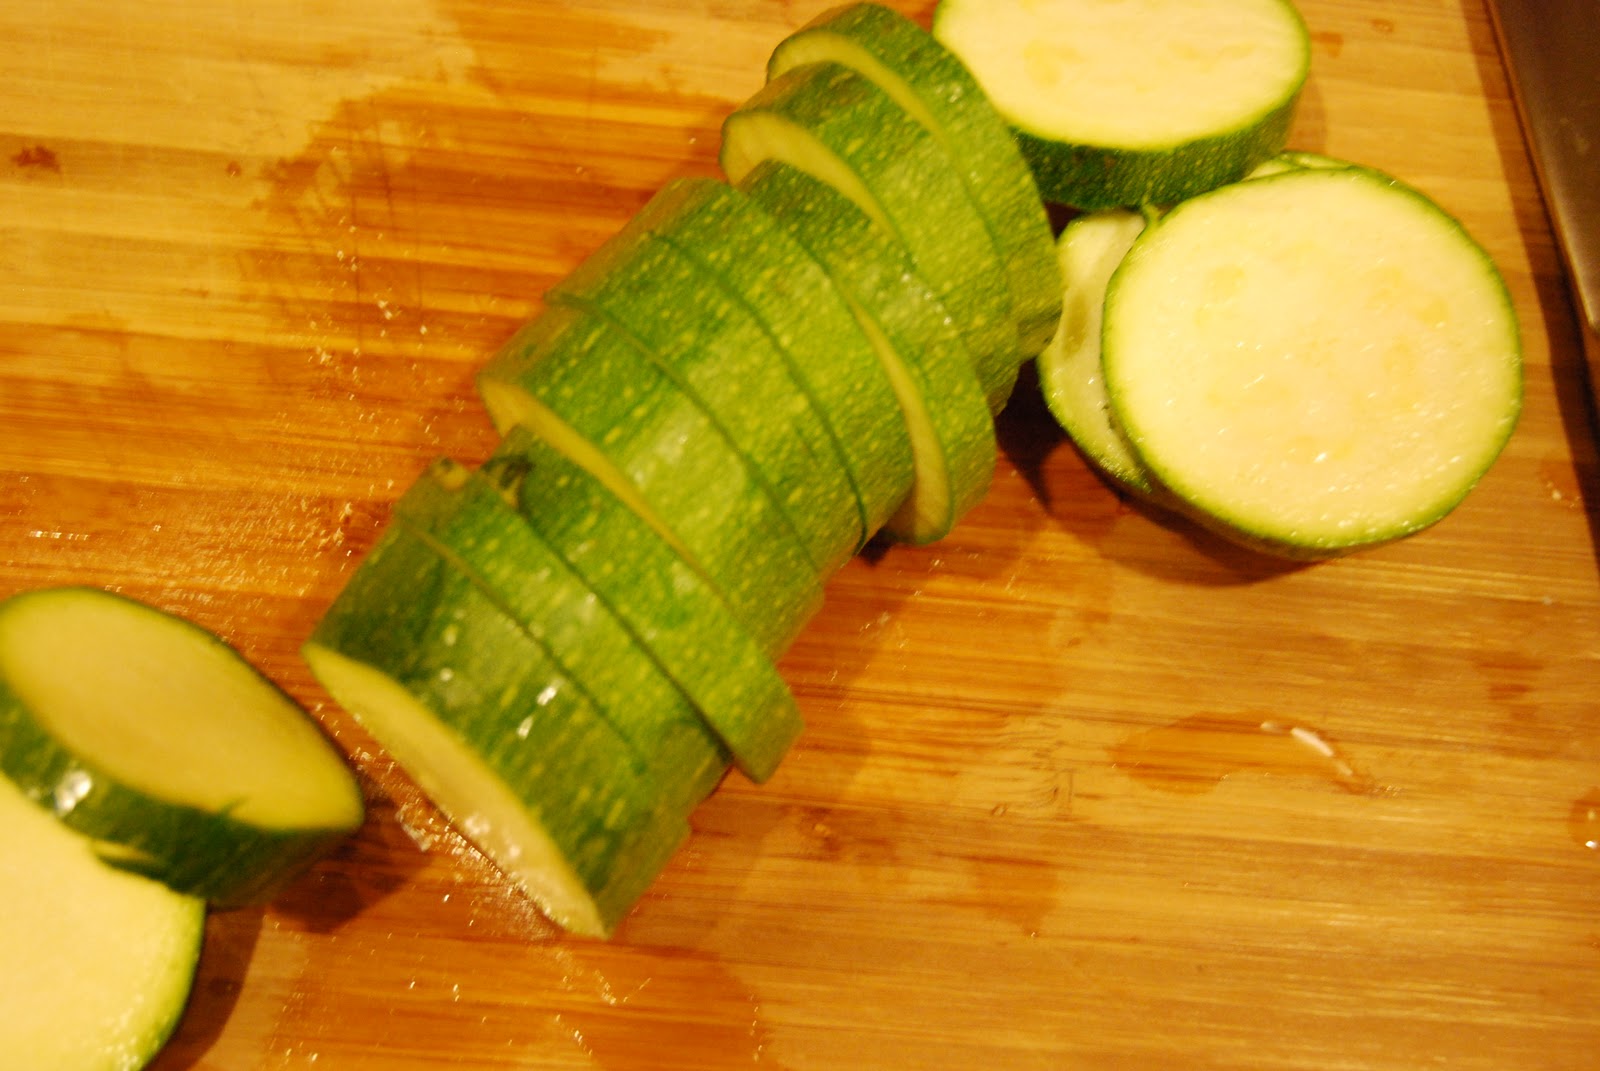
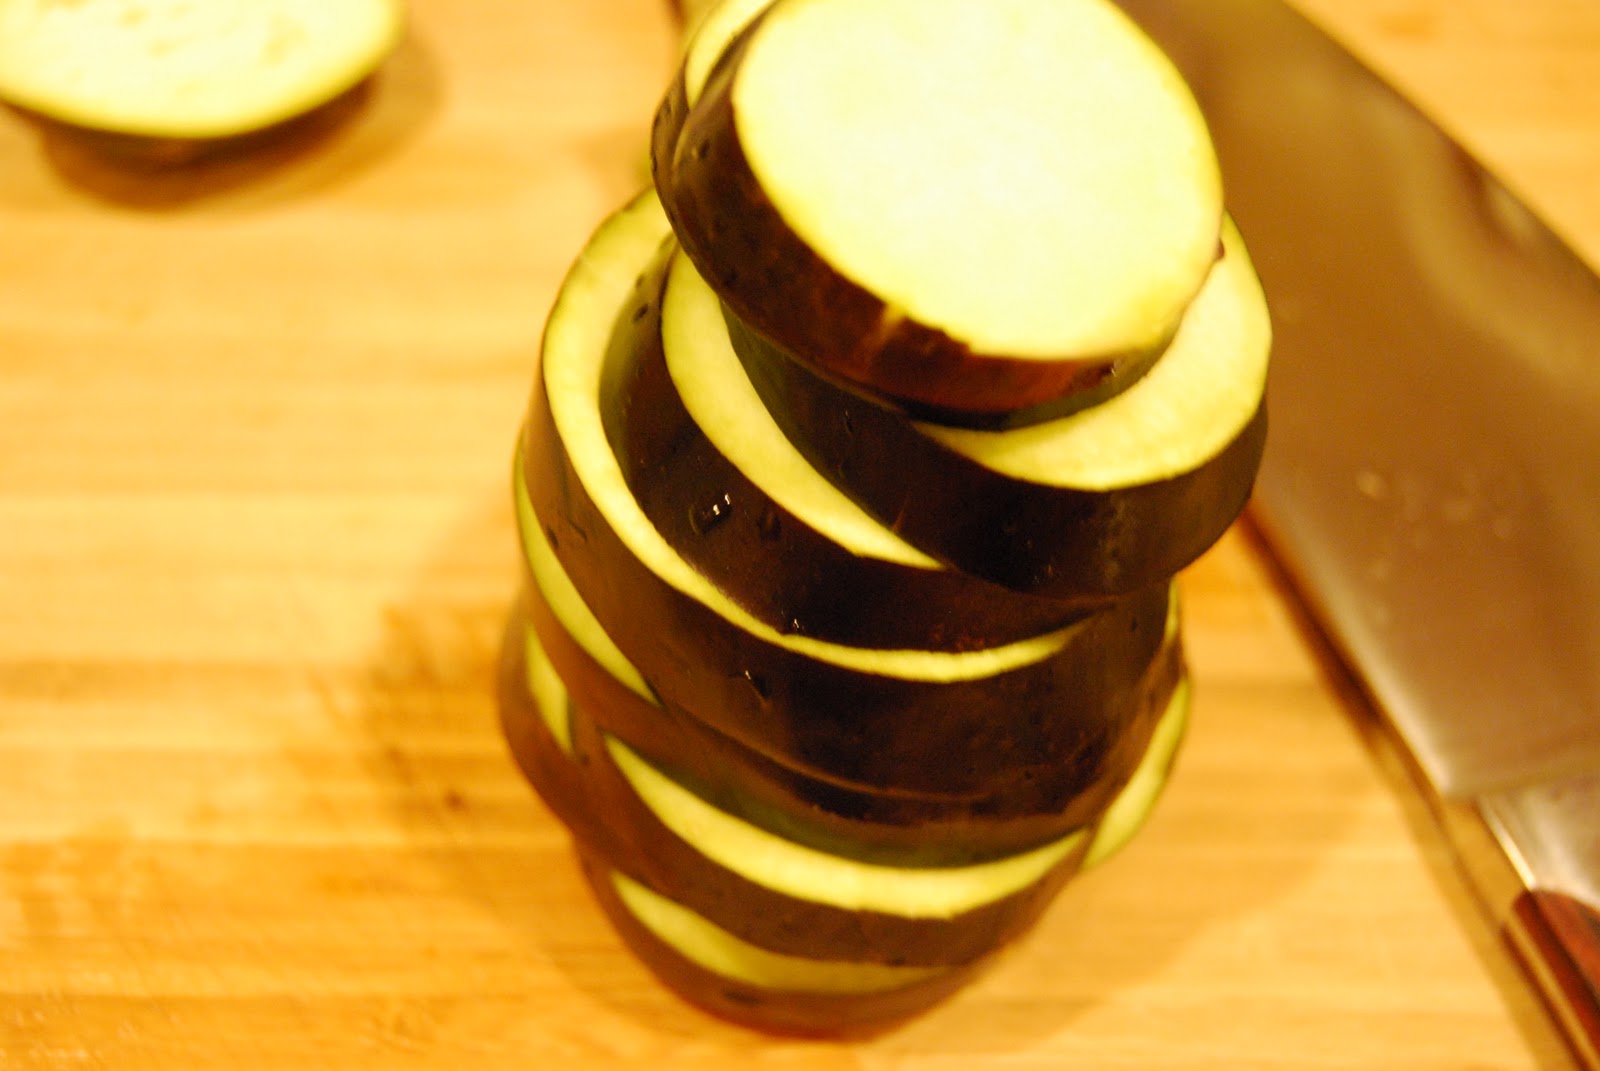
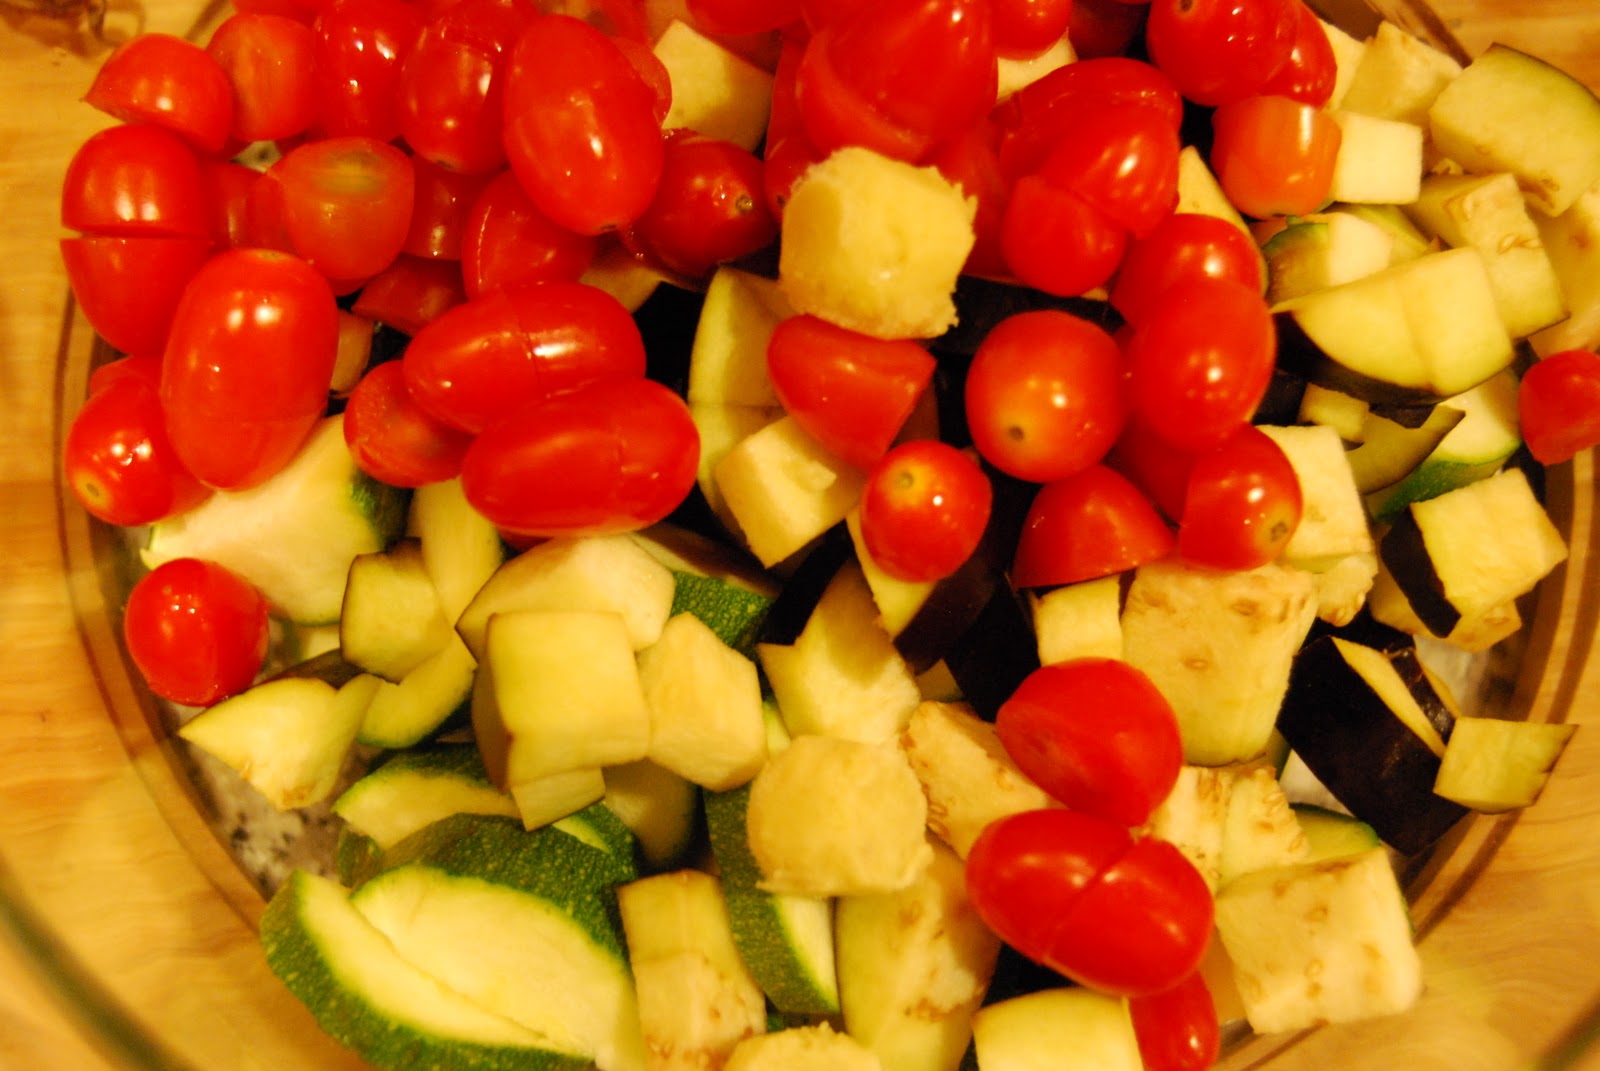
Chop the zucchini and eggplant into rounds about a centimeter thick. Cut the zucchini in half lengthwise, and then cut the eggplant into smaller chunks. Combine the chopped zucchini and eggplant with the chopped tomatoes in a large bowl. Add to the bowl a drizzle of olive oil, a splash of vinegar, salt, pepper, and some diced garlic. Mix all of this up, so that flecks of oil and vinegar touch everything.

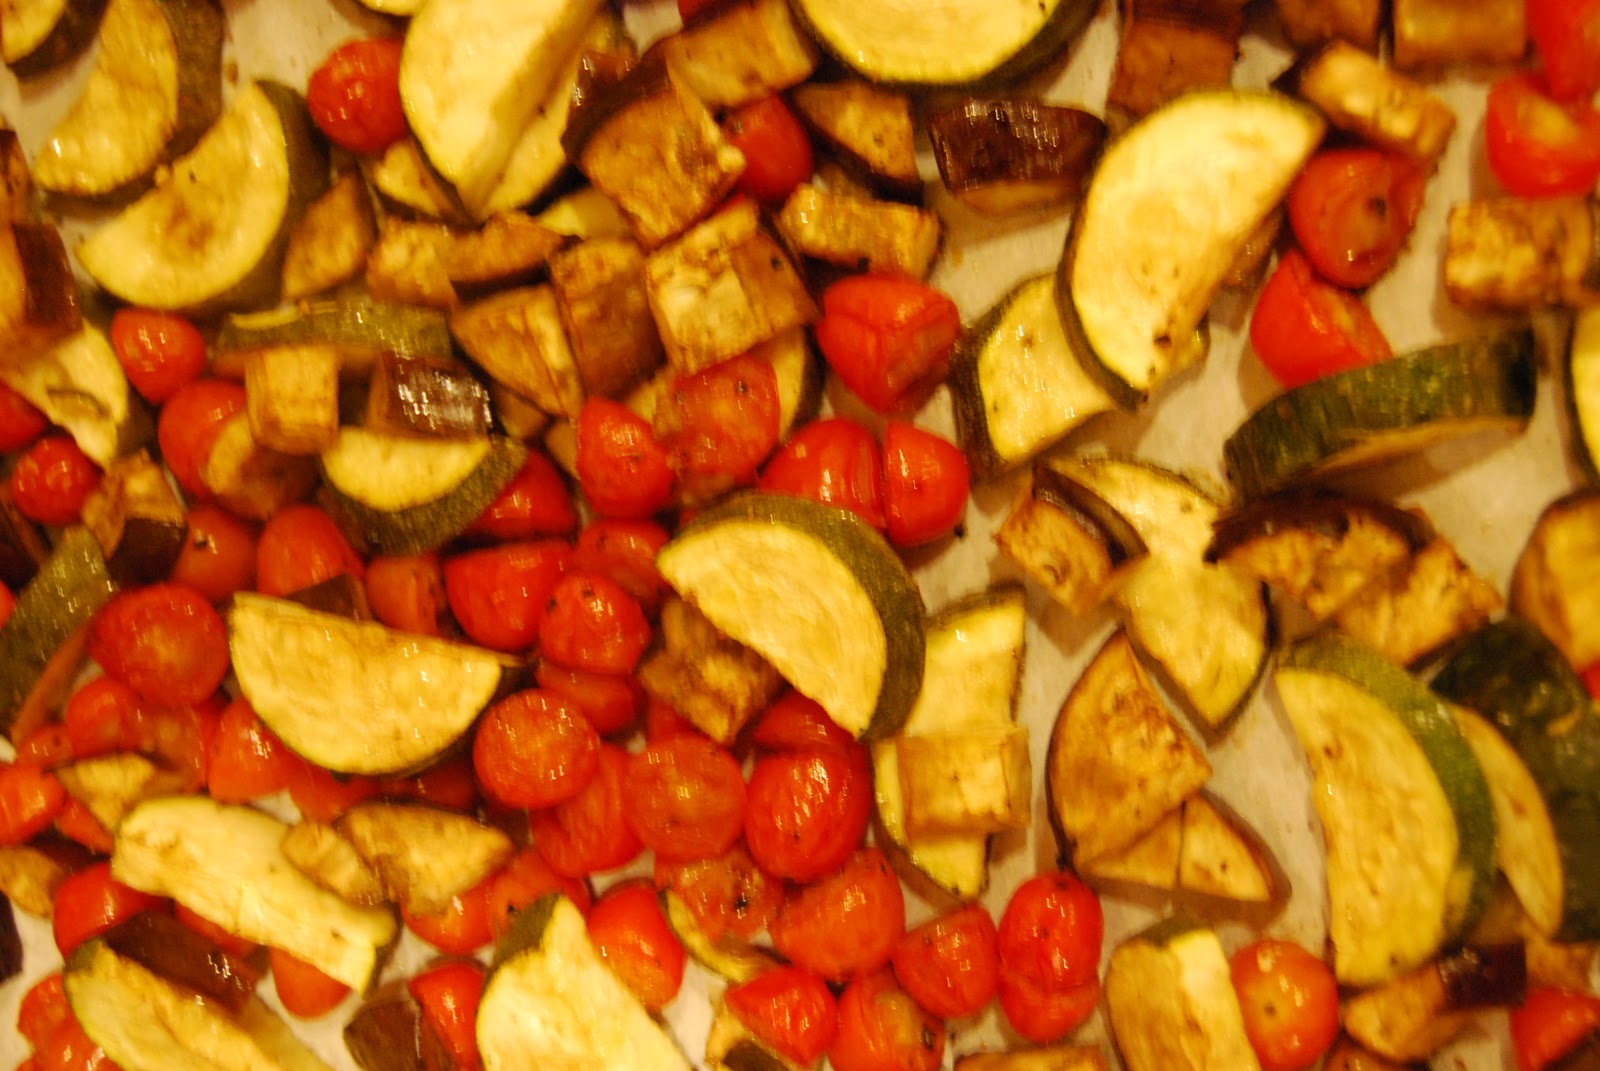
On a cookie sheet lay out a piece of parchment paper and pour out all of the vegetables. Place the sheet in a 400 degree oven for 35 minutes. If by chance the OnDemand Yoga video, or self applied manicure is taking longer, you can let these roast for up to 45 minutes – you just don’t want the vegetables to be burned.
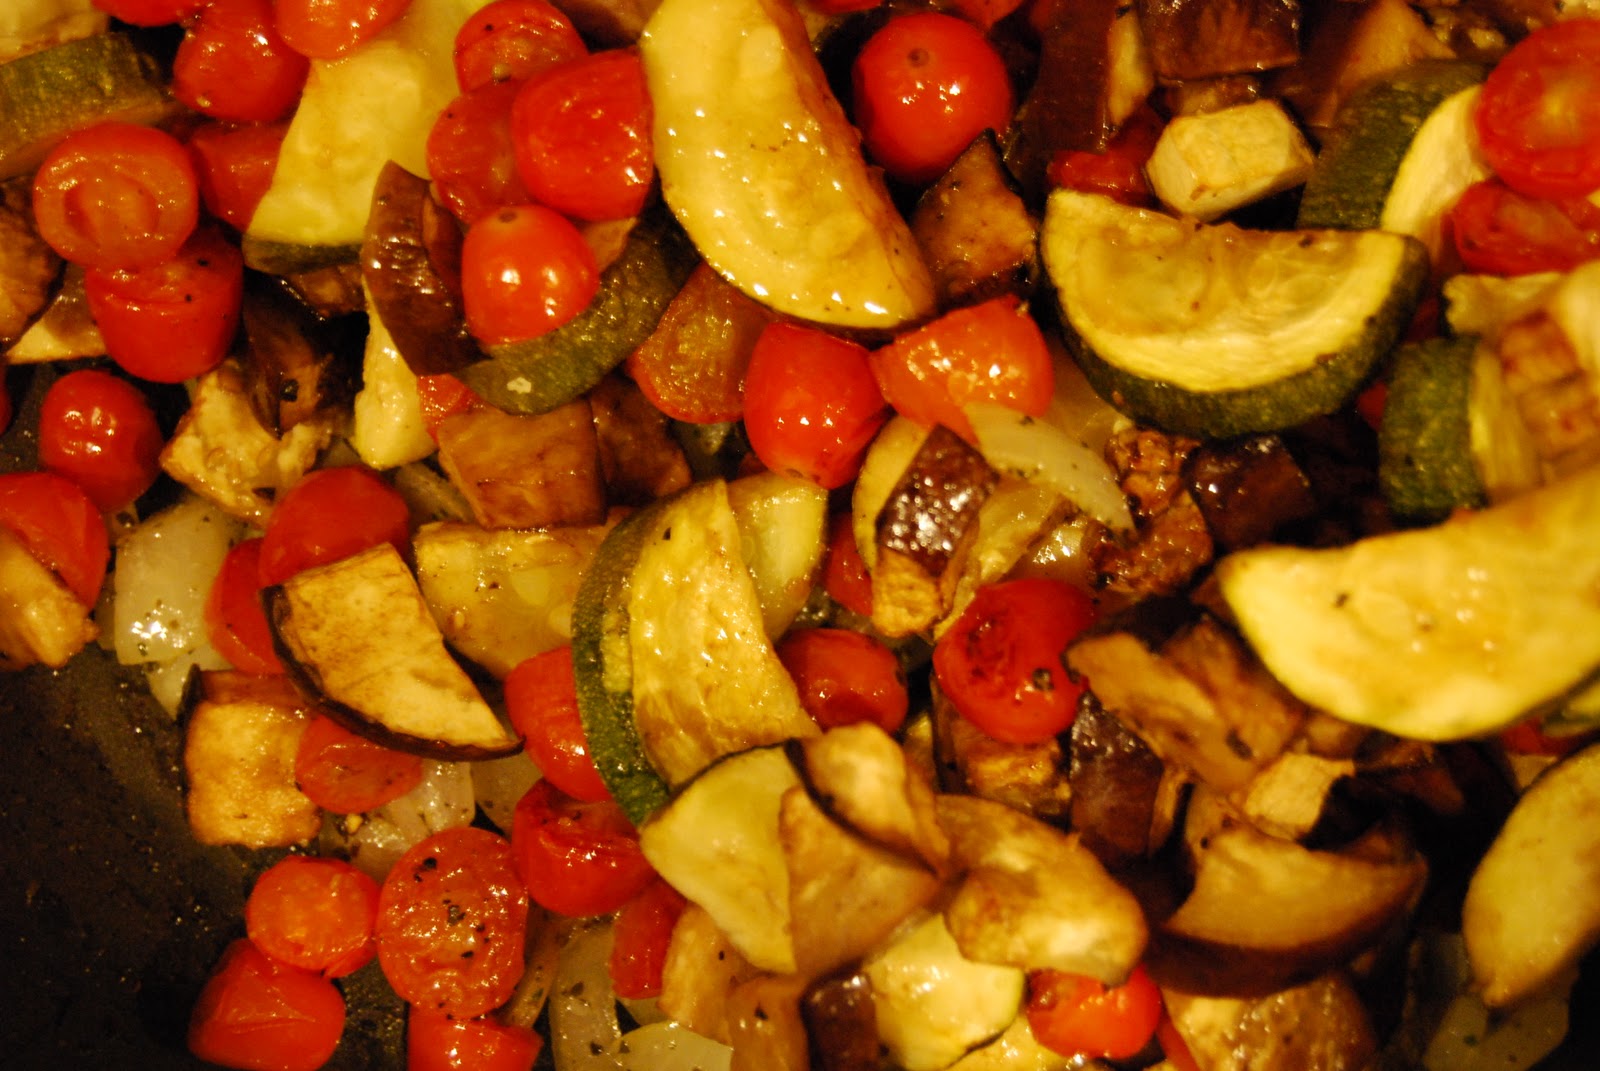
On the stove top set up a large sauce pan with some olive oil, chopped onion, garlic and basil over low heat. At the same time start boiling water for your pasta.
Now, I need to share a secret with you. I rarely keep fresh garlic on hand at home. This is probably shocking but in our old apartment we’d have heads of garlic and we’d lose them, and then they’d dry out and it was a waste. Then we discovered the frozen crushed garlic and basil at Trader Joe’s. They are perfect in a pinch, and hopefully there is a Trader Joe’s somewhere within reach. To my Florida readers; perhaps I’ll bring you some on the next visit!

When the onions are translucent add the roasted vegetables to the saucepan. Pour in two ladles of pasta water, and stir vigorously.
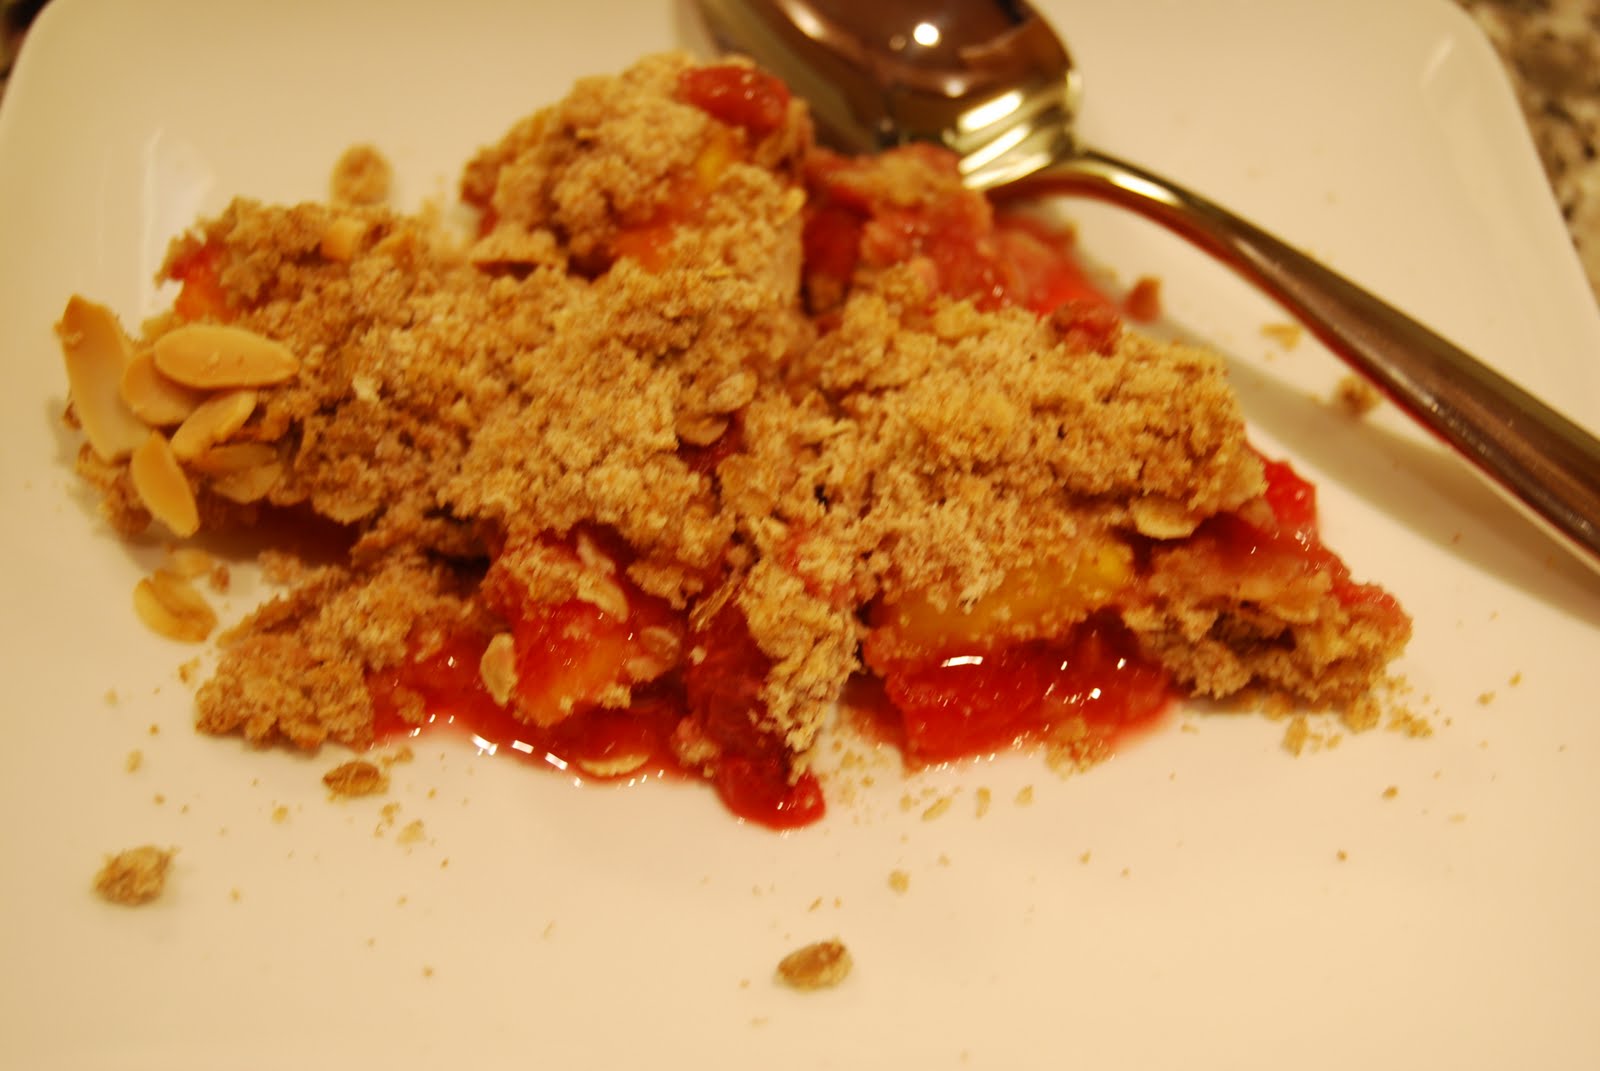
You can keep it chunky, and stop here. I wanted a more saucy sauce so I used my immersion blender for a few quick pulses and then added a spoonful of ricotta cheese for an smoother taste. I paired this with a favorite pasta in the pantry, but I think I would also love this on crusty, warm bread as a bruschetta topping, or as a dip with pita. The whole prep from beginning to end took about 45 minutes; and the bulk of that was inactive cooking time while the vegetables were roasting. Not too bad for a healthy, well balanced dinner, ever better for a weeknight!
Buon Appetito!