
 Over the long and sometimes warm and sometimes very cold weekend I spent a lot of time behind my stove. I really like to cook over the weekends and sometimes you (I) cook too much. I also really don’t like to throw things away that taste great, and well, eating the leftovers to get rid of it all doesn’t really do anyone any good.
So, as necessity is the mother of all inventions, a new recipe was born. It’s not exactly seasonal (apples really makes me think of the fall) but it is definitely comforting.
Apple Oatmeal Kugel*
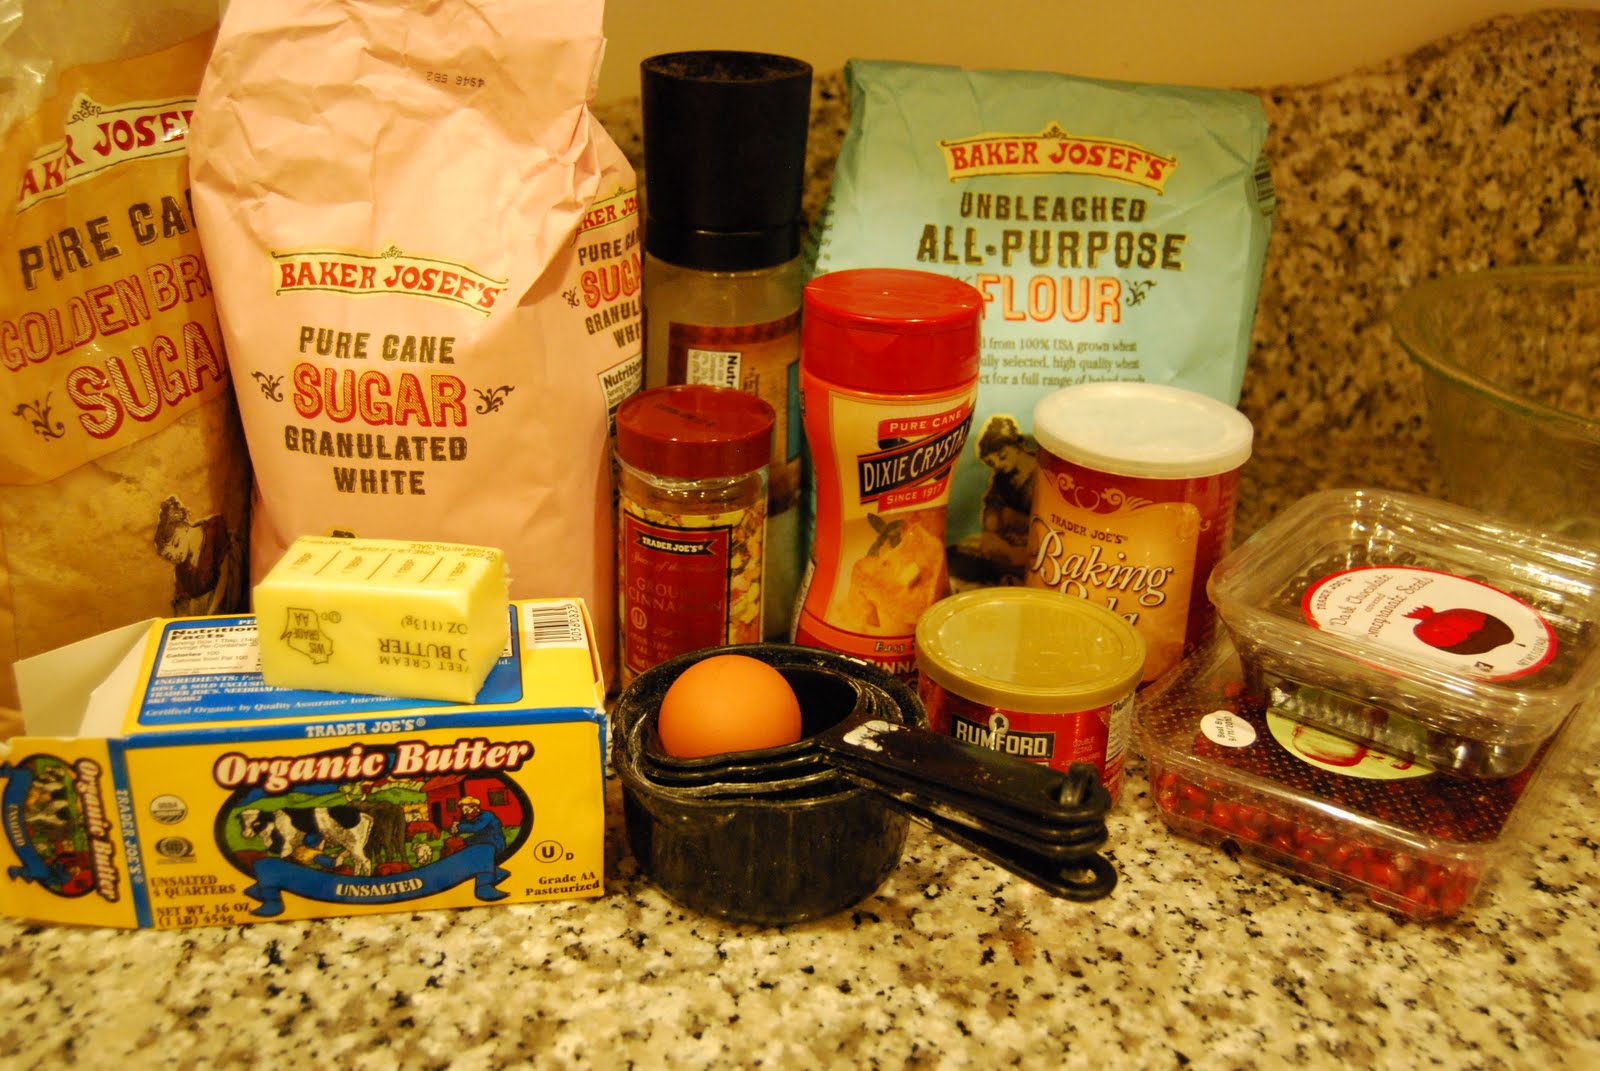
Ingredients
2 cups cooked oatmeal
1/2 cup whole wheat flour
1/2 – 2 apples chopped
1/4 cup raisins
1 egg
1 tbsp of brown sugar
1/2 tbsp almond butter (negotiable*)
1 tsp cinnamon
1/2 tsp vanilla
1/4 tsp baking soda
1/4 tsp baking powder
1/4 tsp salt
1/2 tsp turbinado sugar (optional)
Juice from a 1/4 lemon
1/8 cup of slivered almonds
Step 1: Breakfast. If you’re like me, when you woke up you thought about making something fun with low cholesterol oatmeal, but you have to have breakfast first. So, you made an abundant amount of oatmeal. By the way cooking oatmeal is always a 2 (water) to 1 (oatmeal) ratio. In this case I wanted a less watery version, so I went 3 cups of water, 2 cups of oatmeal, Mark and I both had a small bowl of oatmeal with toppings and about 2 cups of cooked oatmeal remained. Don’t throw out the leftover cooked oatmeal!
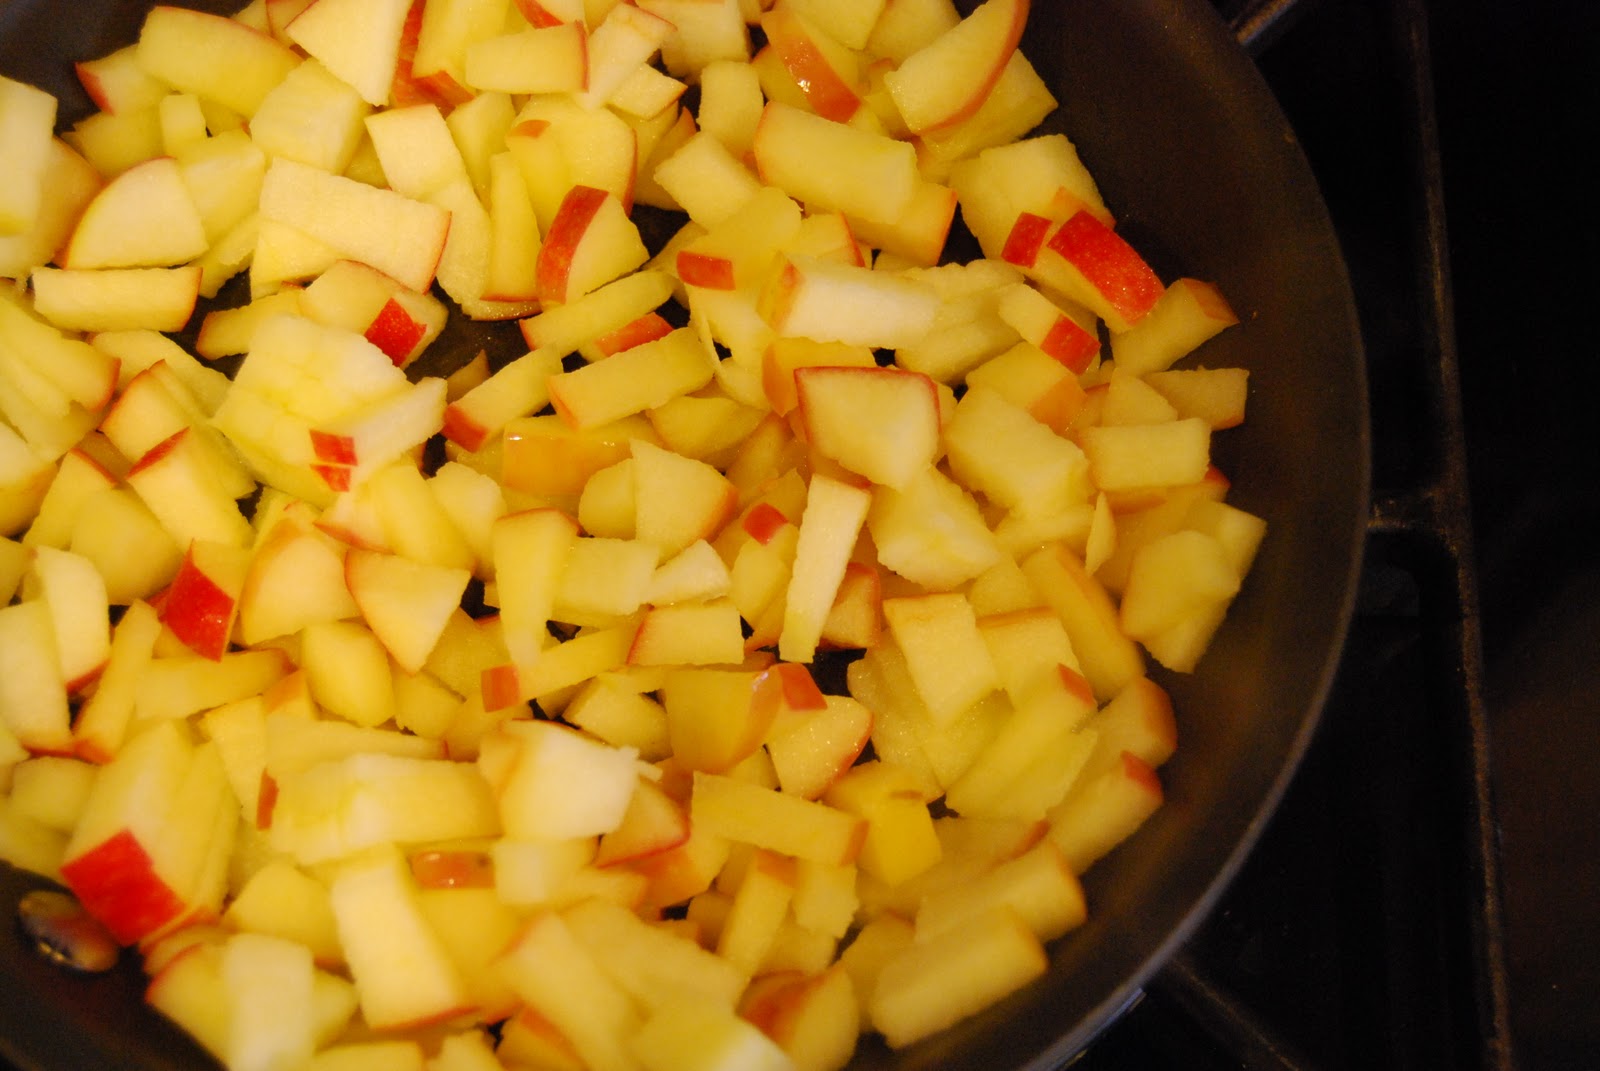
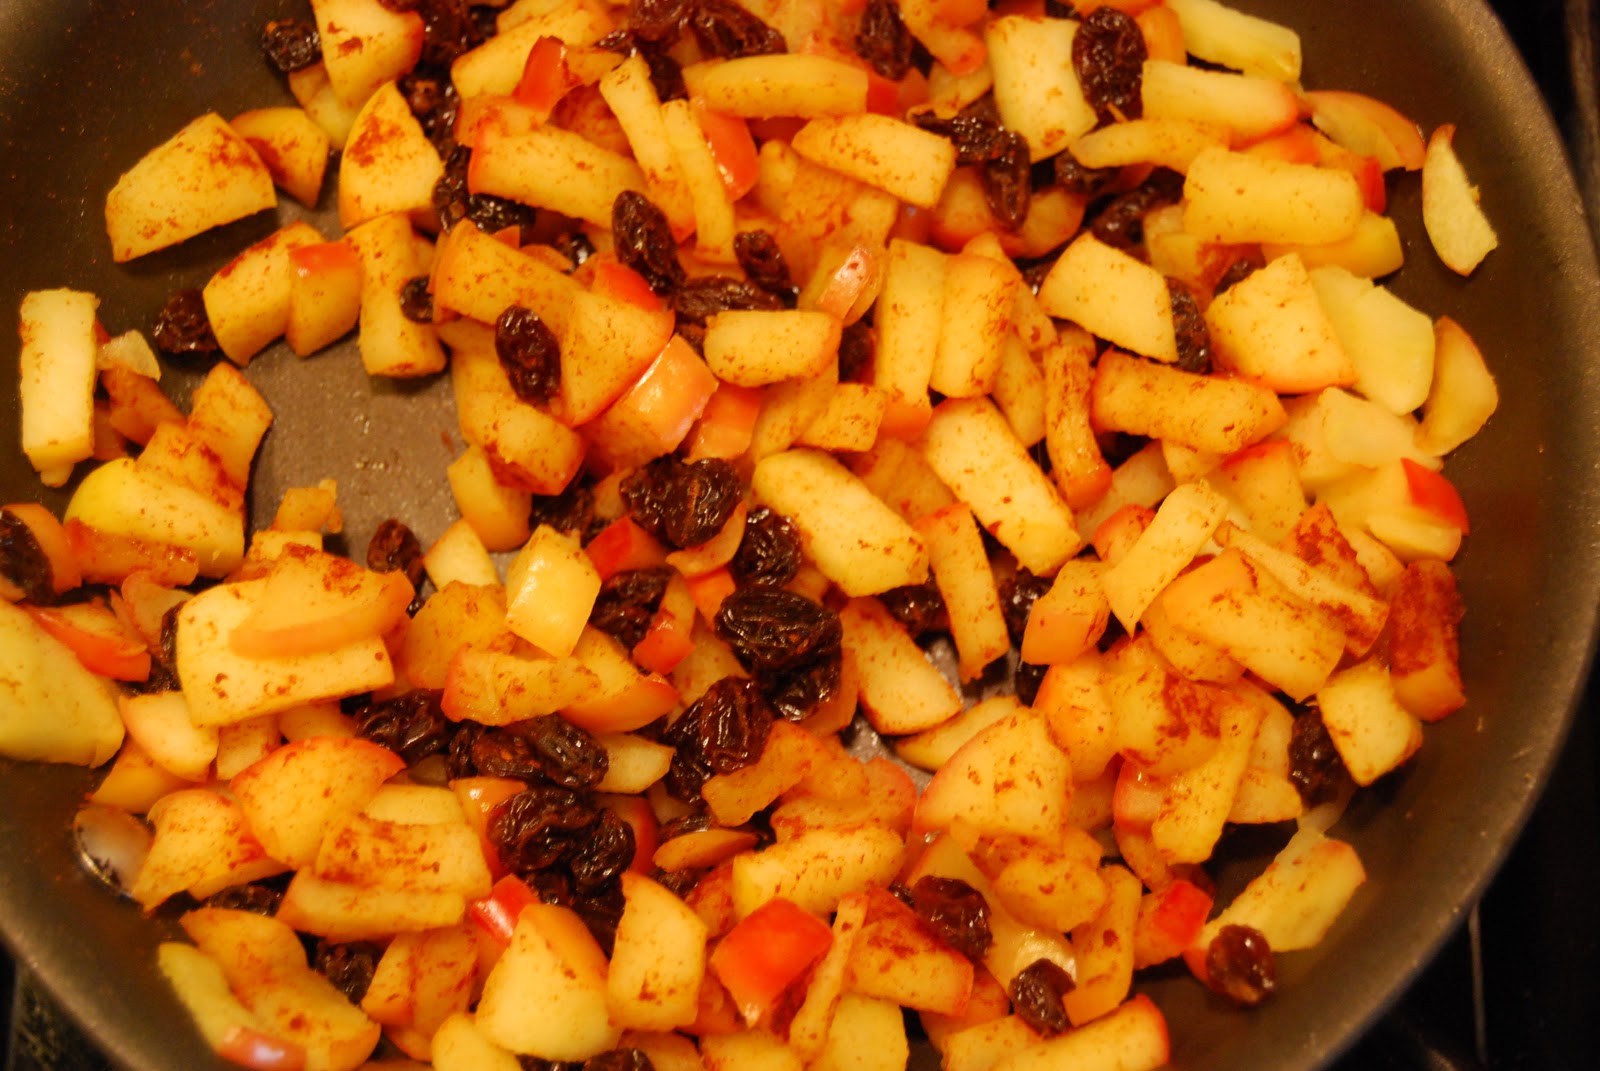
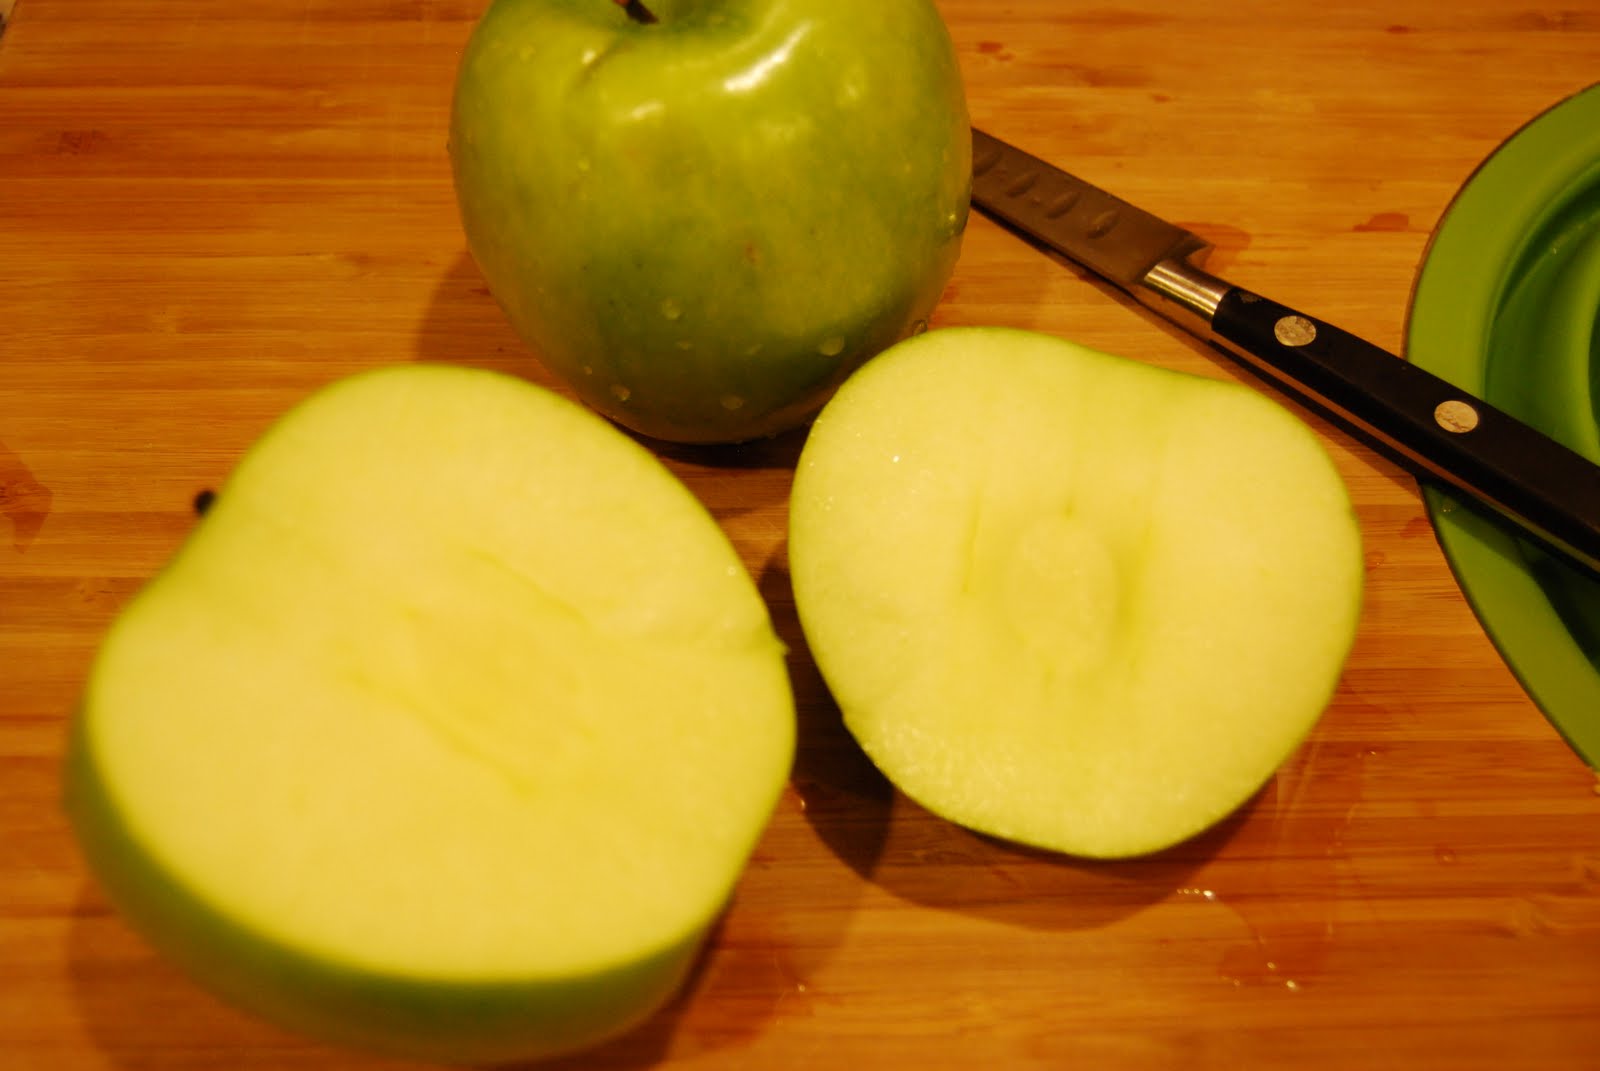
Step 2: Oatmeal Toppings. While the water is boiling and the oatmeal is cooking, chop up your favorite kind of apple (mine is Honey Crisp – they are out of this world good). Add the apples and raisins to a pan on medium heat with a smidge of butter (like a 1/4 of 1/4 tbsp). Let the apples and raisins begin to soften and add 1/2 tsp of cinnamon and continue to stir so that the fruit is completely covered. For your breakfast take 1/8 cup of apples and raisins and reserve the rest for later.
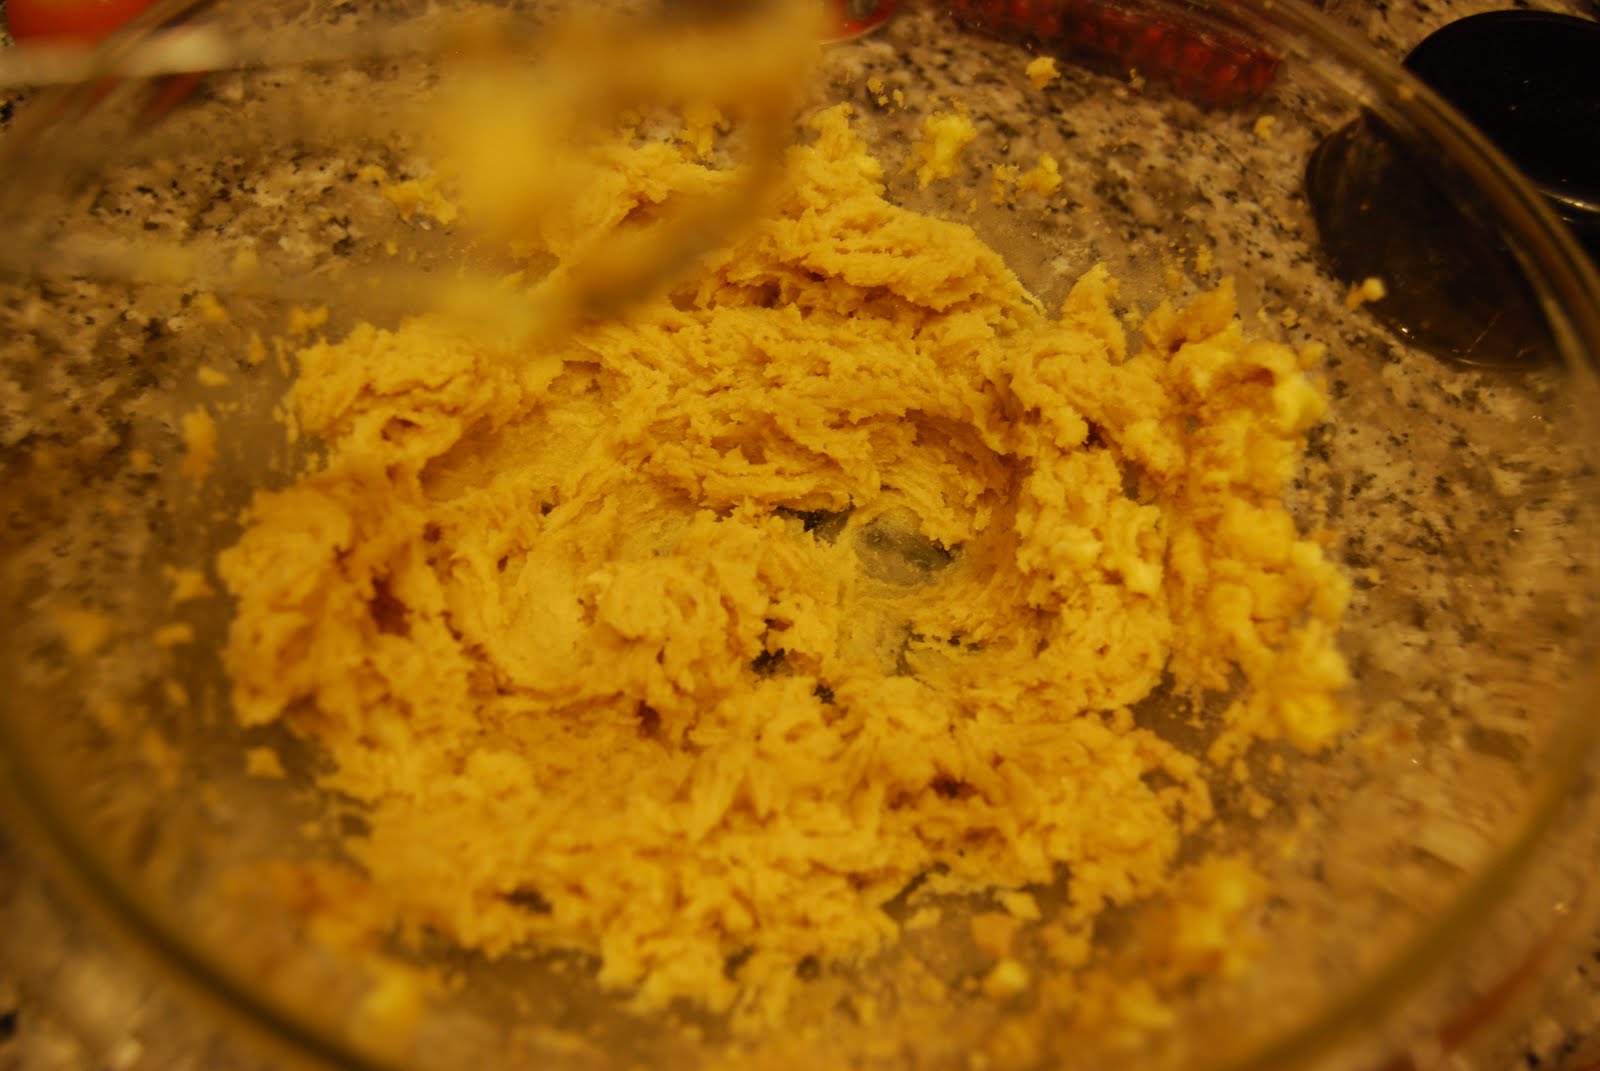
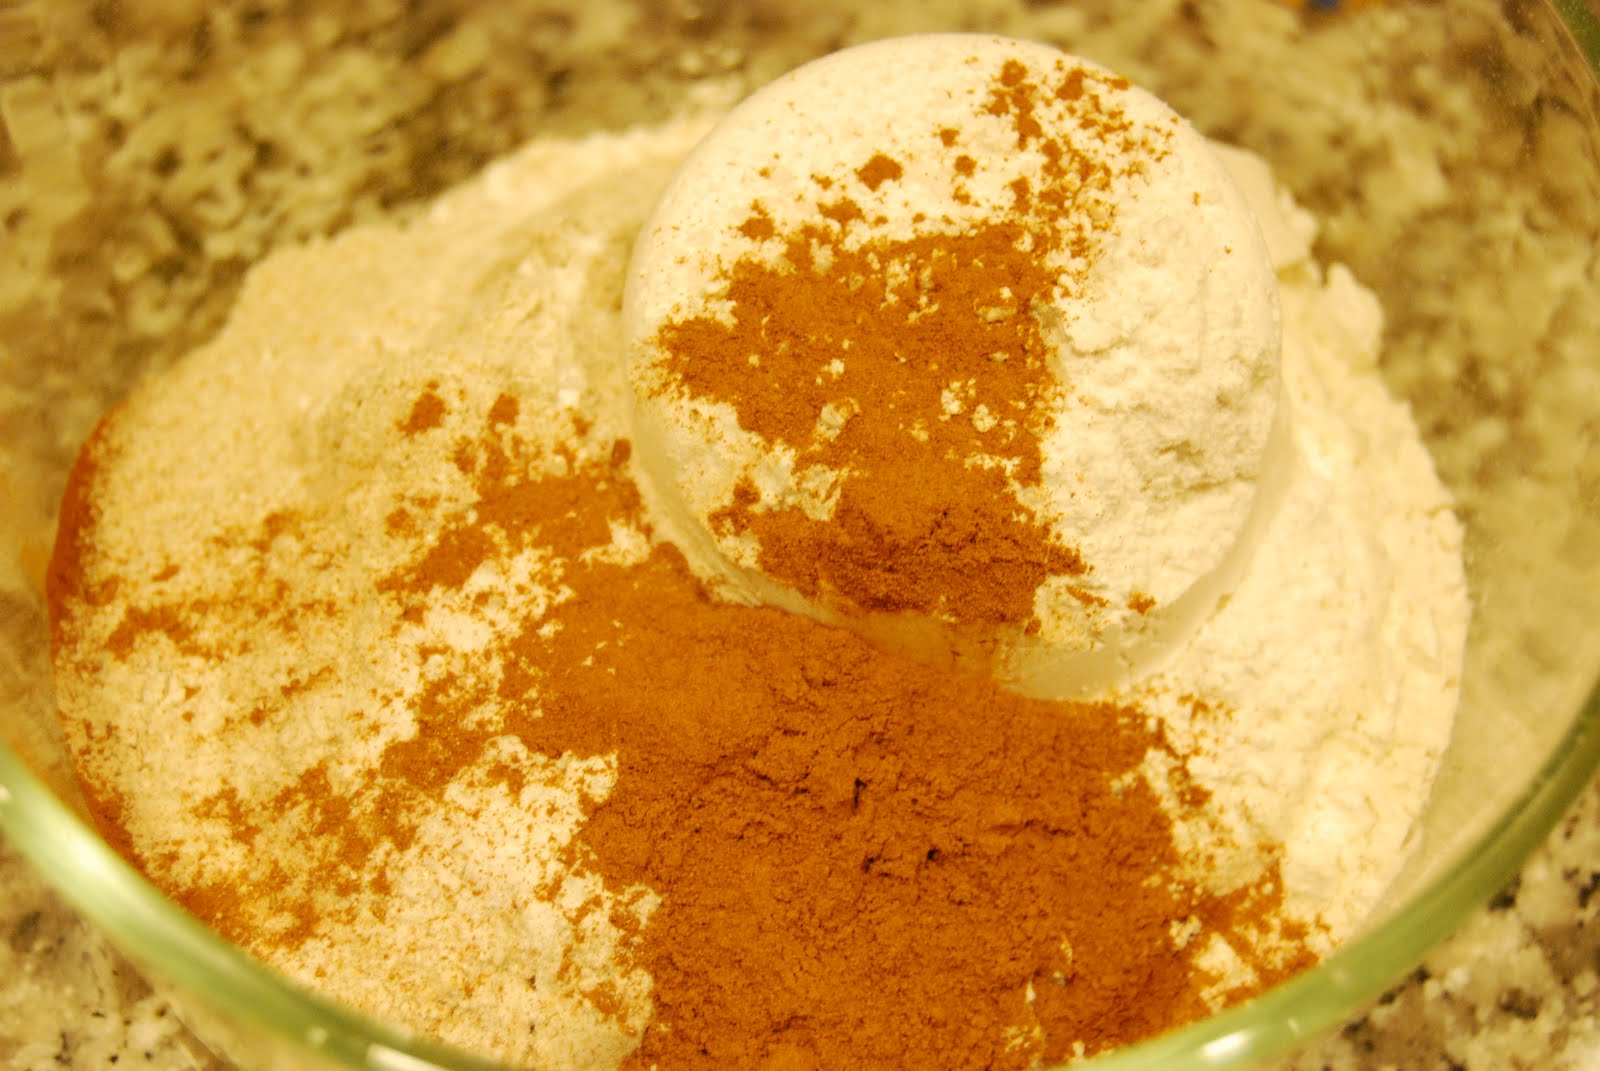
Step 2: Dry Ingredients: After you finish your breakfast return to the pot where the oatmeal has now cooled. Add the whole wheat flour, salt, baking powder and baking soda. Combine all of these ingredients. If the oatmeal is overly sticky – mine was – slowly add 1/8 cup of water at a time until it has a smoother consistency.
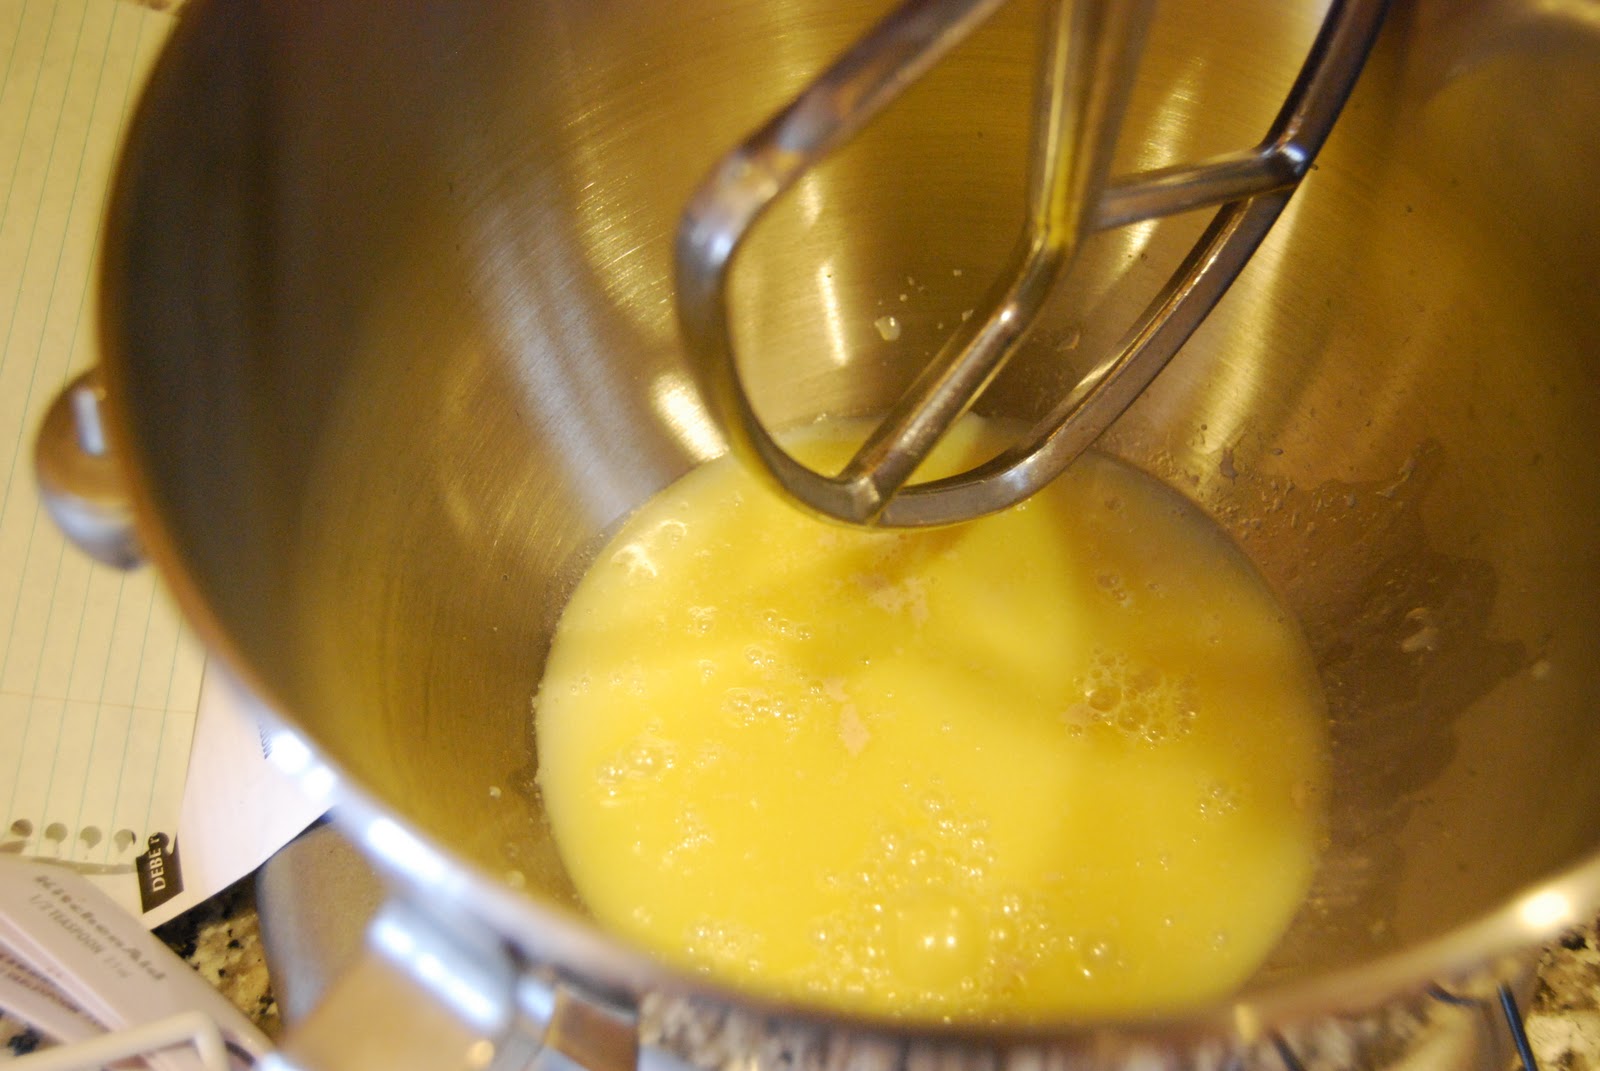
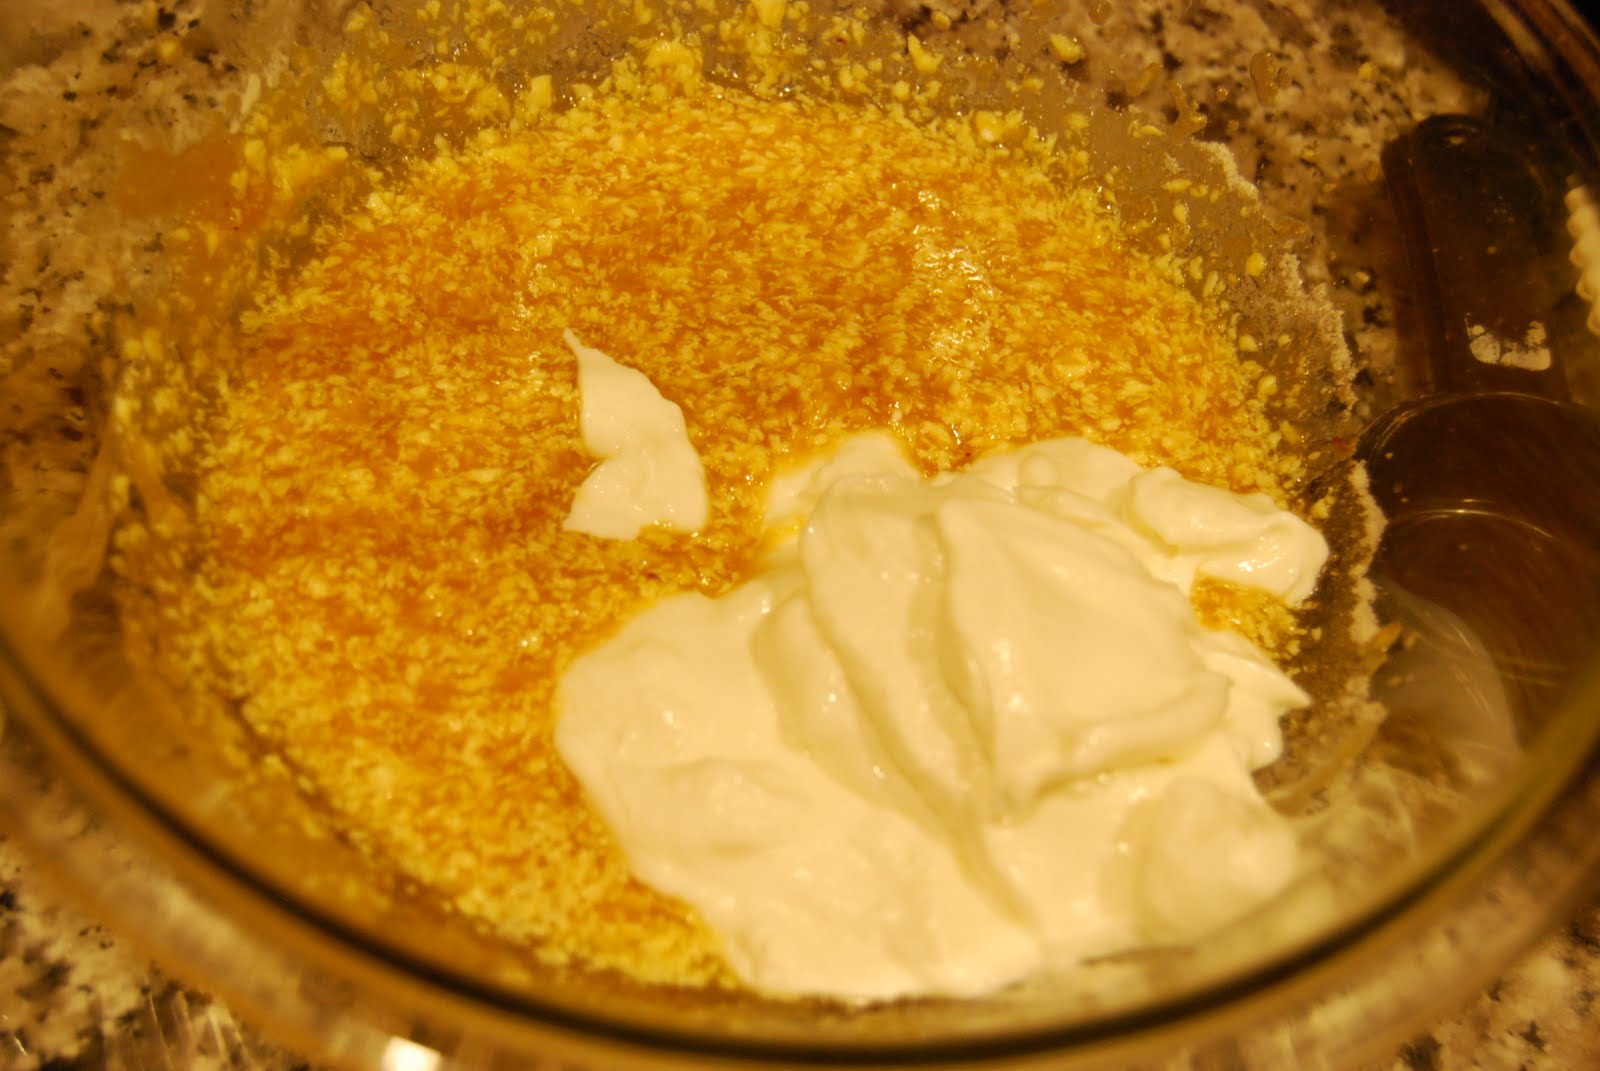
Step 3: Wet ingredients. I included 1/2 tablespoon of almond butter in the oatmeal. It added a warmer hint of color, but didn’t change the flavor – this is totally up to you to include. For a nutty flavor I’d recommend at least a tablespoon. Add the egg and the brown sugar and continue to incorporate.
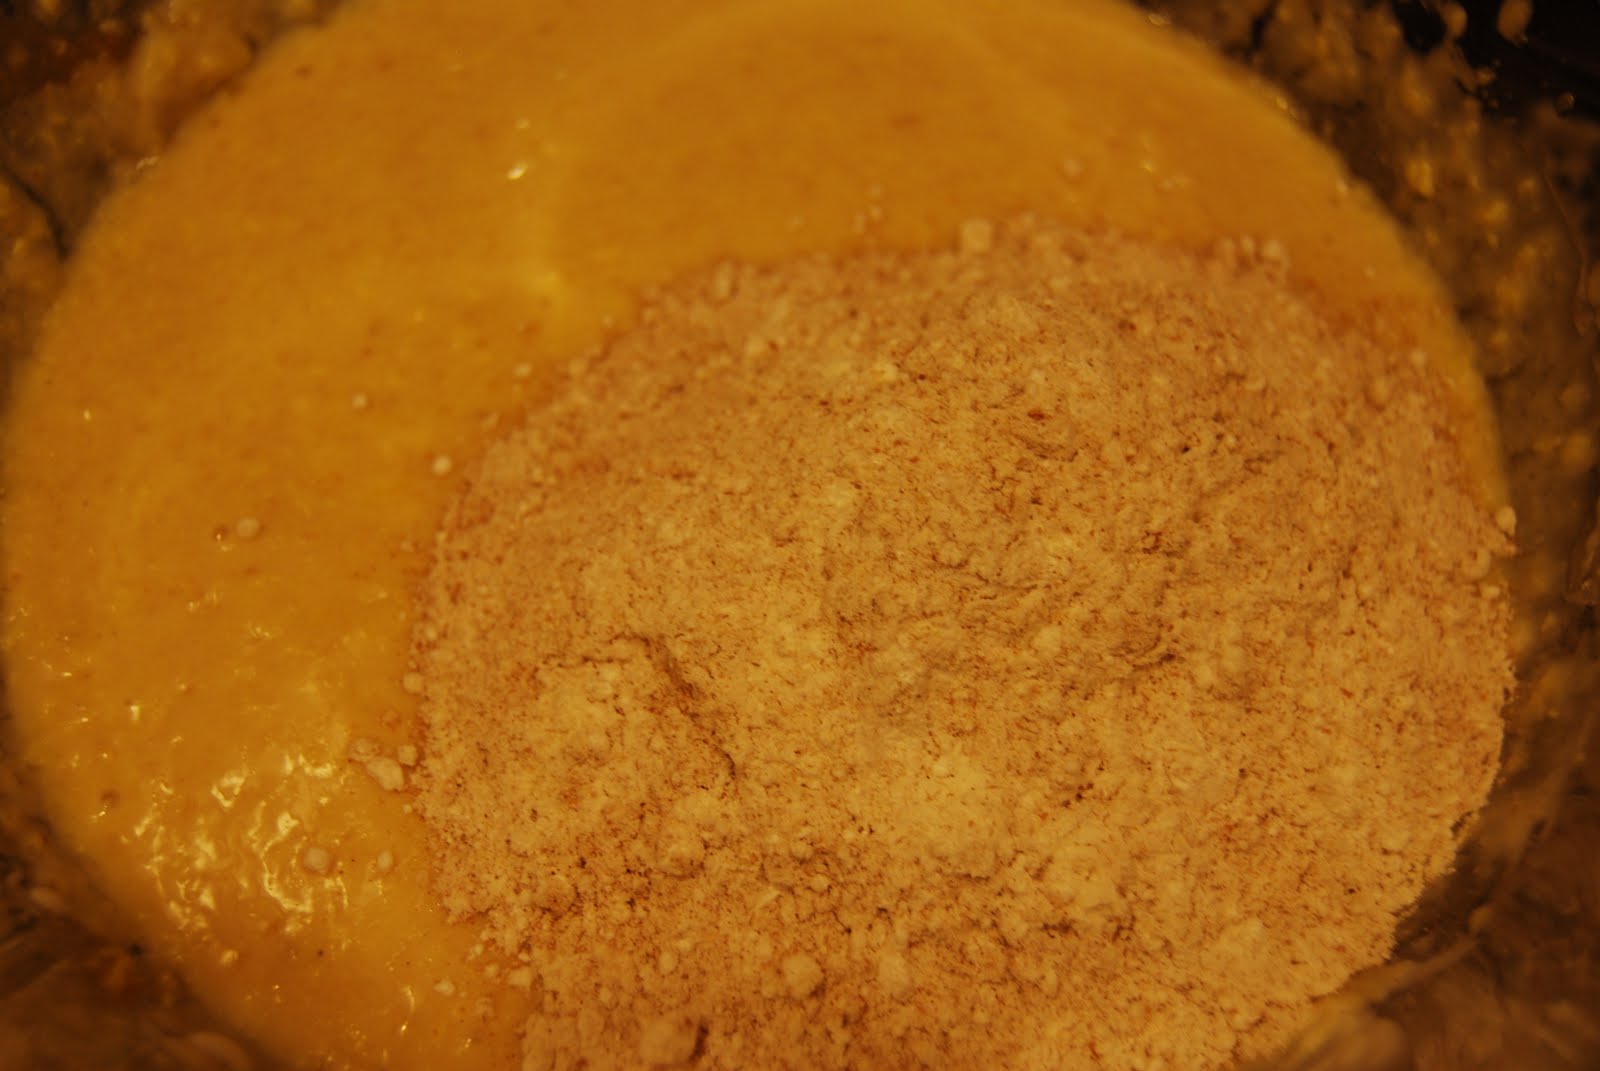
Step 4: Back to the apples. The apples and raisin have cooled and should a soft golden color. Bring the pan back to a medium-low heat and add the vanilla and lemon juice. Cook the apples until the juice is absorbed.
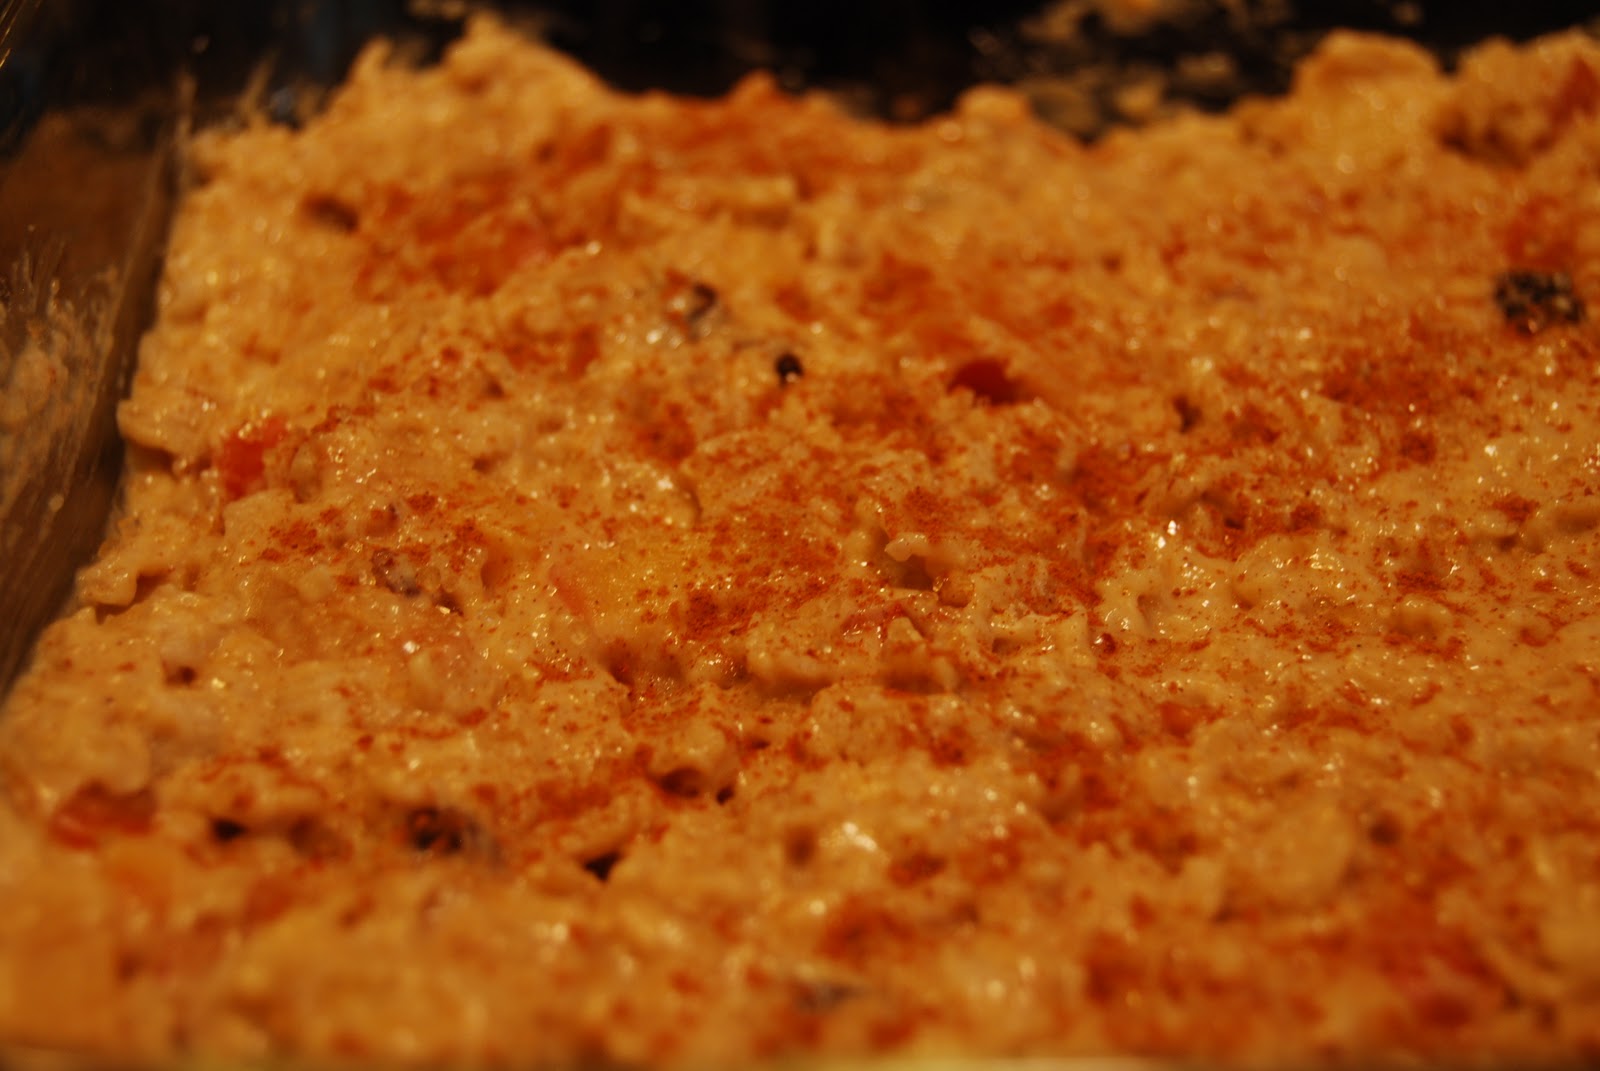
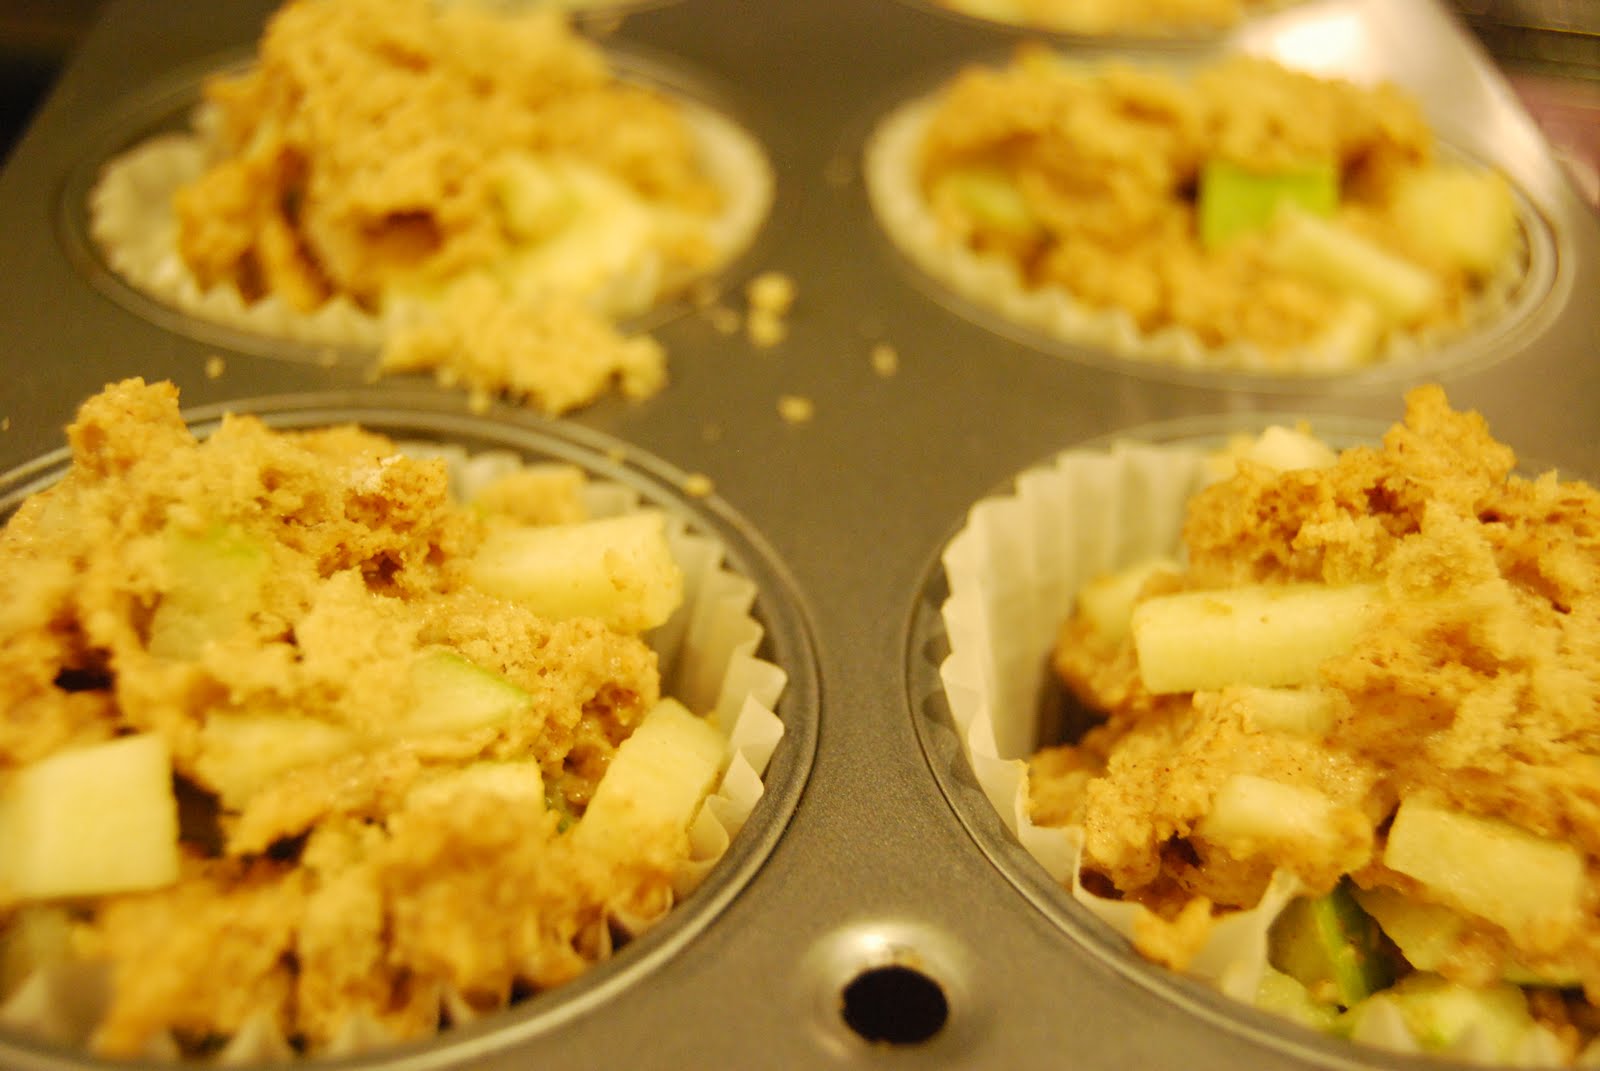
Step 5: Bring it all together. Combine the apples and raisins into the oatmeal and then spread the entire mix into a 9×9 baking dish. If so desired, and I am sure it is desired, sprinkle on additional cinnamon, turbinado (raw) sugar, and some almonds. Bake for 45-50 minutes at 350 degrees.
Here is the warning: your kitchen will have the warm, sweet smell of cinnamon, vanilla and apples. You’ll know how relatively healthy this little snack is and will have a hard time just eating one bite, but that’s okay, because really (not just relatively) this is a pretty healthy way to go.

*So, I am calling this a kugel, because the flavor and consistency most closely reminds me of my Nannys’ (grandmas‘ – they both make it) noodle pudding. There are no noodles, so noodle pudding is the wrong name, and kugel kind of sounds funny, but it’s pretty much what it is. The other thing it is, is sweet, but not too sweet, healthy, but not boring, simple but not bland and probably something that will pop up on a holiday table of mine in seasons to come.


