File this simple recipe under the category “Better when made at home”. Oatmeal is the comfort food of champions when the weather starts to turn, but I will be the first to admit that plain oatmeal is really just PLAIN. So, I turned to an old favorite, apple cinnamon oatmeal.

Apple Cinnamon Oatmeal
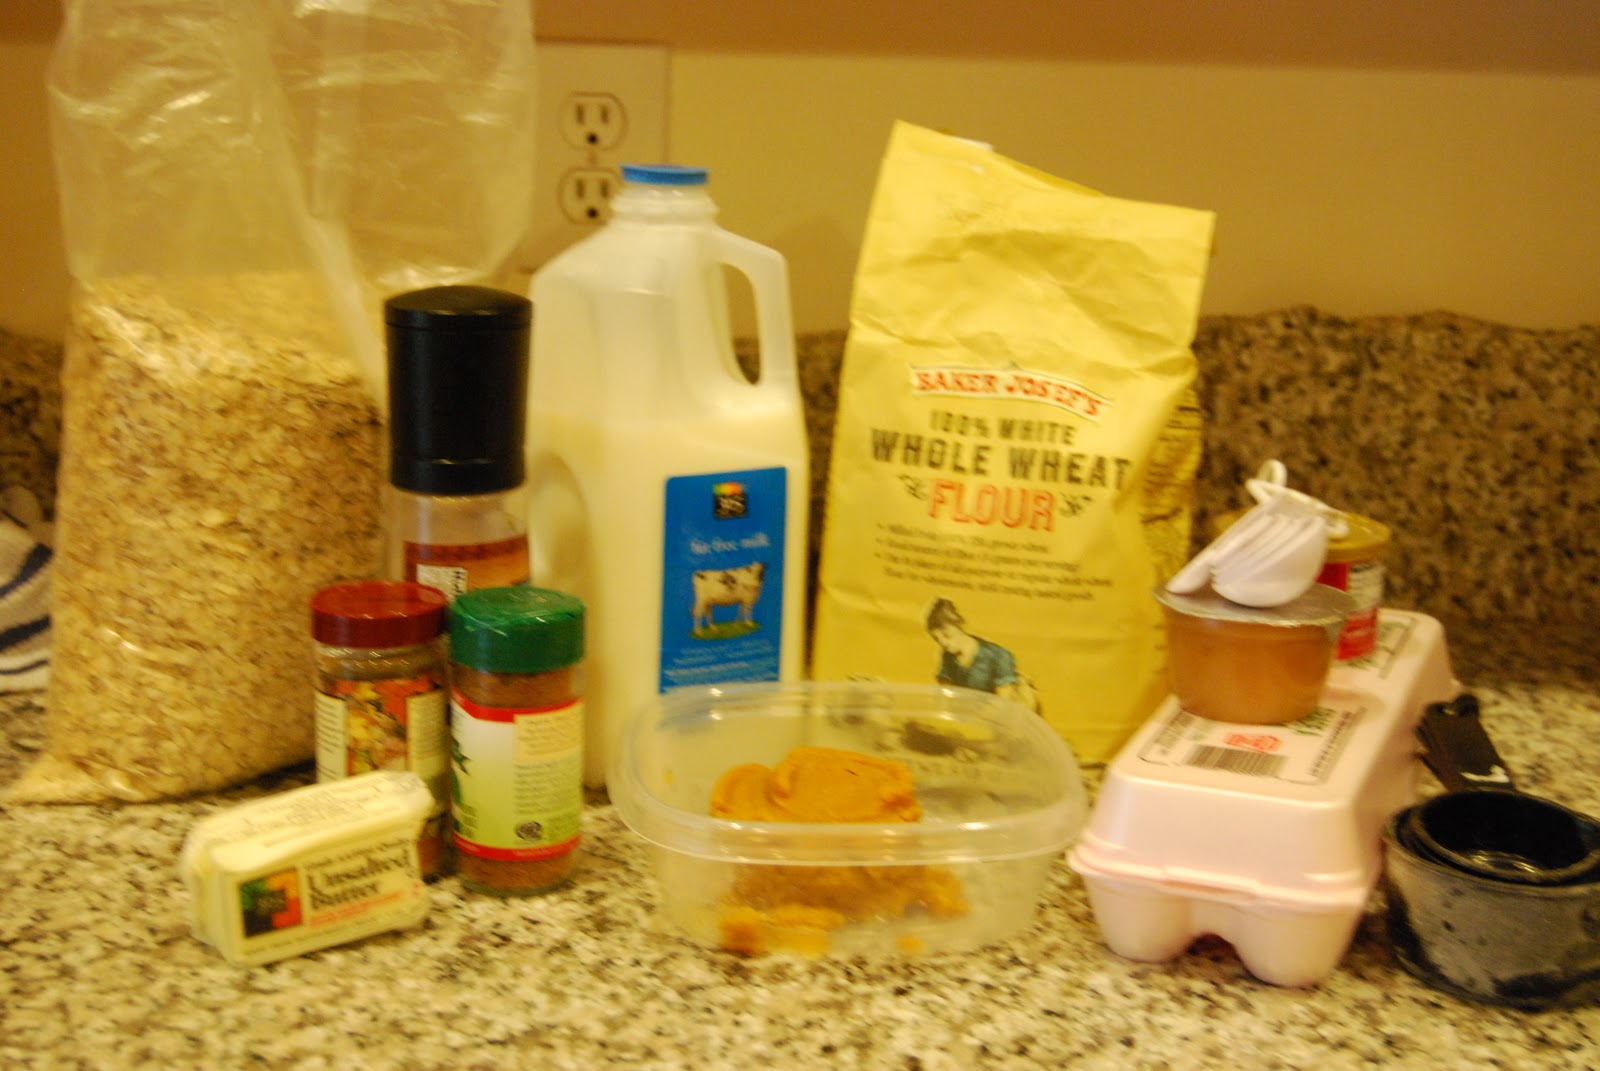
Ingredients:
1 large apple
1 cup of whole, plain oatmeal
2 cups of water
1/4 cup of apple cider
1/4 tbsp of unsalted butter
1 tsp of cinnamon
1 tsp of cinnamon sugar
1/4 tsp of kosher salt
I like gala apples, or braeburn apples, or fiji apples, I like anything with a tartness and some crisp in the bite. Chop up the apples in to a small chop, but not too small so that they melt away – keeping them a little bit larger will add another dimension to the texture of the oatmeal.

In a small pan add a pat of butter and let it begin to melt. Add in the chopped apples, and let them cook for about 2 minutes. Add some cinnamon and sugar to get the juices flowing.

When the heat really starts to kick in add the apple cider and stir. The infusion of liquid and sugars will slow the cooking and also create a more caramelized texture.

While the apples are cooking you have a pot of water boiling. When the 2 cups of water has reached a boil add the 1 cup of dry oatmeal, lower to medium heat and stir. You’ll want to keep an eye on the oatmeal so you’ll know when it is “done” for your standards. After about five minutes you should be there but you can take the pot off the heat and see if it’s thick enough.
When ready add a big scoop of the cooked apples, and enjoy. It’s not quite fireside weather yet in DC, but when it is you can bet what I’ll be eating