Category Archives: summer

Summer Salad


In honor of the start of Summer I made a salad to celebrate. I wanted something crunchy, sweet, colorful and most of all healthy. That is how this salad came to be.

Summer Salad Ingredients
3-4 Cups Frisee
2 ears of Corn
6 large strawberries
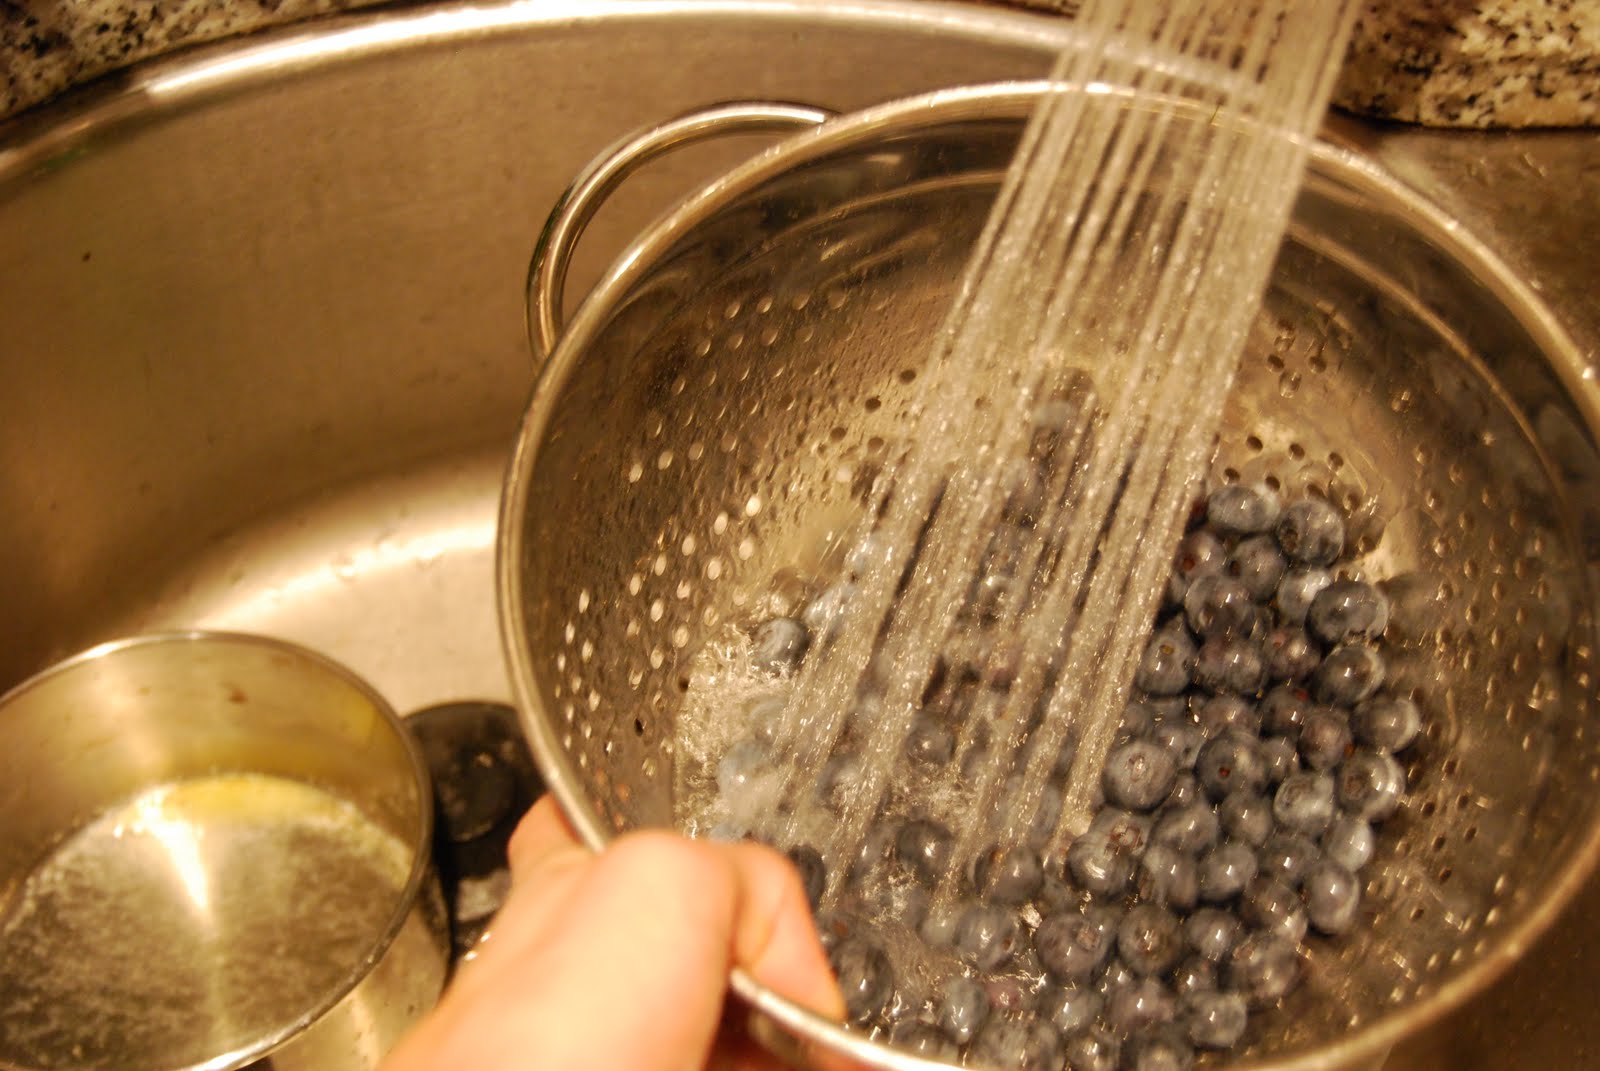
1/2 cup blueberries
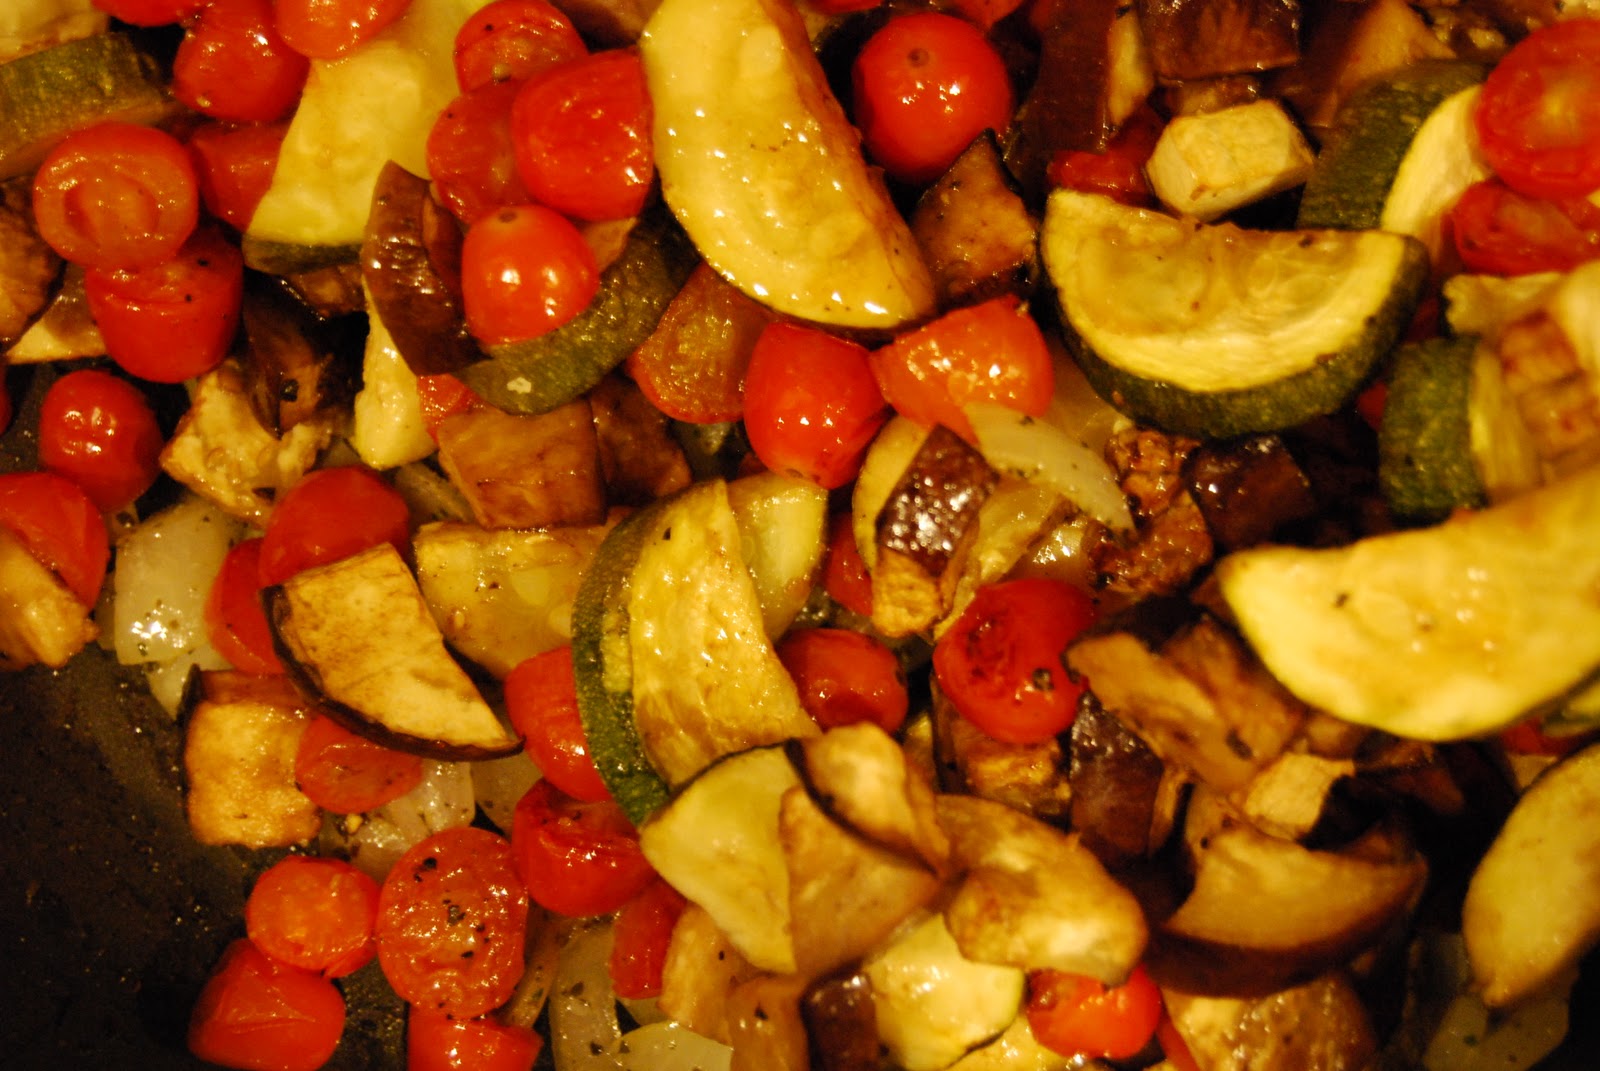
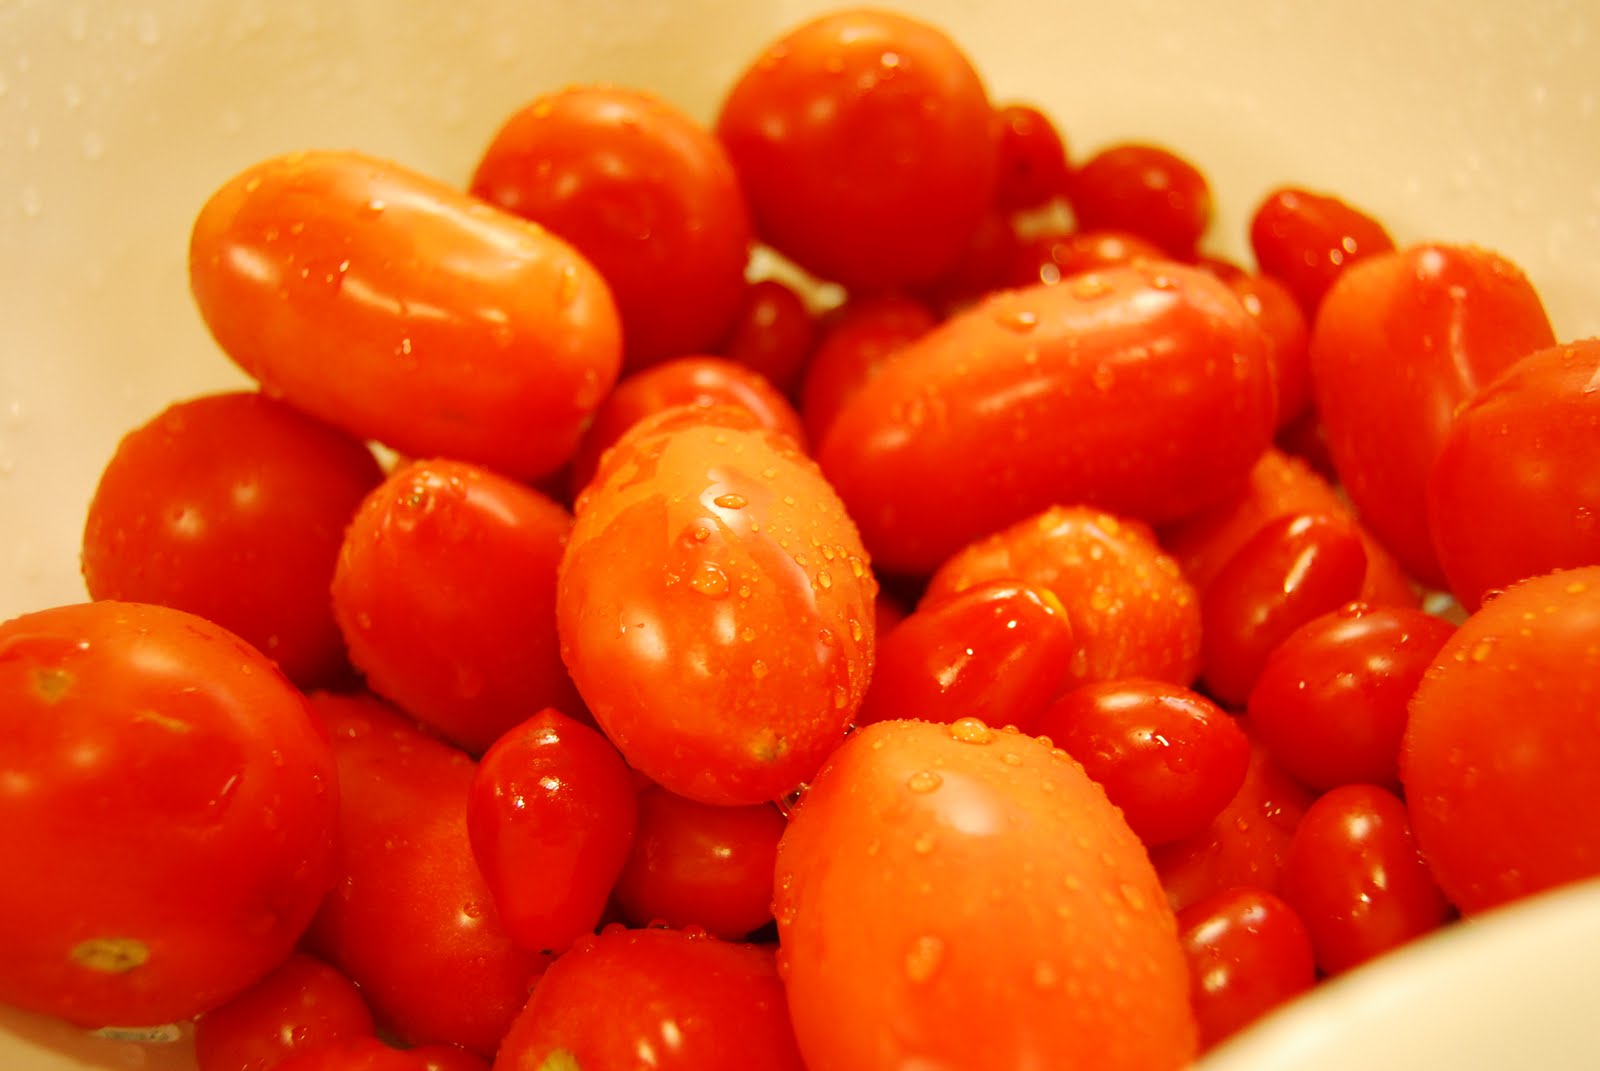
1 cup chopped cherry tomatoes
2 tablespoons plain sunflower seeds

Dressing
1 tablespoon Extra Virgin Olive Oil
1/2 tablespoon balsamic vinegar
1 teaspoon red wine vinegar
1/2 teaspoon honey
Salt and pepper to taste

This is a great salad for dinner option, and also travels well as each component can be stored separately and then combined on site.

Frisee – I know this isn’t the salad green that most people gravitate towards but, this branchy leaf has the right amount of bite to stay strong with the fruits and vegetables that would typically overwhelm spinach or arugula. If you can’t get down with the frisee, I think a crisp romaine could also do the trick.

Corn – For this salad fresh is best and so if you have to use a can, I would skip it entirely. This is a great way to use leftover corn from a dinner earlier in the week. My favorite technique is to wash the ear and dry it and place it on a tin foil square with a small pat of butter, salt and pepper and then twist close the foil. Bake for 30 minutes at 400 degrees or throw it on the grill. For this salad, take a strong knife and shear the corn from the cob.

Strawberries – Wash, halve, quarter. Feel free to taste along the way. When in season strawberries are a favorite sweet snack.

Blueberries – Wash, dry, snack and set aside for salad.

Tomatoes – Wash, halve, sprinkle with a touch of Kosher salt and set aside.

Sunflower seeds – These added an awesome nutty, sunny warmth to the salad if you can imagine such a thing. When toasted (in a muffin tin) these erased the need for cheese or crouton toppings.

For the dressing, in a small bowl mix all ingredients and taste. I like my dressings a bit more acidic so I may use more vinegar than the next gal, so feel free to taste and modify. The goal is to keep it light and simple so that the dressing doesn’t overpower the salad.

When you’re ready to serve layer the toppings over the frisee and drizzle with the dressing. The bowl with be filled with bold, bright, natural and healthy colors.

When you’re done eating your body will be full from bold, bright, healthy foods!


Crab Cake Appetizers


“Crab cakes and football, that’s what Maryland does!” – Wedding Crashers

To live near Maryland is to know (and love) crabs: steamed, dipped in butter, made into cakes.  When I was home for the weekend I made a crab cake appetizers for my parents and grandparents.  It was so fun to cook for people who have cooked for me my whole life, and to make something that doesn’t show up too often in South Florida.  Florida is all about stone crabs, not Maryland crabs.

Crab Cake Appetizer, makes 14
2 containers of 8oz crab meat (I used lump and claw)
1 egg, gently beaten
1 tbsp Dijon mustard
1/8 cup of Panko breadcrumbs
1/2 lemon juiced
1/2 teaspoon Old Bay (this is not exact*)
1/4 teaspoon red pepper flakes
2 shakes of Worcestershire sauce
3 cracks of fresh black pepper
sprinkle of salt
Sauce
2 tablespoons of mayonaisse
1/2 teaspoon Old Bay
1/4 lemon juice
chopped chives

In a medium sized bowl empty the crab and with a gentle hand and wooden spoon mix the different kinds of meat together.  You can use all the same kind of meat, but generally one is considerably more expensive than the other, and they have a different flavor, so I combine for more depth.

In the empty crab cup, beat the egg and then add it to the crab.  Add the mustard, and a couple of squirts of the Worcestershire sauce, the lemon juice and the Panko.  

You’re probably noticing that the measurements for these ingredients are not overly specific, that’s because we’re cooking and not baking, and because flavor and spice is personal.  Mark loves Old Bay so I tend to go stronger with that, and I don’t care for salt so I tend to go lighter.  If you want spicy crab cakes, add more red pepper – it’s that simple!

Again with the wooden spoon, very gently incorporate all of the ingredients, being careful to not pulverize the crab.  A great crab cake is full of big, pump pieces of meat.  I usually take a sniff of the crab mixture to see if it seems balanced, and then maybe add more spices if necessary.

Now, form small balls of the crab mixture is the well of the palm of your hand.  These just need to be gently formed, not packing them too tightly.  Place all of the uncooked cakes on a plate and cover with plastic to refrigerate for about 30 minutes.  Refrigeration lets the crab cakes firm up before they are cooked.


In a large pan over low/medium heat add a touch of butter and get to cooking.  Each side takes 3-4 minutes.

When the crab cakes are out of the pan, give them a few moments to cool and mix up the sauce (mayonnaise, lemon juice and Old Bay) and chop up some chives.  For an extra kick you can add a dash of Tabasco to the sauce.

Place all of the crab cakes on a platter and give some (or all) a small dollop of sauce and a sprinkle of chives, serve with fresh lemon, oh and Enjoy!

Roasted Vegetable Sauce for an Easy Weeknight


Weeknight dinners are always a little bit tricky; I want something healthy, good tasting, fairly quick and comforting.  So last night was an opportunity for some easy, hearty and full of vegetables sauce.


Roasted Vegetable Sauce
Ingredients:
2 cups Chopped Cherry Tomatoes
2 medium Zucchini
1 medium Eggplant
Salt and Pepper
Dash of Olive Oil
Splash of Balsamic Vinegar
Garlic
Basil
Pepperoncino
1 tbsp Skim Ricotta Cheee

**I really like zucchini and eggplant and so we nearly always have some variety on hand.  If you are not a fan of one you could always do without or swap in a different vegetable.  If you don’t like either you’ll just be eating tomatoes and cheese, which come to think of it isn’t so bad either.

 Chop the zucchini and eggplant into rounds about a centimeter thick.  Cut the zucchini in half lengthwise, and then cut the eggplant into smaller chunks.  Combine the chopped zucchini and eggplant with the chopped tomatoes in a large bowl.  Add to the bowl a drizzle of olive oil, a splash of vinegar, salt, pepper, and some diced garlic.  Mix all of this up, so that flecks of oil and vinegar touch everything.

On a cookie sheet lay out a piece of parchment paper and pour out all of the vegetables.  Place the sheet in a 400 degree oven for 35 minutes.  If by chance the OnDemand Yoga video, or self applied manicure is taking longer, you can let these roast for up to 45 minutes – you just don’t want the vegetables to be burned.

On the stove top set up a large sauce pan with some olive oil, chopped onion, garlic and basil over low heat.  At the same time start boiling water for your pasta. 

Now, I need to share a secret with you.  I rarely keep fresh garlic on hand at home.  This is probably shocking but in our old apartment we’d have heads of garlic and we’d lose them, and then they’d dry out and it was a waste.  Then we discovered the frozen crushed garlic and basil at Trader Joe’s.  They are perfect in a pinch, and hopefully there is a Trader Joe’s somewhere within reach.  To my Florida readers; perhaps I’ll bring you some on the next visit!


When the onions are translucent add the roasted vegetables to the saucepan.  Pour in two ladles of pasta water, and stir vigorously.  

You can keep it chunky, and stop here.  I wanted a more saucy sauce so I used my immersion blender for a few quick pulses and then added a spoonful of ricotta cheese for an smoother taste.  I paired this with a favorite pasta in the pantry, but I think I would also love this on crusty, warm bread as a bruschetta topping, or as a dip with pita.  The whole prep from beginning to end took about 45 minutes; and the bulk of that was inactive cooking time while the vegetables were roasting.  Not too bad for a healthy, well balanced dinner, ever better for a weeknight!

Buon Appetito!

Less Sweet Sweet Stuff


To work in my office is to experience a constant parade of sweets.  They come in all shapes, store bought treats from a coworker’s vacation, classic baked goods from a family baking adventure, ice cream parties to celebrate jobs well-done, and everyone’s favorite, snack on Friday.

On one particular day my office had an extra large Pineapple Upside Down Cake, Chocolate Bombe cake (that was nearly a foot tall), and Ben and Jerry’s Make Your Own Sundae in the lobby.  After partaking and indulging that afternoon I decided to start skipping the sugar, or at least be more selective.  I’ve since realized that having it less often really does make it more of a treat.  Have no fear, sugar isn’t banned – I have enjoyed a few s’mores since our fiesta – I had to make sure their deliciousness wasn’t a fluke.  It wasn’t!

Cutting back on traditional sugar though didn’t mean I was cutting back on baking.  Looking in my refrigerator for inspiration I found these carrots.  They were too soft to dip, it’s still too hot to consider roasting root vegetables, so obviously there was no better place for them that in a cookie!

Sugar Free Carrot Cookies
Ingredients:
¾ Cup of Whole Wheat Flour
½ Cup of Cake Flour
1 Cup of Whole Oatmeal (dry)
1 tsp of baking powder
A dash of sea salt

1 Cup Shredded Carrots
½ Cup of Olive Oil
½ Cup of Maple Syrup
Spring of fresh grated ginger

First mix all of the dry ingredients (flours, oatmeal, baking powder, and salt) and then pour in the shredded/grated carrots.  (You can decide how finely grated you want your carrots to be, but keep an eye on them, you do not want carrot juice.)  You can mix these all with a fork, or have one less thing to wash and mix it with your fingers (that’s what I did).


Then pour in the wet ingredients (oil and syrup).  We’re you going to plug in your mixer?  You can skip that to.  I used a soup spoon to mix this together – a soup spoon!  Nothing is easier than that.

Then just roll them out into little balls, about the size of a tablespoon.  I used a Silpat mat on one sheet and a piece of tin foil on the other.  The tin foil cookies’ bottoms were darker, some might say a bit on the burnt side, but they still got rave reviews – I think the extra color caramelized that sugars in the syrup.  Either way, I don’t think you can go wrong.


When they are out of the oven you are going to want to eat them all.  We did do that, so I speak from experience.  They are delightful plain, but they are decadent with a little swipe of cream cheese. These made a terrific guilt-free mid-week dessert, and I can foresee them making an appearance at future brunches and snacks.

Classic, with a Kick


Earlier in the week I mentioned our Latin inspired fiesta, and our large menu.  I knew when planning the menu that as always we would have a lot of food, and I wanted to keep everything light, easy to prepare and fun.  So, while I love tres leches and flans, I knew they would work with the rest of our hand held menu, and goal for being outside.

And that was when Mexican S’mores were born.    
 
Of course I originally intended to make my own graham crackers, I even thought about making my own marshmallows, but as you might imagine those plans don’t jive with “easy to prepare”.  So what is more easy to prepare than a box of graham crackers, a bag of marshmallows and 2 packets of Lindt Dark Chocolate with a hint of chili?  I’ll tell you what’s easier, just about nothing!  
What I had envisioned was using our grill to gently toast the marshmallows to a lovely golden brown.  Instead it rained all day and the cooking and s’mores making moved inside.  

No fear, these are just as good when they are made in the oven.  

Steps to S’more Success:
1. Preheat oven to 500 degrees
2. Put foil on top of a baking sheet
3. Put marshmallow on top of chocolate square on top of half of a graham cracker
4. Place in oven, with the light on and pace/dance/chat for about 90 seconds because then the marshmallows will be soft and browning.
5. Stack graham cracker half on top.
6. EAT!, and eat again and again.

I think other delicious flavors would include those Ghirardelli squares with a little mint, caramel or peanut butter filling – the options are endless and the results are deliciously fun!

Fresh Salsa, almost like Vacation


This past weekend we had friends over for linner, late lunch/early dinner.  Since we were prepping the food, and they were supplying the drinks, I got started on planning out a themed menu.  The weekend before I  reminisced about the amazing food we ate on our honeymoon to Mexico, and so the theme developed on it’s own, we’d be doing a Latin inspired meal.

We served up salsa fresca, chunky guacamole, mango coconut fish and pulled pork tacos, roasted tomatillos, out of this world tostones, cilantro rice and garlicky black beans, watermelon and lemon, and Mexican s’mores.

The Salsa was a huge hit, and it turns out it is actually America’s most popular condiment – who knew?!  
 
Ingredients:
3 cups of Cherry Tomatoes
1/2 cup of Red Onion
1/2 cup of White Onion
1/4 cup of Cilantro
1 Jalapeno, with seeds removed and sliced
The Juice of 1 Lime
A sprinkle of salt to taste

I think salsa is a dish where you sort of know what you like.  Want more onions? Throw in more onions.  Hate cilantro?  Skip it.  

One tip I practiced was something I learned from Chef Rick Bayless, which was to wash the onion in a bit of cold water to reduce their bite.  I guess if you wanted that onion-y bite you could skip that too.

Here is a trick that we created out of necessity, and it worked like a charm: we didn’t want soupy salsa.  So as the tomatoes were being chopped they were dropped into a colander so that the extra tomato juice could drain out.  

Then all the ingredients go into one big bowl, and they get to know each other, they mingle, they dance and then they meet a chip and fall in love. No chips?  Yikes!  Also amazing with rice and beans, over grilled chicken or eggs.

If you have a bounty of summer tomatoes, this is a simple, low calorie way to use them up, and transport yourself to a beach vacation getaway. 

Melon Lemon – A Good Mix


So, this isn’t really a recipe – but it is a must, must, must do.  

See that bowl of watermelon you chopped up the other day?  It’s sitting in your refrigerator.  Maybe you grab a few pieces every now and then as a refreshing snack.  Oh, you don’t have a gigantic bowl of watermelon in your fridge?  Can you please go get one?  It’s a primary ingredient in this non-recipe recipe.

Continuing on…  Remember how you bought a bag of lemons for homemade lemonade, or to throw in a bottle of Corona (depending on the type of weekend you had)?  Take that lemon, cut a wedge and squeeze all of the sour, lemony juice over the chunks of watermelon.  

That little squirt transforms the watermelon.  No joke, like Cinderella style, a “She’s All that That transformation.  The watermelon is no longer simple, juicy fruit, it is now exotic, tart, and full of flavor.  The natural sugars concentrate and it’s like you’re eating chunks of summer, if your summers are spent on the beach in Mexico. 

I have to give credit where credit is due.  This trick – which pretty much changed the watermelon eating portion of my life – came courtesy of my sister’s boyfriend’s housemate.  And now you have it via me.  You can tell your friends you learned this from your favorite blogger’s sister’s boyfriend’s friend. 

Plum and Peach Crumble


When I woke up this morning (late) it was as though I was back in Florida for a hurricane!  At 7:30 the sky was dark, the trees were blowing and lightning was striking all around the house, and I wish I had this for breakfast…


A week or so ago I had lots of peaches from the farmer’s market, and a LOT of plums from Costco and they were just shouting out to me, “mix us with the good stuff!” and so I did. 
Plum and Peach Crumble:
Ingredients:
5 peaches, peeled
6 plums, peeled
1/2 tsp of corn starch
1 tbsp brown sugar
3/4 cup whole wheat flour
1 tbsp of white sugar (I grabbed the flour bag by mistake in the picture)
3/4 cup plain oatmeal
5 tbsps of butter
A sprinkle of slivered almonds
A dash of cinnamon

First bring a saucepan to boil and dip the plums and peaches in the hot water for about 20 seconds and then plunge them into their ice cold water bowl.

Then peel the skins right off.  See the white flecks on the plum?  That’s a vegetable wax that was applied to the fruit – removing the skin means no weird white spots.  You can do this with your fingers, but do it gently, especially with the softer fruits.

Then cut the fruit into large chunks.  This is really based on preference but I like to have big fruit bites.  Because I am really into cinnamon I sprinkled a bit on, but you could easily skip it.  This is also when I pore in the corn starch, which magically (not really, this is what it is supposed to do) firms up the juices from the fruits to make a more solid crumble/pie/tart.
In a separate bowl I mixed by hand the sugars, the whole wheat flour, oatmeal and butter.  The butter adds just the right amount of moisture, so a still fairly light crumble topping.  If you’re looking for a more traditional, or more solid crumble I’d add more flour and an egg.  But since I was going for a lighter dessert, I kept it simple and poured it over the fruit in the pie pan.


Then I baked it at 350 degrees for about 30 minutes, or until the top was nice and browned and the juices were bubbly.  Tip: if you want it to be browner, but not burnt take another tablespoon of butter and break up small chunks for on top. 
 The toughest part was waiting for it to cool…  So we waited, and waited, and then stopped waiting.  
This was delicious warm, and would have been great on top of vanilla ice cream, or with whipped cream but then I guess that whole healthy dessert concept would be out the window.  I would also serve it room temperature at a brunch, or having it for breakfast with some Greek yogurt.

Fruit this summer has been delicious on their own, but sometimes it’s fun, if you’re going to spend time washing and slicing to throw them into a pie pan too!

The Cake that Stole the Show, or Blueberry Harvest Cake


Blueberry Harvest Cake
Part of the joy of getting a pedicure is reading the magazines.  And I was extra joyful when I stumbled upon the August issue of Food & Wine Magazine.  With tributes to Tuscan Farm to Fork cooking and a feature on Greek Chef/Philosopher Michael Psilakis I was hooked.  

On Sunday, a few days after the pedicure, we were having Mark’s family over for lunch to wish his mom a “buon viaggio” before her trip to Italy.  This was our first time entertaining in our new house, and we toiled on the menu, prepared on Saturday, shopped our Farmer’s Market Sunday morning and cooked and cleaned just until showtime.  On a hot day, and a full menu the big debate was dessert, and then I remembered the magazine.

The Cake that Stole the Show, or Blueberry Harvest Cake 
adapted from Food & Wine Magazine, August 2010

All the ingredients ready to be delicious
Ingredients:
1.5 cups all-purpose flour
1 teaspoon of salt
3/4 teaspoon of baking powder
2 large eggs
2/3 cup granulated sugar
1/3 cup of milk
1/4 cup of extra-virgin olive oil
4 tablespoons of unsalted butter, melted
1 teaspoon vanilla extract
1 – 1.5 cups of blueberries, fresh
Confectioners Sugar for dusting
Use a 9″ springform pan
Oven at 350 degrees

Whisk the dry ingredients: flour, salt, and baking powder.

In a separate bowl whisk, by hand, the eggs with granulated sugar until fully combined and a smooth yellow color.  

Then pour in the vanilla, milk, and olive oil and continue whisking by hand.  Slowly and while whisking continuously, pour in the melted butter.  It’s a good idea to let the melted butter cool for a few moments as this cake would not taste good with scrambled olive oil eggs.

Fold the flour mixture into the egg mixture, again by hand, it will be a beautiful golden yellow color.  Try to resist “taste-testing”, I usually cannot, but I know that I should.

Pick your favorite fruit.  The Food & Wine recipe calls for seedless red grapes, but since I live in DC and not Napa, and since blueberries are delicious right now, I adapted.

Fold the blueberries into the batter with a whisk and a gentle hand, being careful to not crush them along the way.


Pour into springform pan and bake for 15 minutes.  At fifteen minutes remove the cake from the oven and pop on a few more blueberries on the surface, and return to the oven for another 30 minutes.  Check to ensure it is fully baked with a toothpick – clean toothpick means it’s done!

After the cake has cooled sprinkled on some confectioner’s sugar and you could serve it with more fresh berries, like I did, whipped cream, vanilla ice cream, a blueberry sauce or just plain, because it is just that moist and delicious!

Oh, so why the name?  Why the “Cake that Stole the Show”? because after a delicious Caprese salad, Aged Cheddar and Bacon Macaroni, perfectly seasoned baked chicken breast and a salad that would make any farmer proud – this cake was devoured.  And Mark very proudly boasted, this was the best cake ever, it “stole the show”.

Enjoying the Bounty


For the past few days my home Internet has been down – which means I haven’t been able to share pictures I have taken, or any new recipes.  I’m overflowing with sweets and savories!

As an appe-teaser, enjoy some of the bounty from our trip to the Bloomingdale Farmer’s Market.

Parsley, Sage and Basil from our Friend’s Backyard Garden
25 Pounds of Sauce Tomatoes – lots of chopping for lots of delicious homemade sauces.
Beets and Radishes that were used for Sunday’s Lunch
Shots of Espresso to end the day

The table is set for a Sunday feast – recipes to follow!